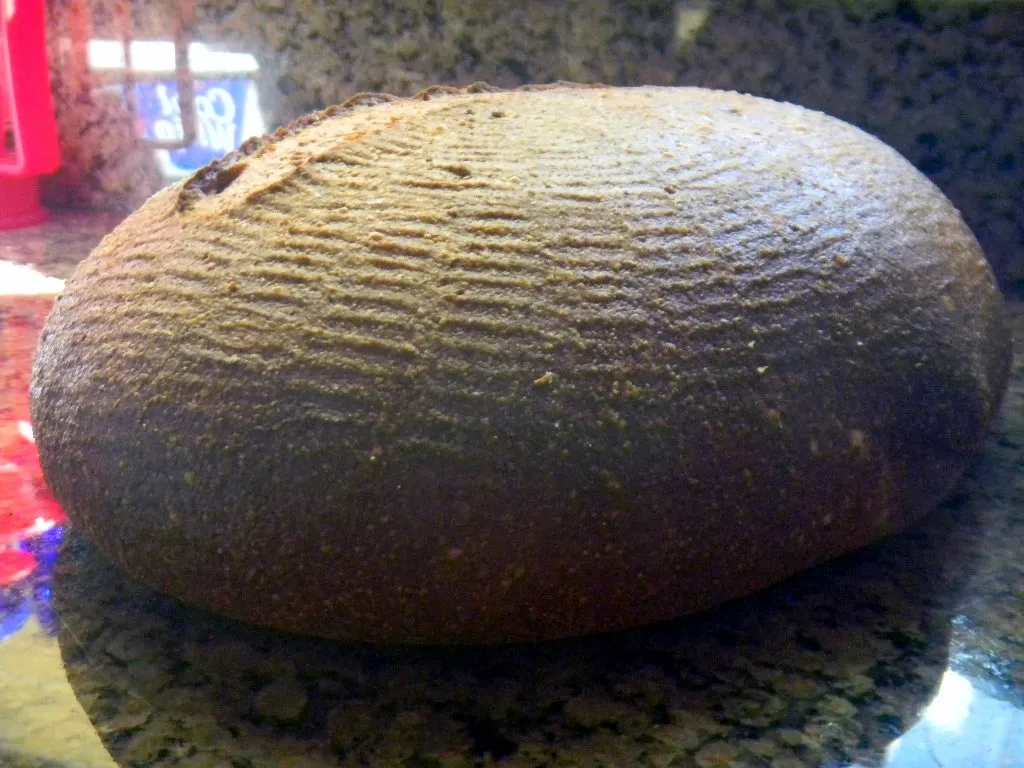
Cromarty Cob

- Log in or register to post comments
- 11 comments
- View post
- wassisname's Blog

Some days you're the hydrant.
This one was a dog day. Baguettes with poolish from Hamelman, but a little bit wetter. This baguette stuff is tricky.

It is Friday and pizza was in order. I wanted to try a different crust from last time . I made up a batch of Sullivan Bread dough yesterday. This AM it was full of bubbles. I divided it into 4 pieces and tossed them with Durum flour and placed them in containers in the fridge. At 3 PM I took two out, just as we got back from our 25 mi bike ride. At 5 PM I put the oven on with the steel in place 6 " below the broiler. Temp set to 550. At 5:45 I turned on the broiler to high/550.

I again used my YW/ SSD levains to make a pulla dough. Having chocolate butter cream and cinnamon sugar ITJB, sliced almonds and chopped hazelnuts on hand, I rolled the dough out as a babka. The Kranz variation as I Googled, involves cutting the rolled up babka in two and twisting the stands together. Then I folded it into a loaf pan. Oh my!
Happy baking, Brian
This would sort of be our everyday sandwich bread if we had one t least one with a crumb that doesn’t have bits of seeds, nuts and fruits in it. We do like bits of stuff in the crumb a lot but we have been working on improving the tastes of Lucy’s take on Josh’s more whole grain version of Pain Maggione.


Short post
40% Whole Wheat Sourdough
[URL=http://s1292.photobucket.com/user/Steelhead503/media/Baking/32014Bake1_zpse237142c.jpg.html]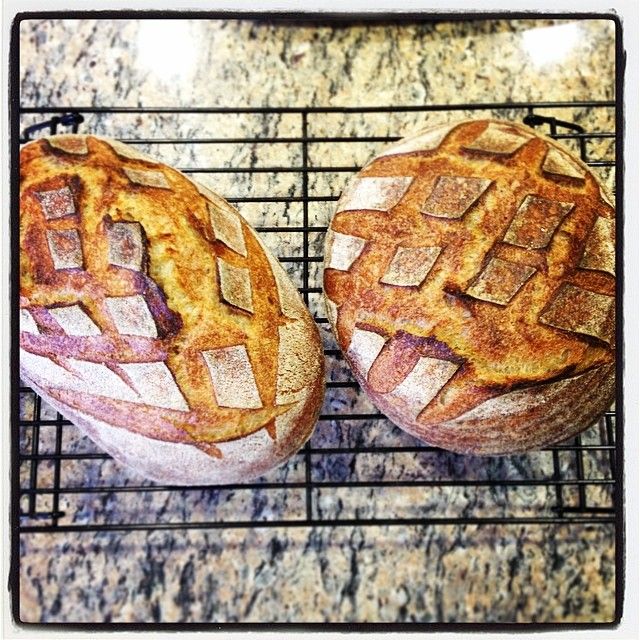 [/URL]
Crumb Shot
I've been craving a little burger action this week and thought why don't I try my hand at baking some buns. After all, everyone knows that you can't have a good burger with out a good bun.


The Whole Wheat bread on the left has 283 grams of sprouted wheat kernels. The second loaf is Whole Wheat with Millet. And both loaves contained 100% freshly milled hard Red Spring Wheat from Great River Milling. The flour actually had a bouquet - that's a first. The recipes are from PR's Whole Grain Breads. Both used a delayed fermentation with sourdough ( refrigerated for 18 hours) and followed PR's epoxy directions for the soaker and the sourdough starter. Sprouted loaf is slightly sour, soft, wheaty and moist.

I bought 5/500g bags of Italian Chestnut flour a number of years ago. Somehow I never found anything that I liked to use it in so it sat in the freezer in its vacuum packs waiting...and waiting..and....well you get the idea. I have been cleaning out and sorting and using up . I decided to only cook from my larder for 2014 , at least as much as possible.

Ian had posted a date SD and I thought I would go with that basic idea. I added 100g toasted almonds and 2 tbsp grated orange zest. Levain was my rye starter fed with apple yeast water. I used whey for 292g of the dough water and AYW for the rest . I soaked the coarsley chopped dates in warm whey but didn't cook them down. I divided it into 3 boules. Great fragrance and very tender crumb. Sticky goodness when you get a date chunk. Baked in 500 degree pots for 5 min. and then 10 min at 460 lid removed and 15 more min. Bold bake and nice ears.