Big Holes
If you know how to handle wet dough (80%) and with the right flour, big holes are a breeze!!!


Happy baking
Thomas
- Log in or register to post comments
- 2 comments
- View post
- tssaweber's Blog
If you know how to handle wet dough (80%) and with the right flour, big holes are a breeze!!!
Happy baking
Thomas

I know what you're thinking. "A bagel on the west coast? and in Oakland? never!"

My wife asked me to bake a loaf of bread for some neighbors who recently had a new baby. She made meatballs.
It was sort of last-minute and I had just picked up some el-cheapo store brand AP flour (we haven't yet made our St. Patty's day soda bread and I was planning on using AP like I always do) so I took out some ripe starter (that I had refreshed after my last bake 2 weeks earlier) and decided to try a different recipe ... Reinhart's Pain de Campagne.


1 hr autolyse
2 min slap and fold
15 min rest
1 min slap and fold
3 hr bulk ferment with a set of stretch and folds every half hour for the first hour and a half
scale/preshape/shape 2+ hr proof
Lucy finally got back to her bread and butter with a high percent whole grain multi-grain bread. It has been a while but this one may prove she hasn’t lost her touch - if she ever had one.

I'm always amazed how much the acid in the levain leaches out the color becoming almost white compared to the autolyse which has exactly the same grain in the same proportions at nearly the same hydration..

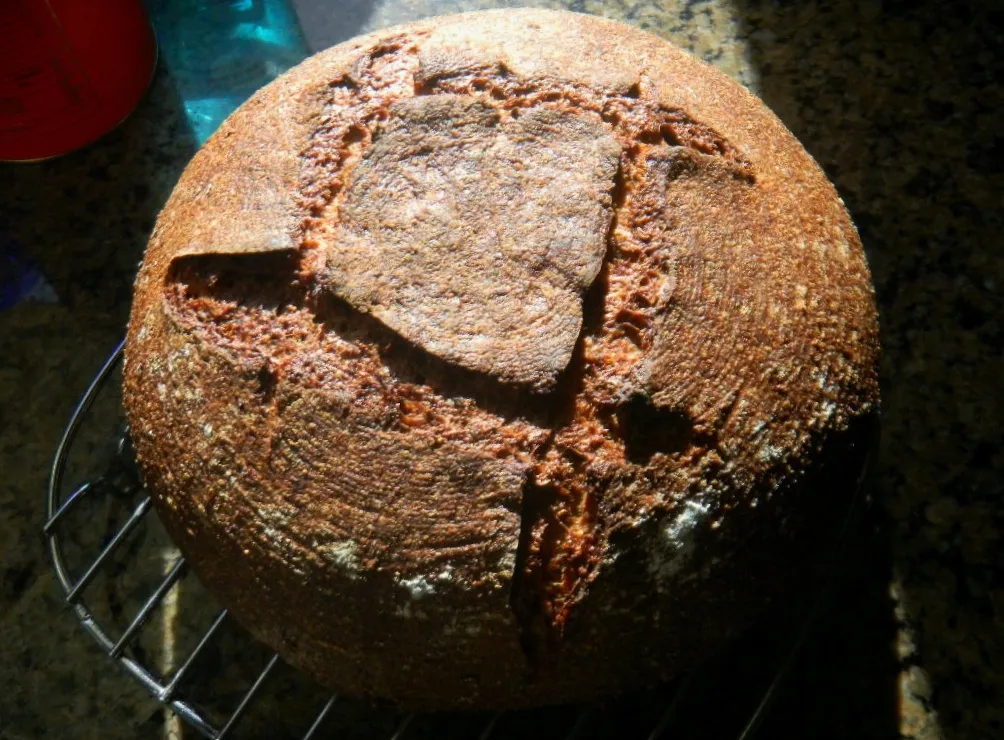
Organic Sourdough
[URL=http://s1292.photobucket.com/user/Steelhead503/media/Baking/32714Bake1_zps1666efcf.jpg.html]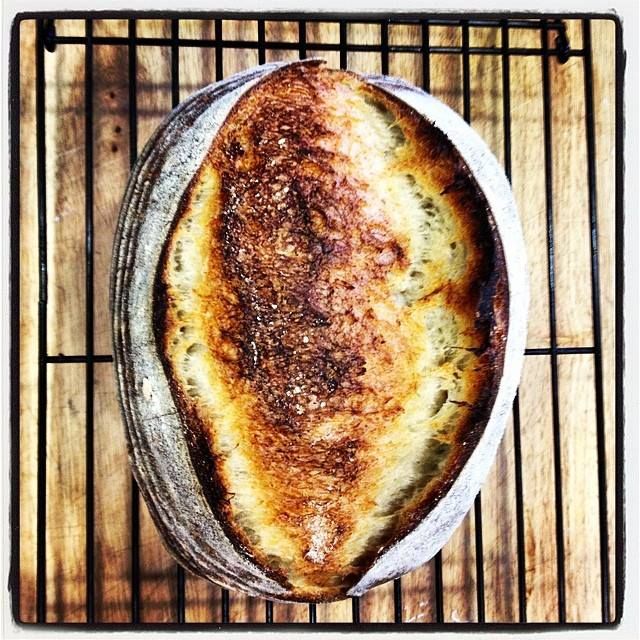 [/URL]
Baking a loaf of bread for a buddy, so he can have roast beef and swiss cheese sandwiches. I thought a beer bread would be tasty.
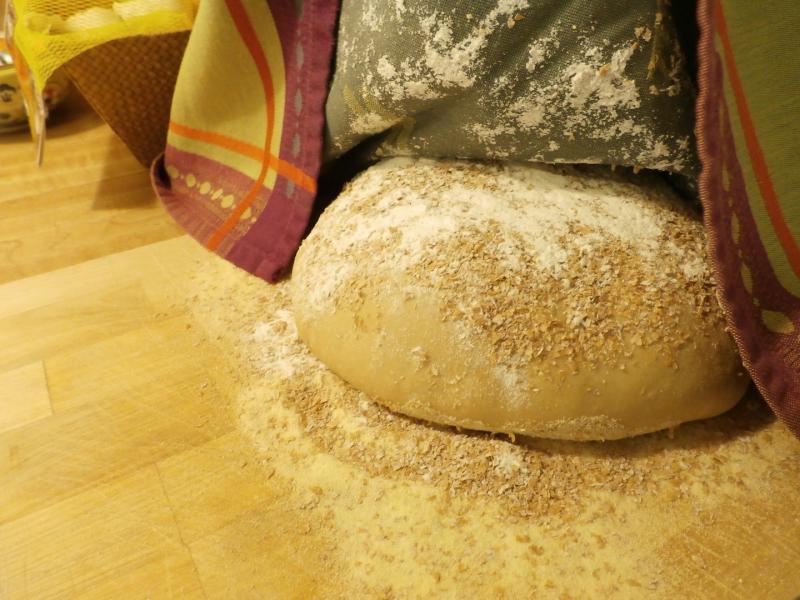
Here is a picture of the final proof.
Formula:
500g bread flour
350g dark beer
50g water
13g salt
1/3 tsp dry active yeast
30 min autolyze
30 min stretch and fold, 4x
1 hr bulk rise
overnight cold ferment
come to room temp 2 hrs
shape boule
proof 1 hr
This weekend I went ahead and made some Einkorn loaves by adjusting K. Forkish's 50% WW Biga bread recipe. The results were fan-tas-tico!
My first Einkorn loaf using 100% of this ancient grain turned out very nice, yet a little dense with not so much rise. I'm gonna work my way back to that loaf and try to perfect it, but first I wanted to play around with different blends.

I think my 17-day old starter is ready for prime time. I baked this San Francisco Country Sourdough using Glenn's formula.


In my opinion, the formula for 5-Grain Levain by itself fully justifies the price of Jeffrey Hamelman's Bread. This is just one of several formulas for multigrain breads in the book. I believe I have made all the levain-based ones, and I haven't found one that wasn't scrumptious. I think my very favorite is actually the one that uses a rye sour for leavening.