Arts and Crafts Market # 3

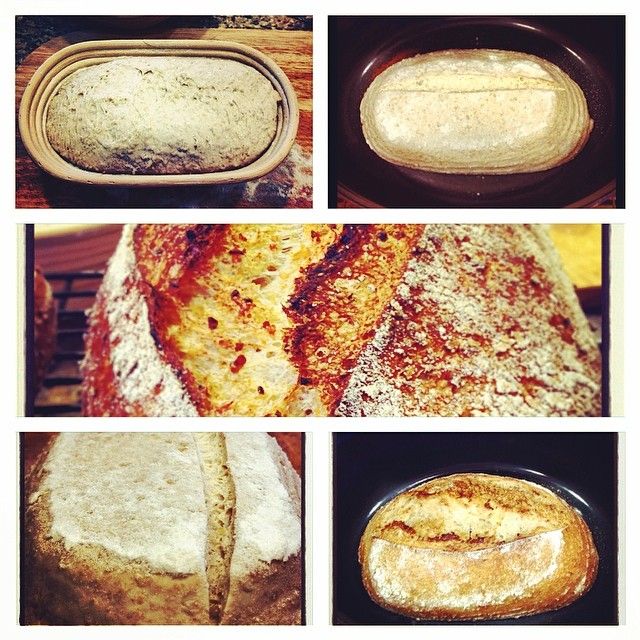
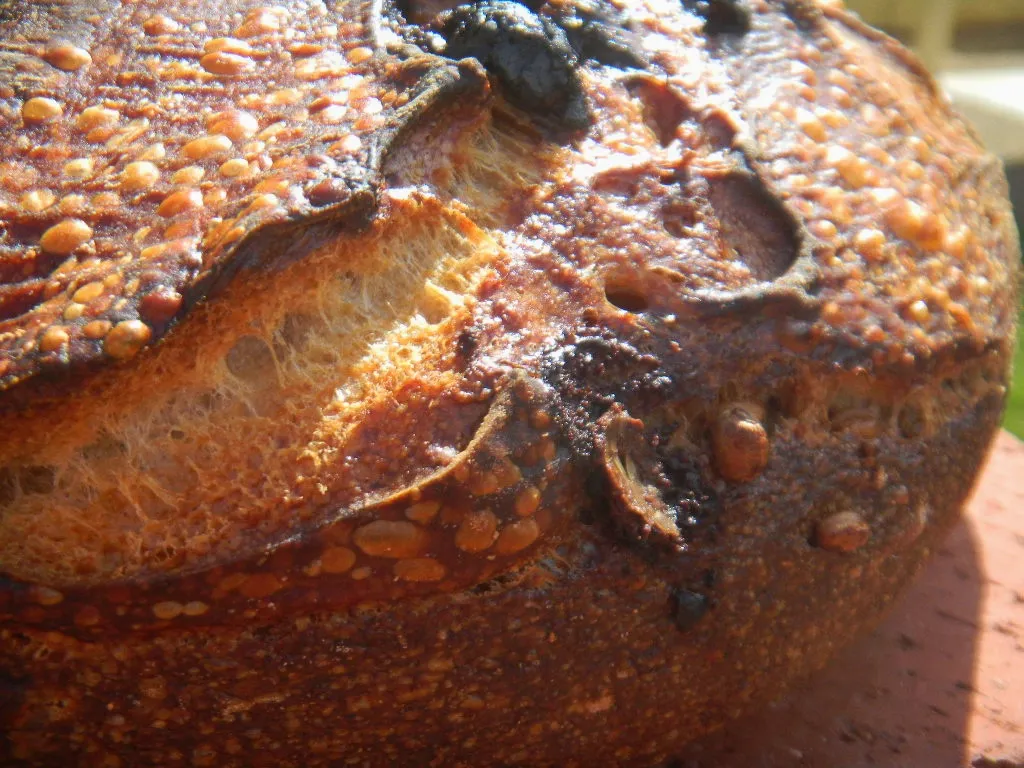
For this past Market day, I've baked the same breads I often bake For all preceding Arts and crafts markets: A Rye , A Whole Wheat multigrain, and a country White loaf. For This market ,however, I've baked all three of them. a 7 Kg. worth of Rye dough, 5.5 Kg. Worth of Whole wheat multigrain, and 5kg. worth of Tartine’s Sesame bread dough; yielding a total dough of 17.5 Kg! All bread was baked in three consecutive days, and none were frozen. Phew!
- Log in or register to post comments
- 18 comments
- View post
- Mebake's Blog


 [/URL]


