txfarmer's blog

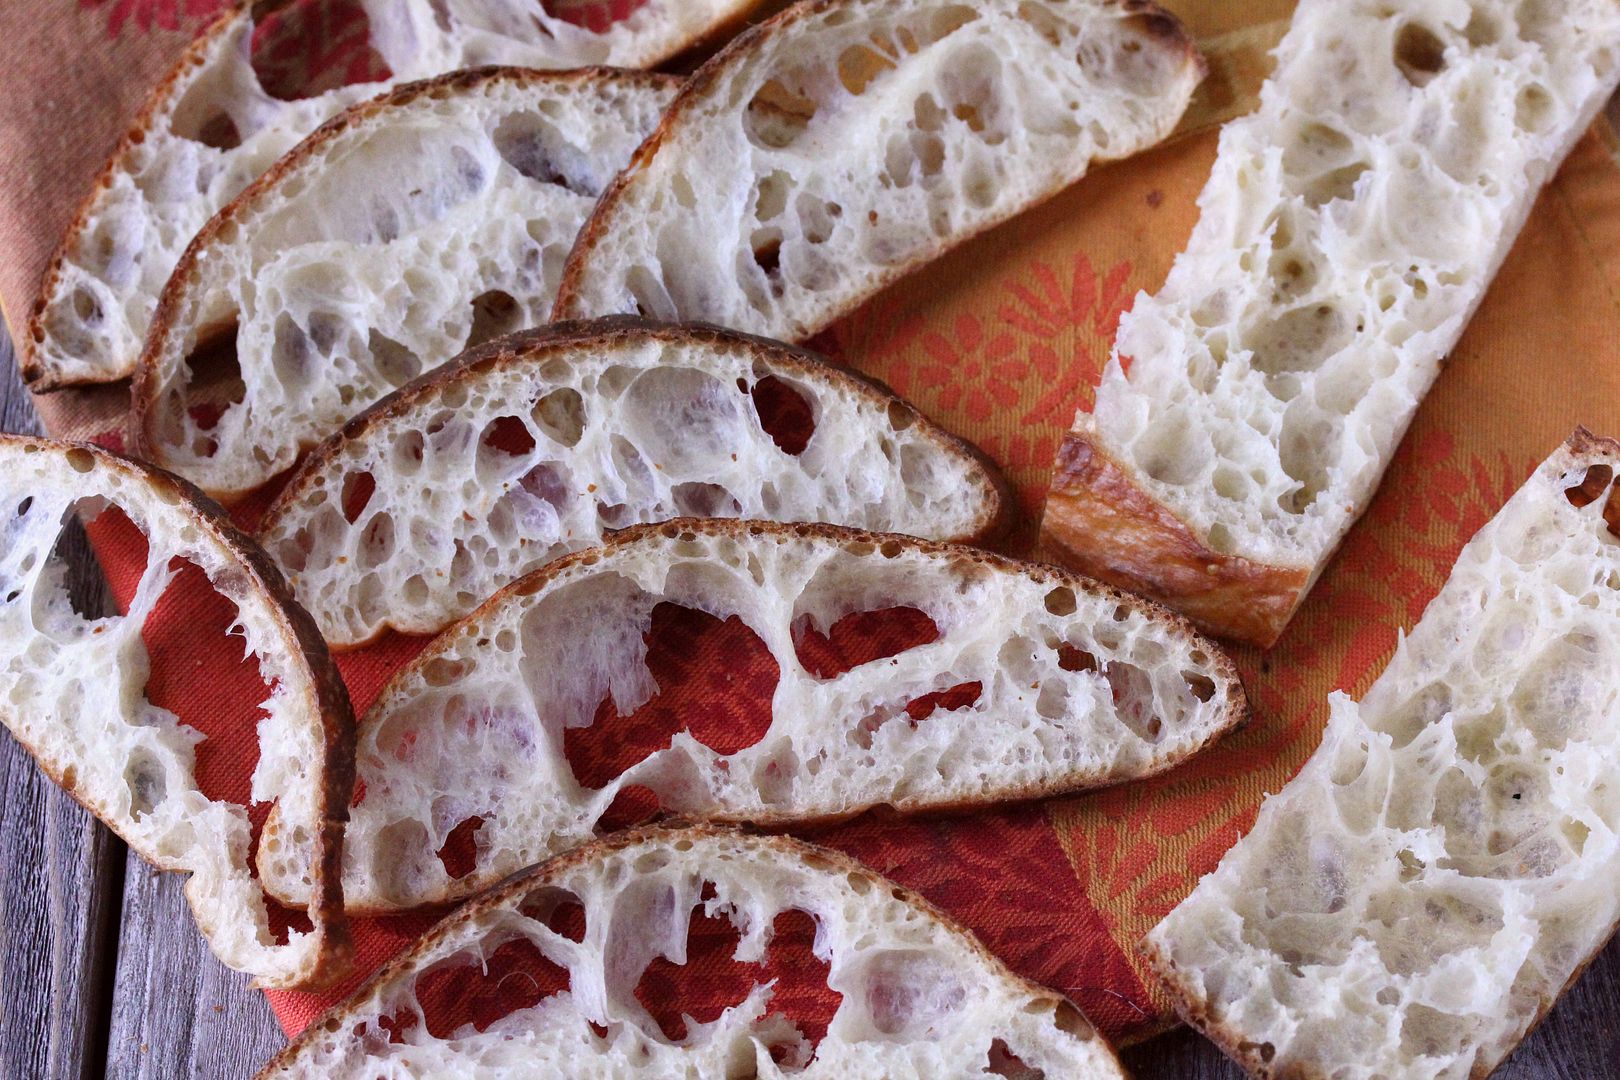
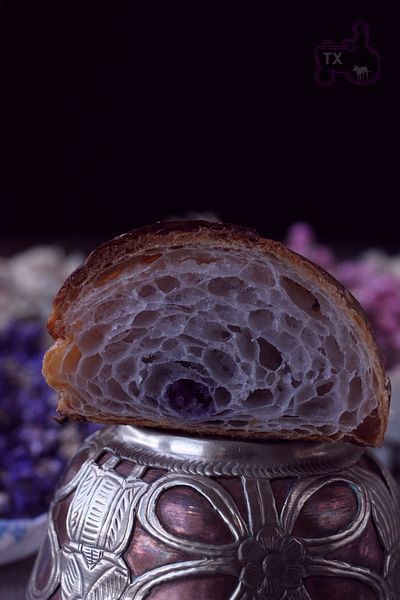
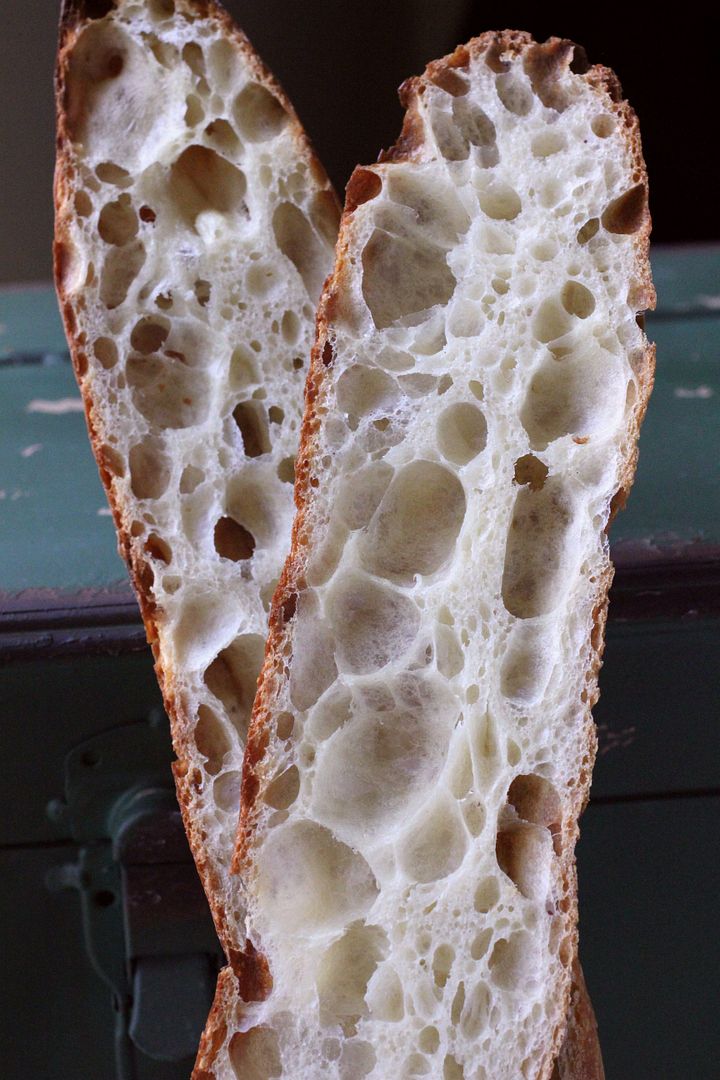
Two ciabattas - one sourdough, one not
Sending this to Yeastspotting.
First, it's the ciabatta made with my usual 36 hour baguette dough (with higher hydration to be about 81%).
Sourdough Pumpkin Rye Rolls -- and other holiday treats
Sending this to Yeastspotting.
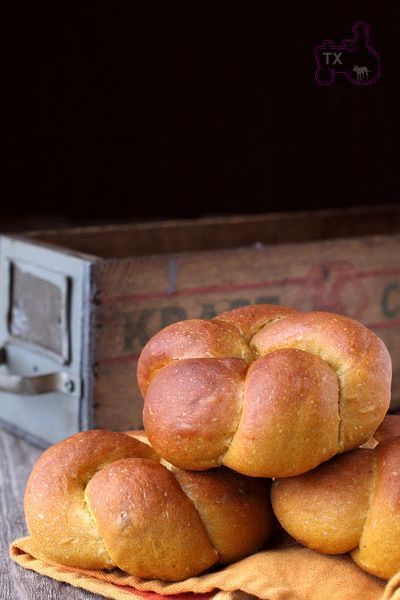
Phew, it has been a busy holiday, and just turned into an even busier Janurary. Still baking a ton though, here are some stuff I have baked during the holiday but didn't get to post about before.

Pumpkin Laminated Sandwich Loaf - and other holiday goodies
Sending this toYeastspotting.
Click here for my blog index.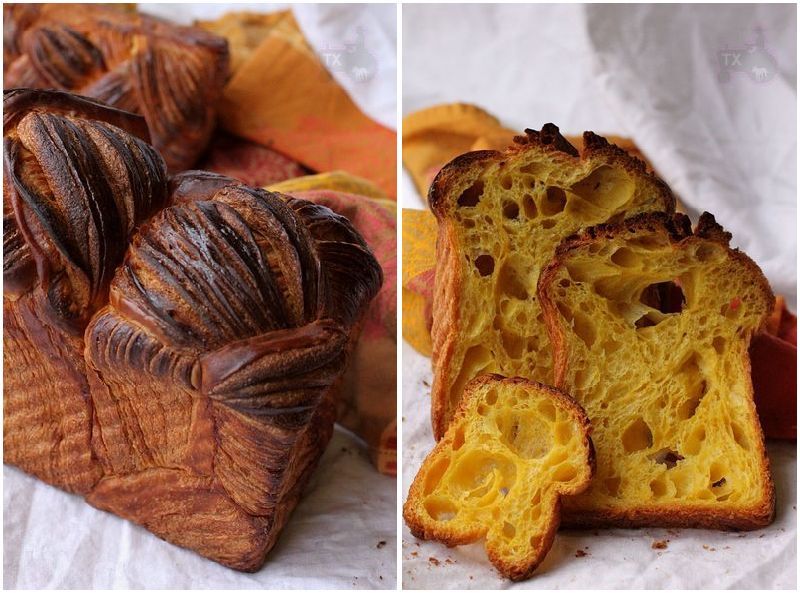
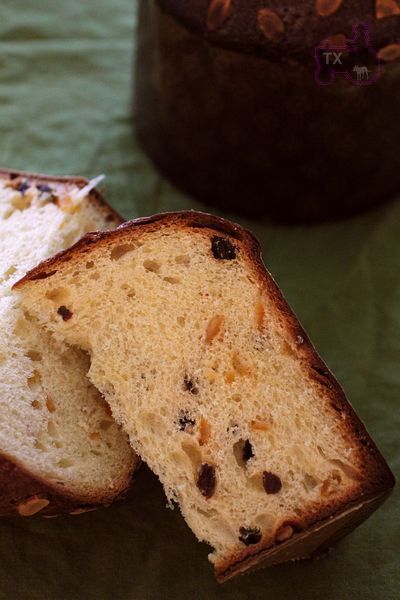
Golden, fragrant, delicious, pretty crust, holey crumb, what's better than these pumpkin laminated sandwich loaves as festive holiday gifts? Ok, maybe sourdough panettones are as good, but these come close.
Pumpkin Croissant - with two kinds of fillings
Sending this toYeastspotting.
Click here for my blog index.
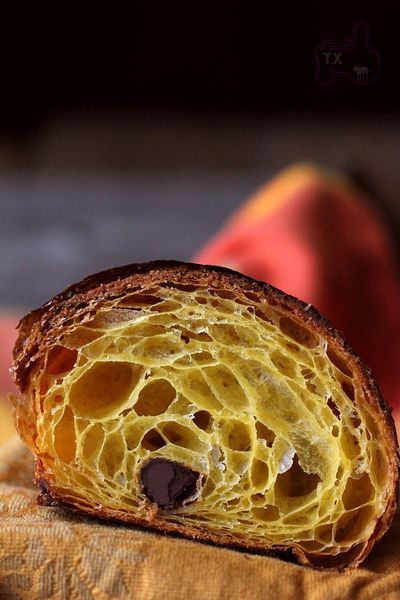
Holiday season is pumpkin season. Pumpkin in dishes, in pies, in cakes, in breads, and in croissants!