A little look at Ithaca Heritage Grains
As some of you know, I was chosen to work with Sharon Burns-Leader, Jeffery Hamelman, and a few other wonderful bakers from the East Coast all of tremendous talent and charm. So much was done in such little time, and yet still so much more research is being done on growing heritage grain varieties to bring them back to market. I know that my time spent at Wide Awake Bakery this past weekend was one of the most memorable moments of my career to date.
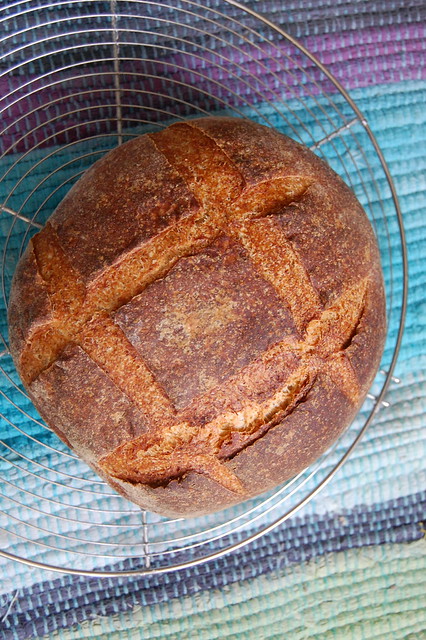
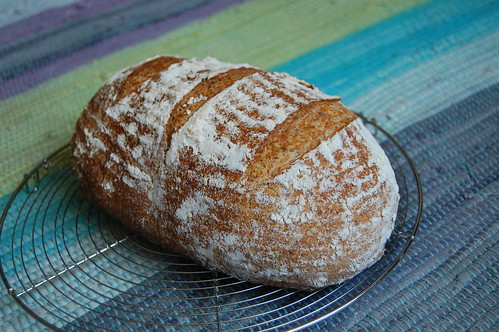
Oh, yes, I was nervous. Yes, I didn't feel like I was deserving of being there. And yes, we baked some bread.