txfarmer's blog
Light Rye with Cumin and Orange

This bread is based on the light rye formula in "Bread", however, I skipped commercial yeast, and added cumin and orange for a middle-eastern-ish flavor. The pin-wheel shaping method was from wildyeast's blog here: http://www.wildyeastblog.com/2011/05/05/shaping-a-pinwheel/
Light Rye with Cumin and Orange
*Makes 2X700g loaves
- Levain
medium rye flour, 136g
water, 108g
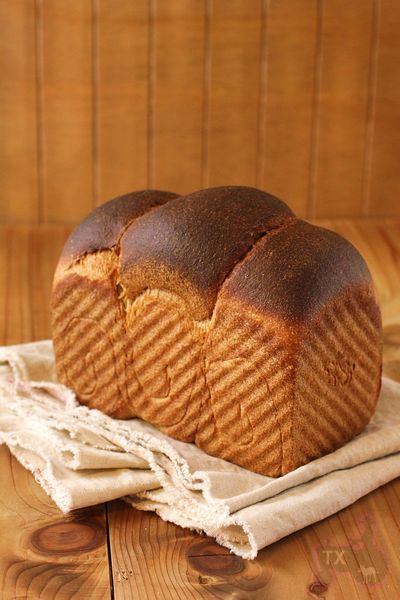
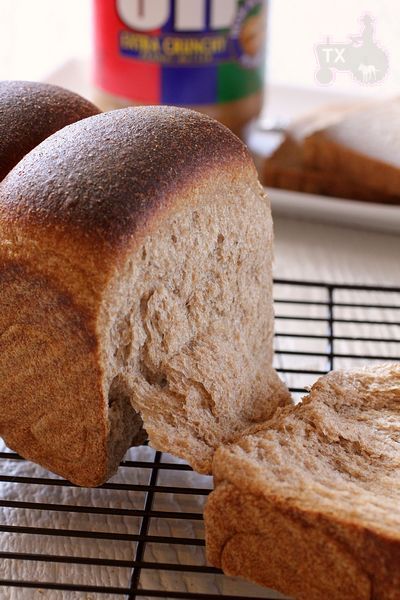
Sourdough Hokkaido Milk Loaf - a classic shreddable soft bread

Some facts first:
- Hokkaido is a place in Japan.
- Hokkaido Milk Loaf is THE most classic/common/well-loved sandwich bread in Asia. It's enriched with milk, heavy cream, butter, egg, milk power, and quite a lot of sugar - which makes it richer than most Asian soft sandwich bread recipes, pushing toward brioche territory. The finished loaf is very tall, very soft, rather rich tasting.
SD 100% WW banana sandwich loaf - still not the quick kind
- Log in or register to post comments
- 15 comments
- View post
- txfarmer's Blog

Blueberry Sourdough with Hazelnuts - fresh blueberry that is
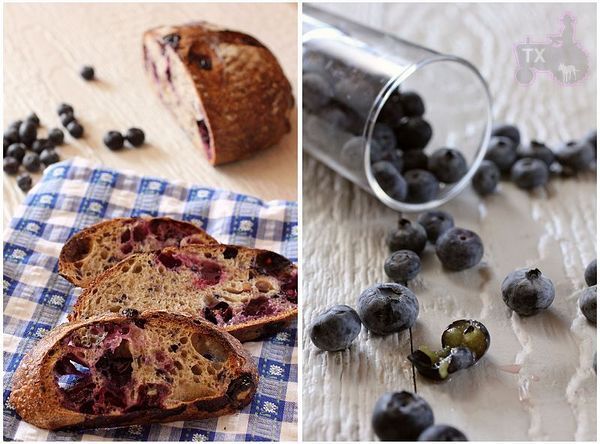
Many have made similar breads, notably:
http://noelsbread.wordpress.com/2010/02/24/blueberry-hazelnut-bread/
http://www.farine-mc.com/2009/06/apple-blueberry-bread-with-spelt.html
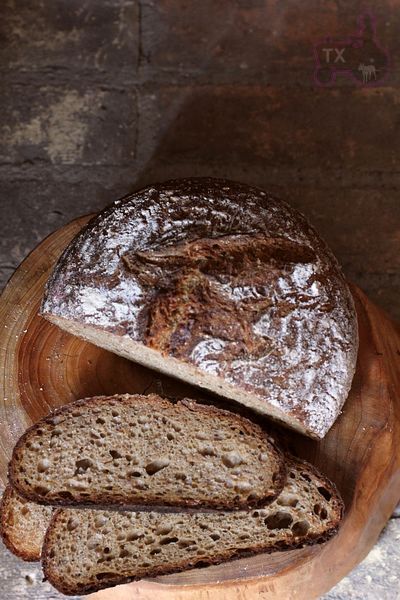
Finnish Rye Bread - not much rye, but lots of other goodies
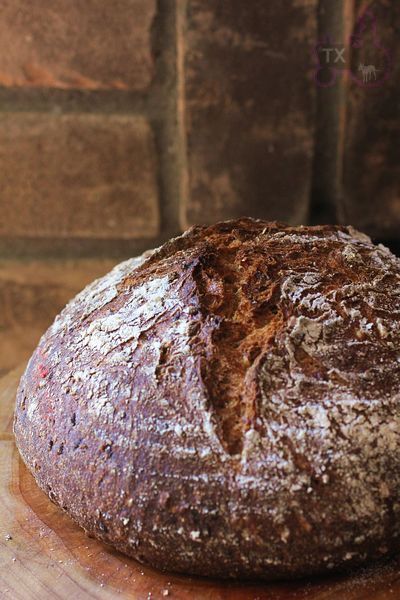
The formula is from Wild Yeast's blog, there really isn't that much rye in the dough, but has quite a lot of ww flour, as well as cracked wheat and flax seeds - two of my favoriate bread add-ins. The addition of molasses adds a subtle sweetness, makes a very flavorful and satisfying whole grain bread.
Croissant with Sourdough Starter - TXFarmer VS. TX summer
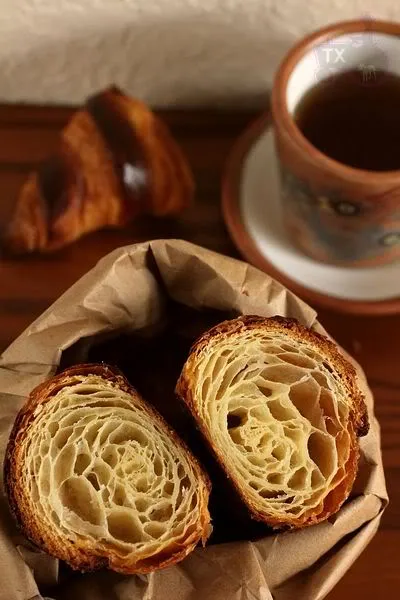
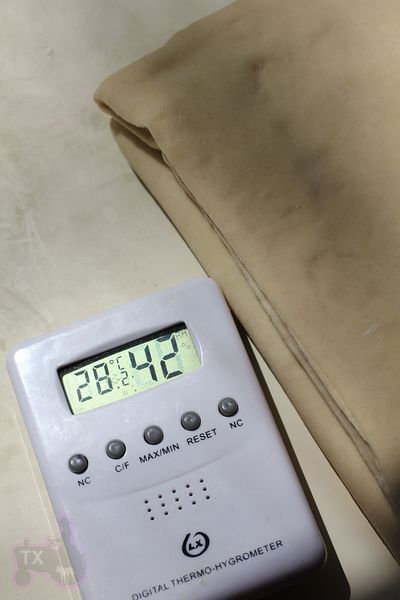
In my last croissant post(see here), I said I am practicing once or twice every week to perfect my lamination skill. It's been more than a month, and my croissant fever is getting hotter -- sadly, what's heating up faster is TX temperature. If you look up "mission impossible" or "self punishment" in the dictionary, you might see the following picture (28C is about 82F):