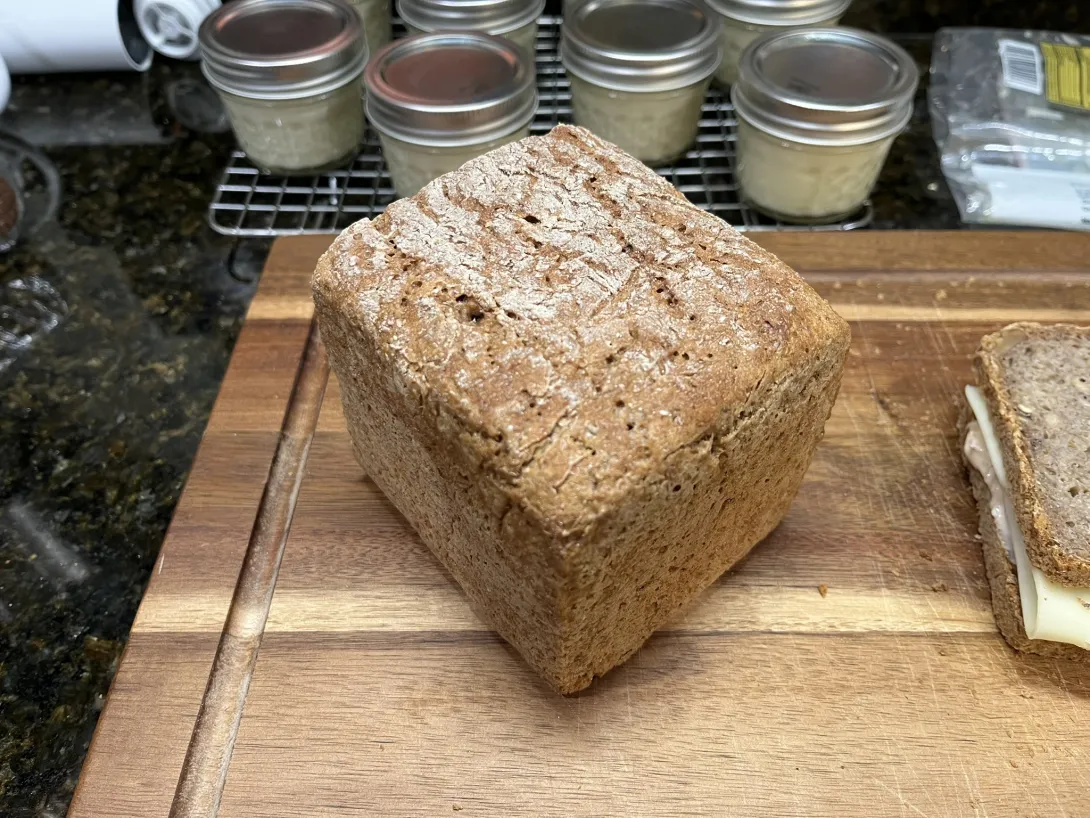
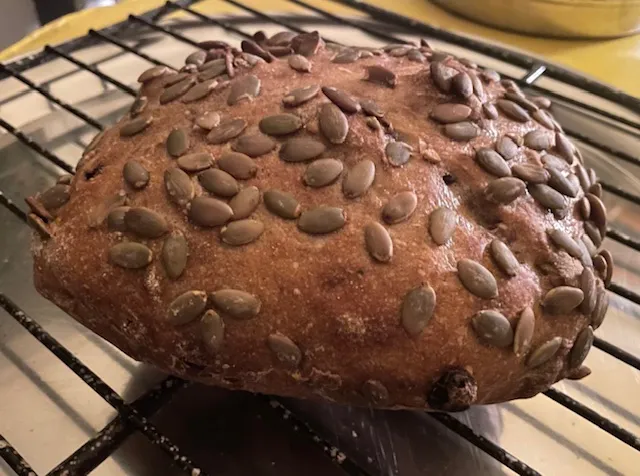
Rye-Spelt-White Pullman With Porridge
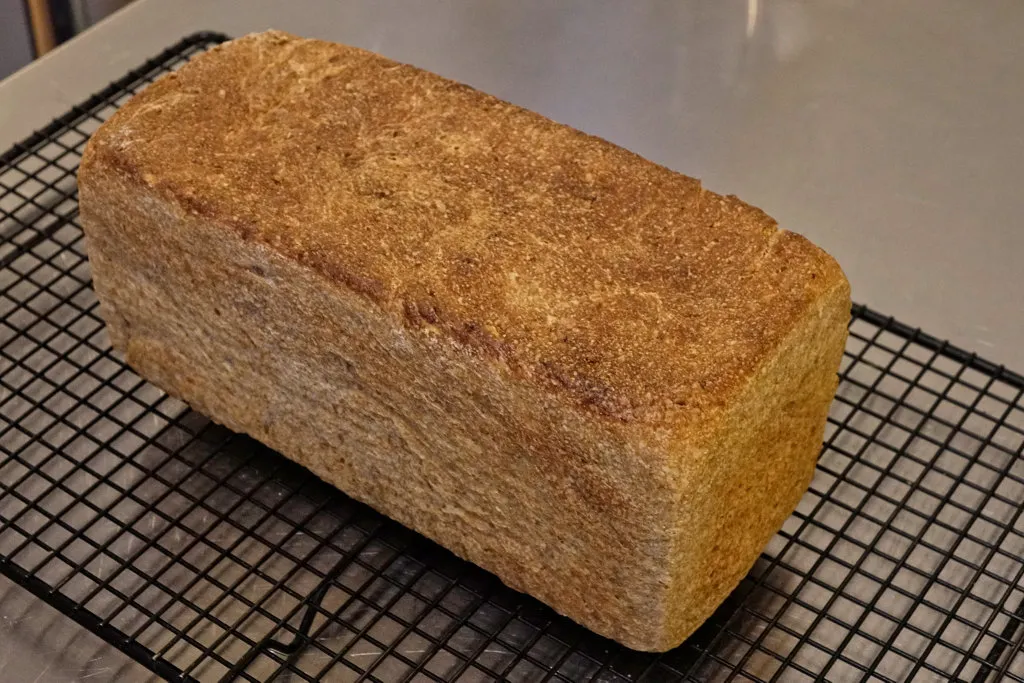
This loaf used 20% rye, 15% spelt, and 75% bread flour along with an oatmeal porridge containing 20% of the total flours of Scottish oatmeal along with the bran sifted from the rye and spelt. To top it all off I added 60g of "Trinity": 20g each of EEVO, honey, and yogurt.
The rye and spelt flours were stone ground, sifted with a #30 screen.
- Log in or register to post comments
- 3 comments
- View post
- tpassin's Blog