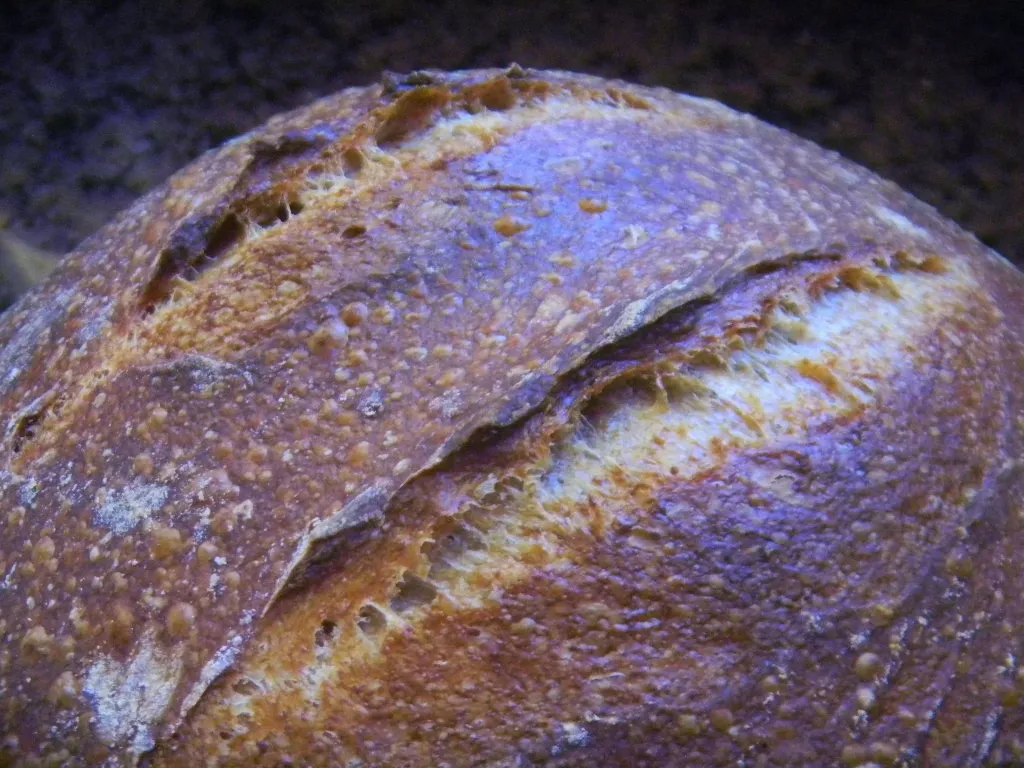
Spelt SD with Oat and Semolina Soaker

This was an "off-the-cuff" see how it comes out creation and the first time using a soaker for me. Probably should have picked an established recipe but overall it came out ok. More hydration would probably have given a better, more open crumb, but I wasn't sure how the soaker would fare.

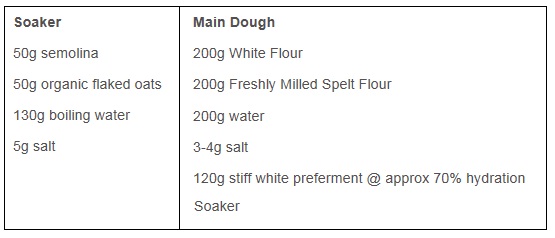
Recipe
- Log in or register to post comments
- 2 comments
- View post
- ElPanadero's Blog