First Tartine attempt

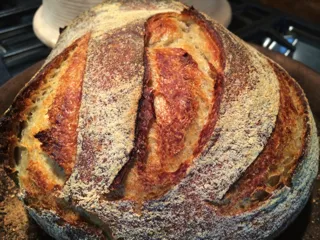
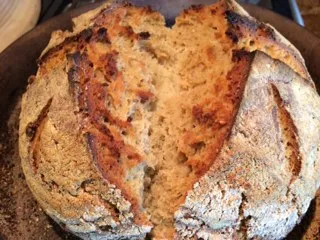
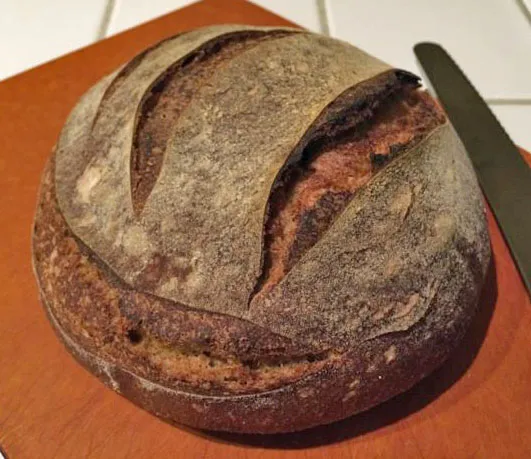
Hi! I just got a copy of "Tartine" (it might be a little outdated, but what the hell). Anyway, this is the first attempt at the basic country loaf recipe. I think the crimb should be more open, at least according to the pictures, but I still liked it very much.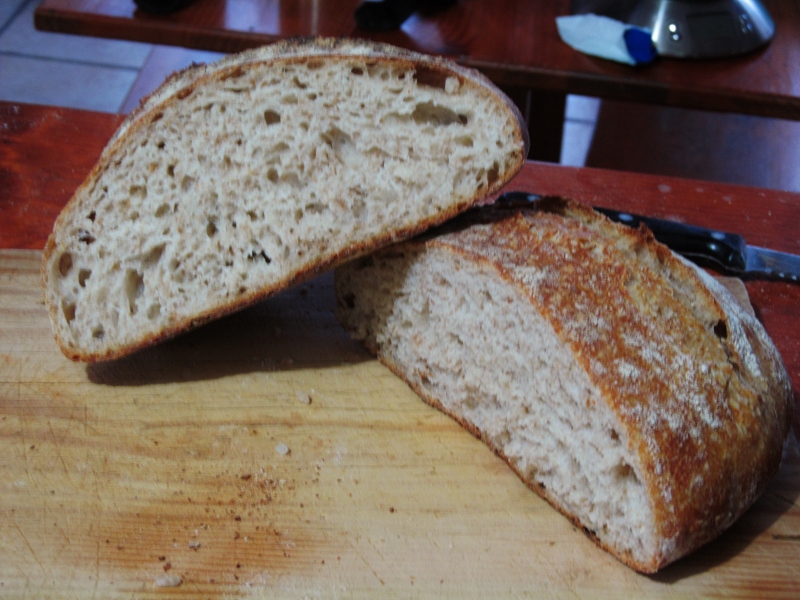
- Log in or register to post comments
- 7 comments
- View post
- Anonymous's Blog