Blog posts
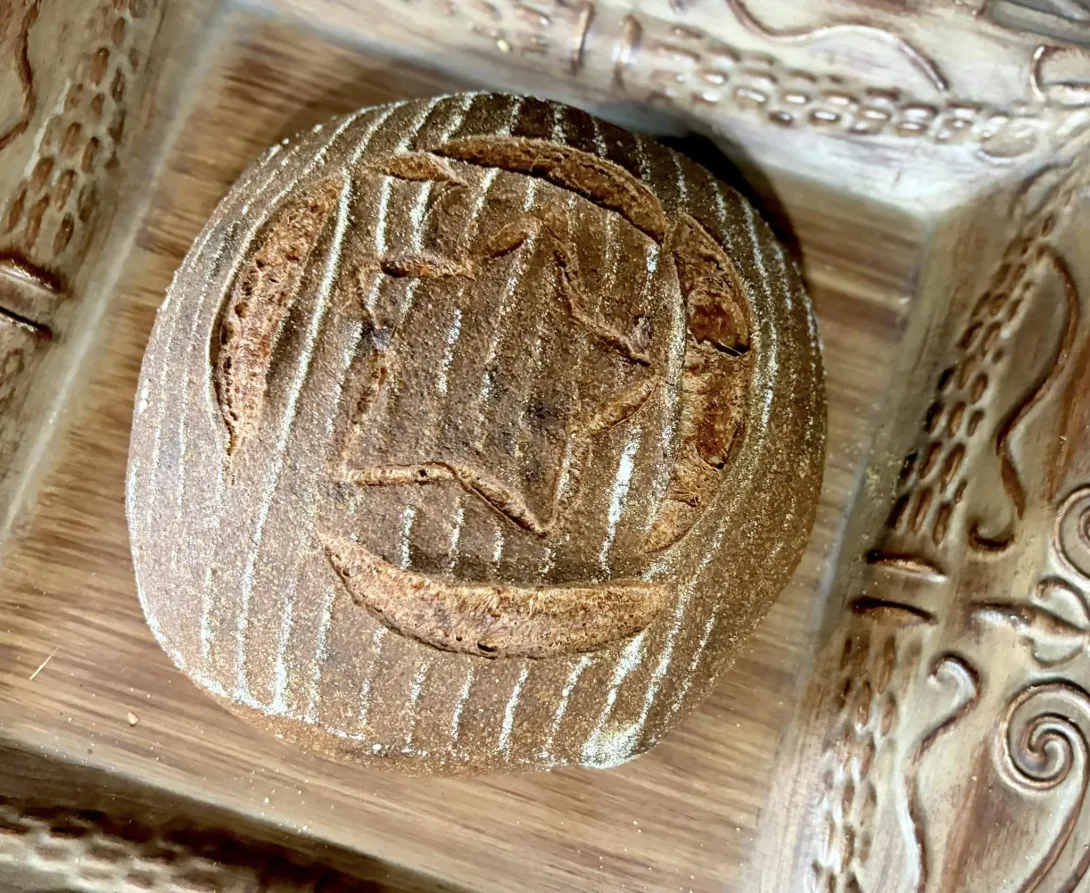
Matera-inspired rimacinata loaf

Decided to try-out the techniques I read and heard about from the locals when visiting Matera over the Christmas holidays to make an almost 100% semola rimacinata durum wheat loaf.
Didn't try the characteristic shaping. Thought it better to take on one challenge at a time, but the texture and flavour have come out superb. Maybe the best 100% rimacinata bread I have attempted so far. Here are the details:
Feeding 100% hydration SD starter
- Log in or register to post comments
- 21 comments
- View post
- ReneR's Blog
Wild Yeast Blog - Susan’s Bagels
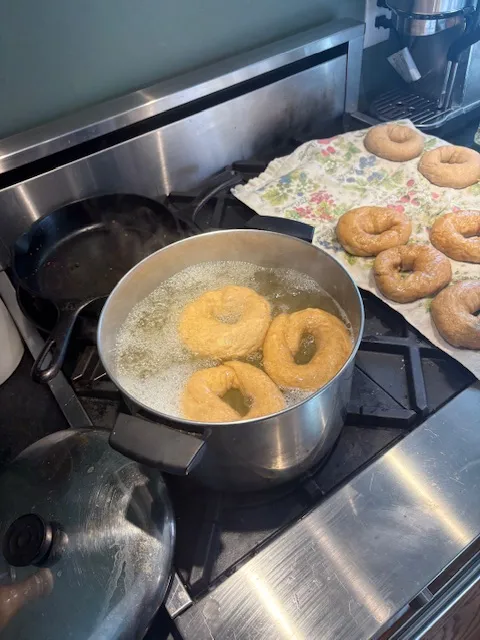
I haven’t made these in ages. It was time today. These are 50% home milled rye all of which was in the levain.
I doubled the formula to get 16 / 100g bagels. I always use lye , absolutely no outrageous precautions needed except a towel to keep them from sticking to parchment/ pan.
I didn’t retard these and it makes everything much easier , they rose beautifully. Very pleased .
700g AP - Arrowhead Mills
240g cold water
56g milk powder
34g non- diastatic malt powder
20g salt
600g active levain
- Log in or register to post comments
- 5 comments
- View post
- trailrunner's Blog
Bread
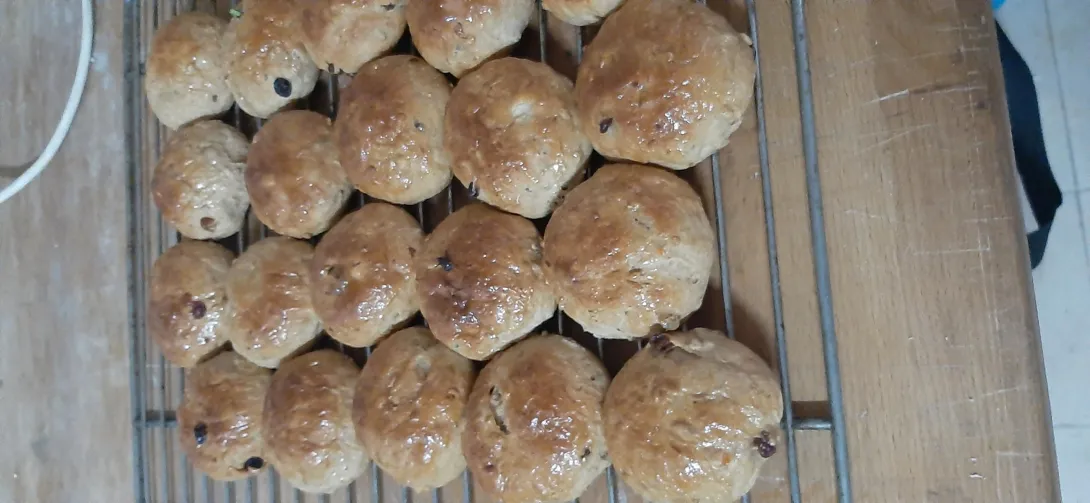
I would like to have a good recipe, for fruit buns, with a shelf life from 4 - 6 weeks
Any suggestions
Thanks
- Log in or register to post comments
- 1 comment
- View post
- Maltodan's Blog
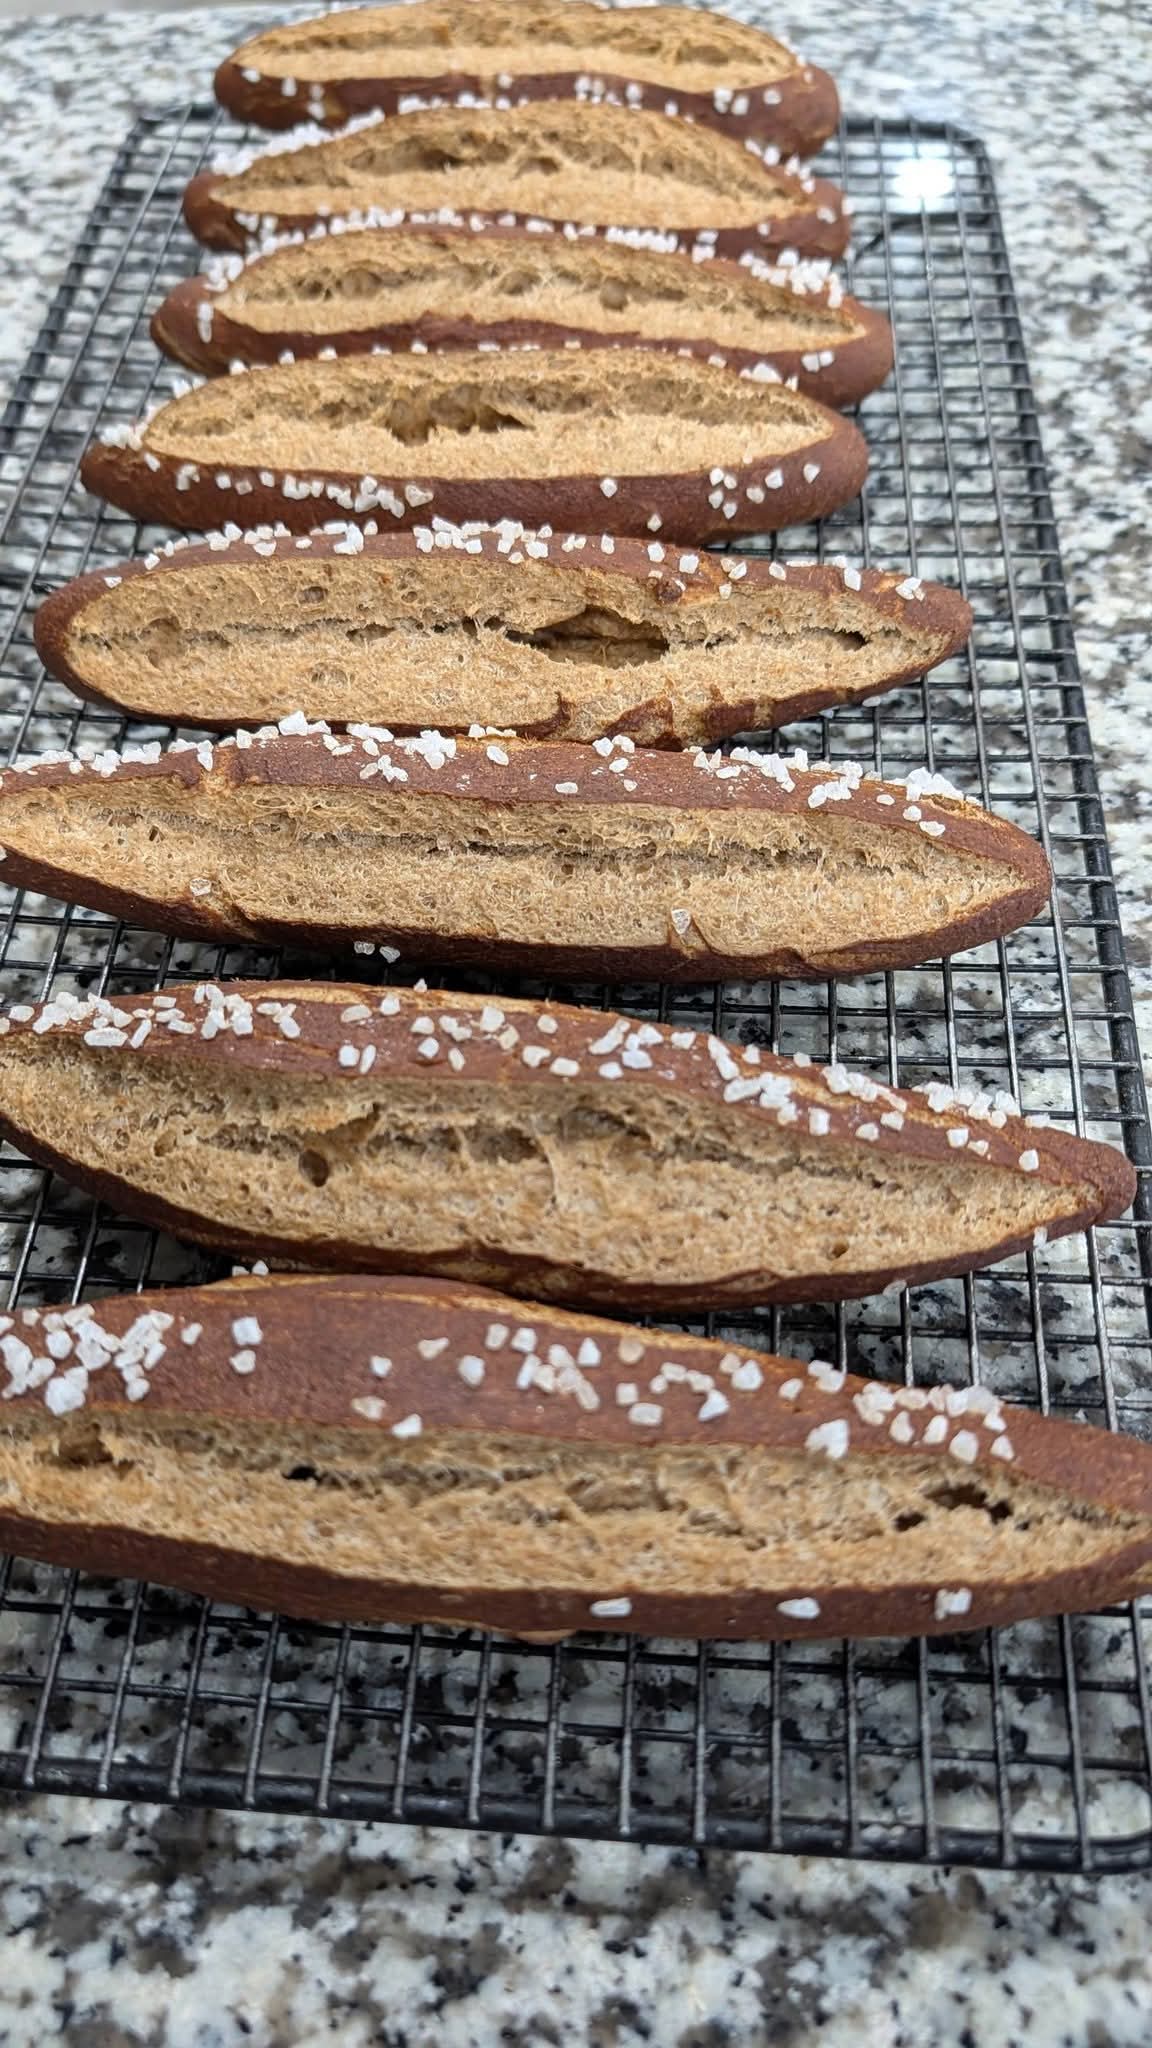
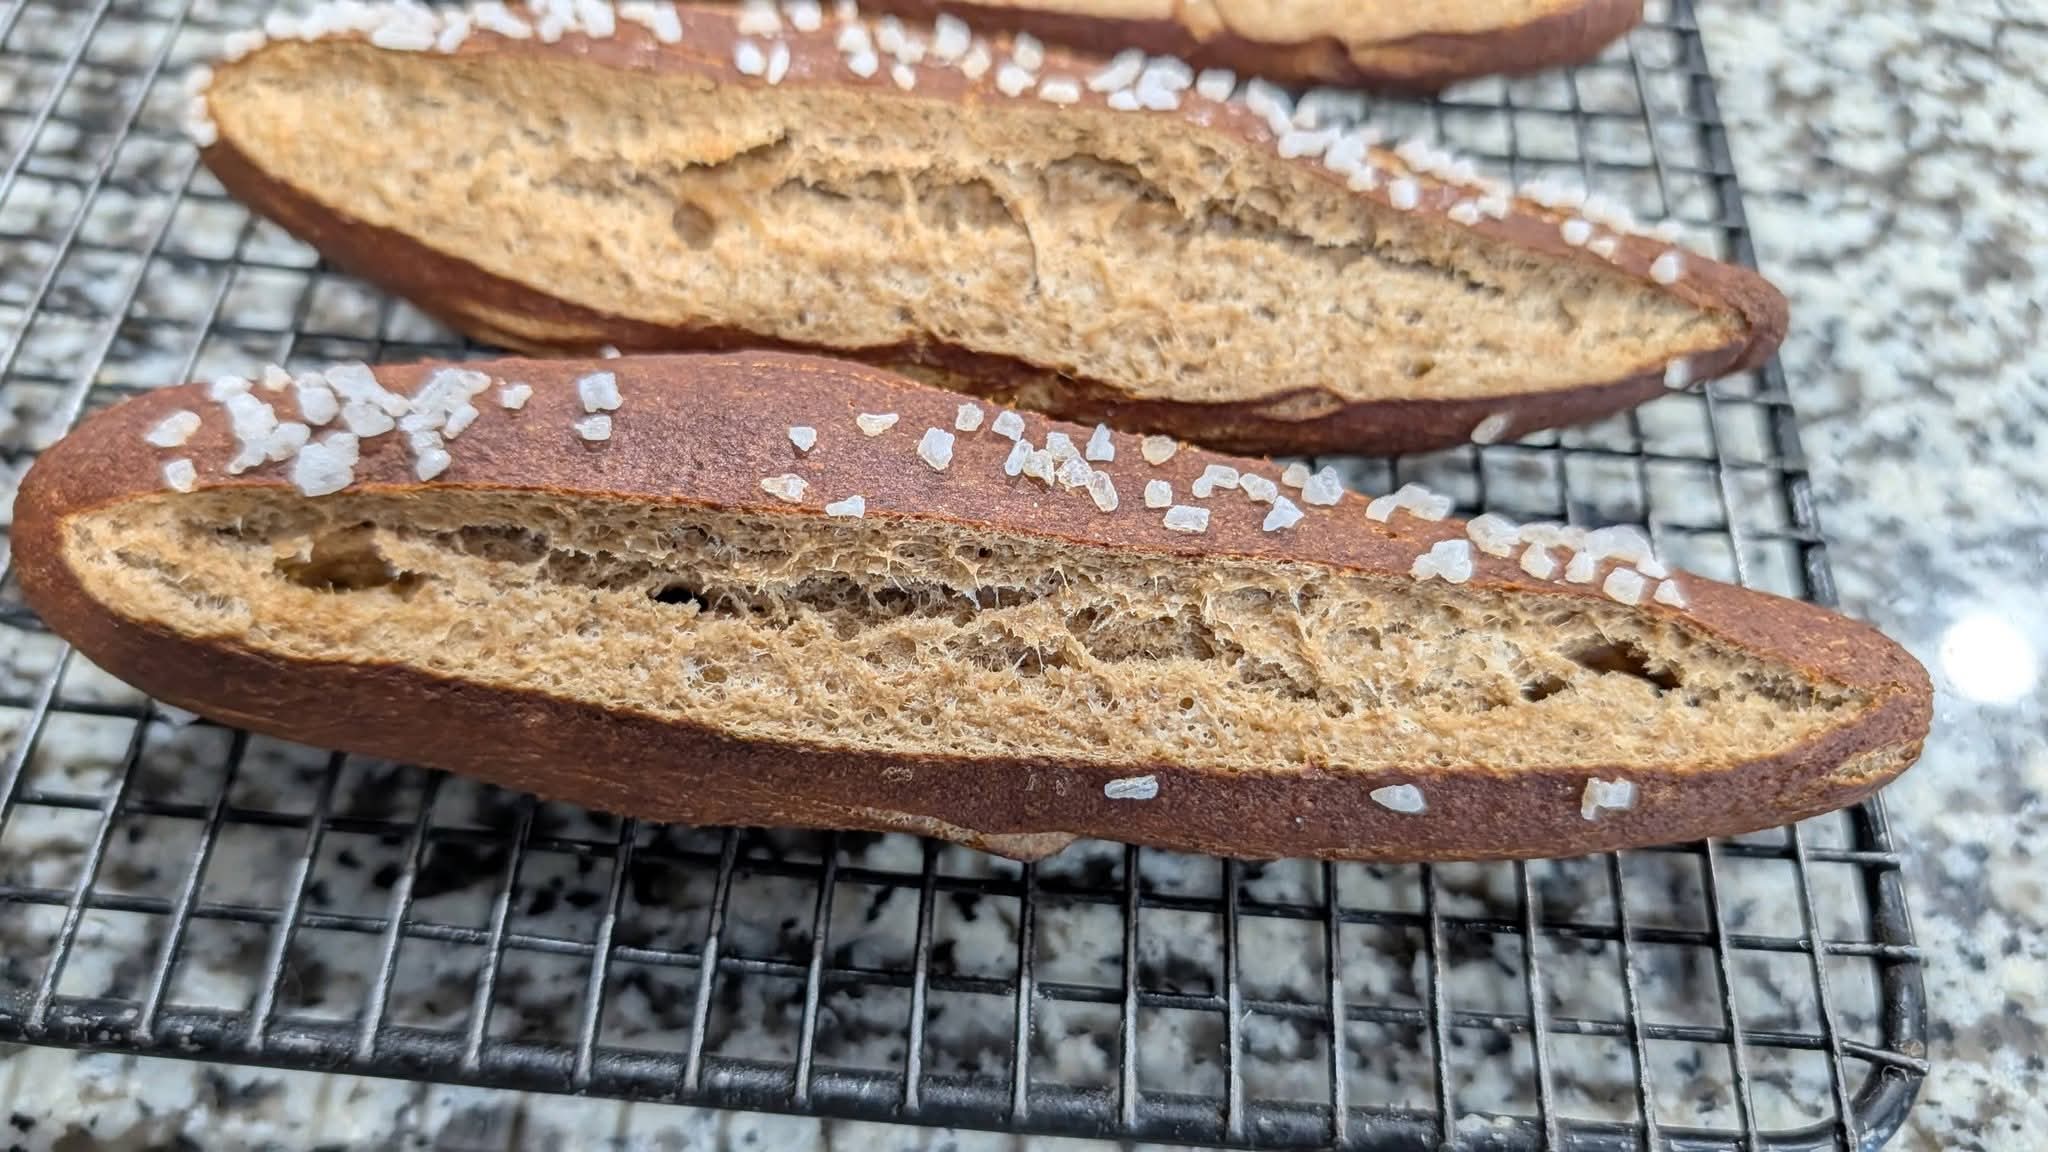
50% dark Rye, torpedo pretzel rolls.
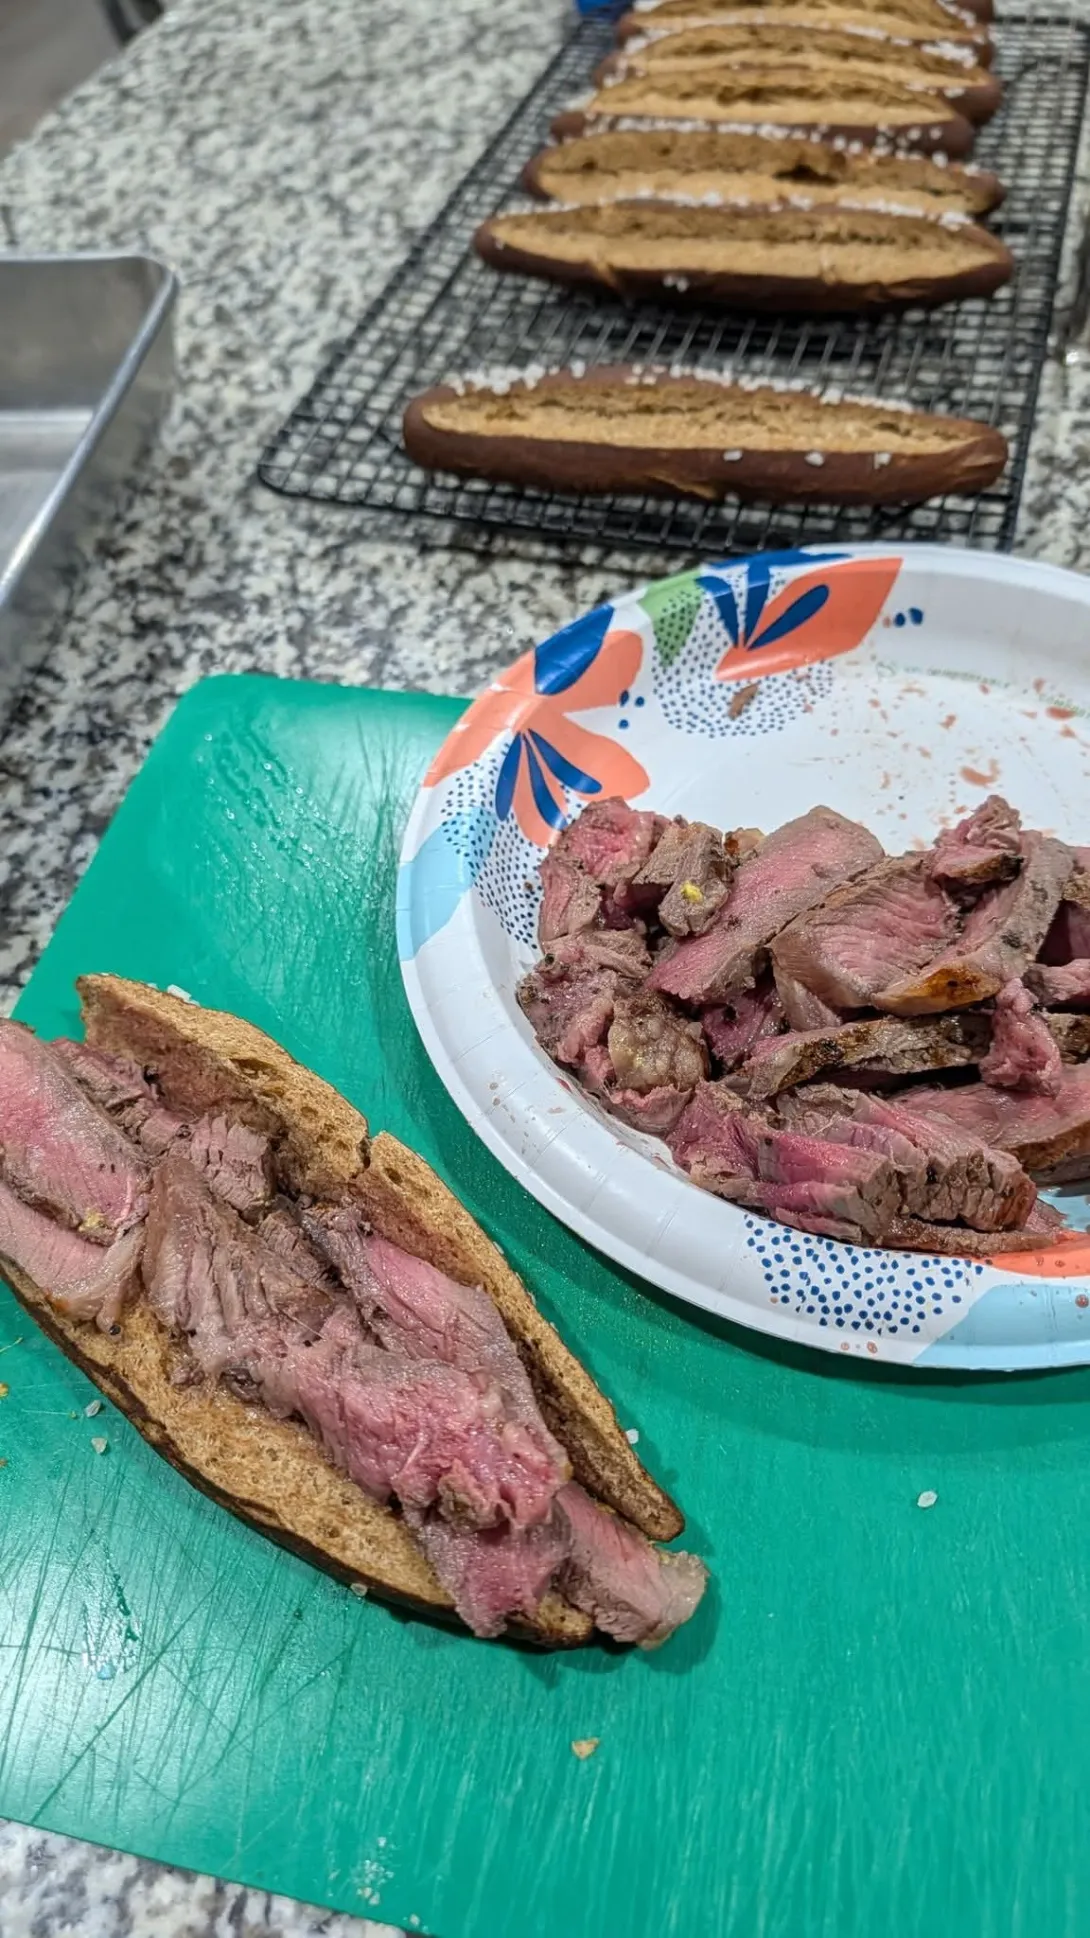
They look quite nice!
- Log in or register to post comments
- 1 comment
- View post
- The Roadside Pie King's Blog
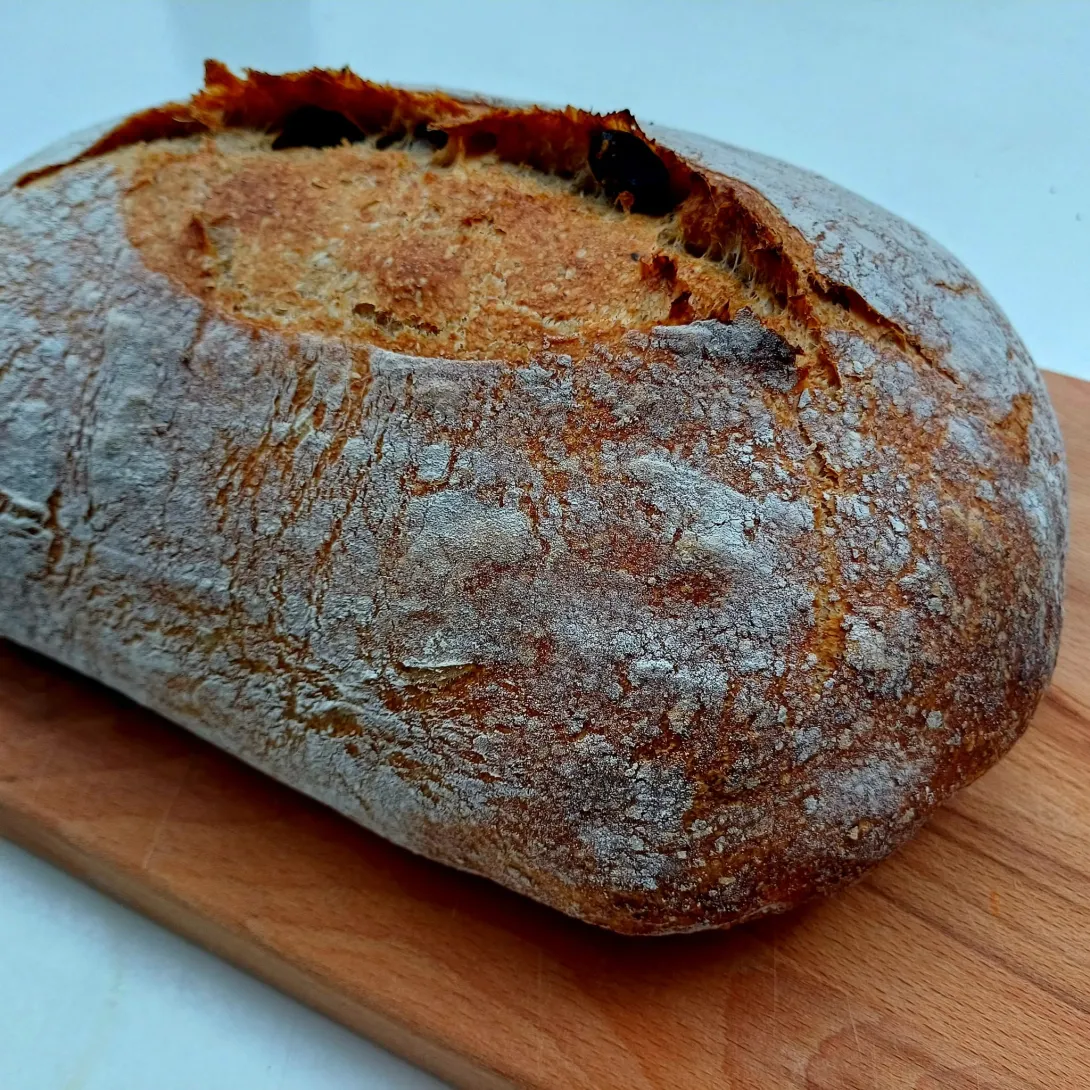
Durum Purple Sweet Potato Sourdough
Made with roasted sweet potatoes, fresh milled durum, fresh milled Blue Hopi corn flour and King Arthur bread flour.
I was happy with the nice purple flavor.
I usually have a higher % of fresh milled than this bake, so I was expecting a more open crumb. I’m so afraid of over-Fermentation using FMF that I could have pushed bulk to 75-85% easily and achieved a more open crumb.
Either way, it’s a flavorful bake.
Two-stage 90% biga wholegrain
This is a 45% wholegrain (rye, khorasan, einkorn) loaf, around 72% hydration, with 90% of the flour prefermented in a two-stage biga over 20 hours.
The first stage consisted of 220g of the wholegrain flours mixed loosely with 100g of water and 10g of 70% hydration starter. The result is a crumbly mix, something that resemble apple crumble mix. I left this to ferment for 10 hours.
I then added in 220g of white bread flour and a further 100g of water to the biga, again cutting into the biga as if I'm cutting into shortcrust dough. I left this to ferment for another 10 hours.
- Log in or register to post comments
- 11 comments
- View post
- ll433's Blog
Today's exercise, will begin a two day odyssey.
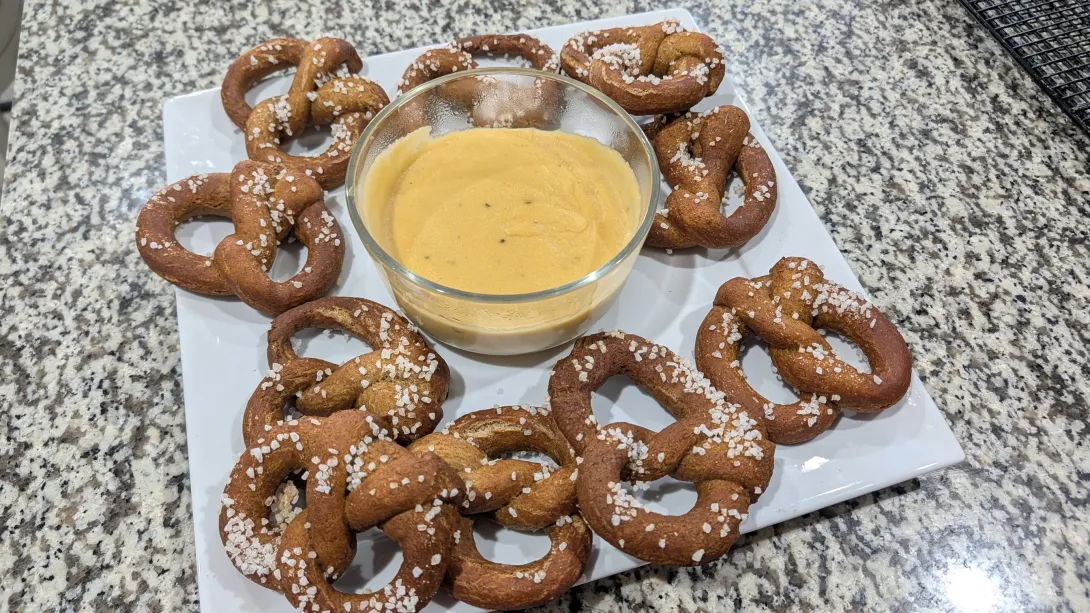
We will travel, (virtually) to the, Macgillycuddy's Reeks in Ireland, where we will source the world renowned stout. From there we trek east, to the Bayerische Alpen in Germany. At it's highest peak we find, the rarest heirloom rye grain. On our way down we visit the reclusive monk sanctuary, where we will endeavor to acquire the closely guarded secret formula. I submit my interpretation of...
Bayerische Brezeln
- Log in or register to post comments
- 11 comments
- View post
- The Roadside Pie King's Blog
Black and White Sesame Crackers
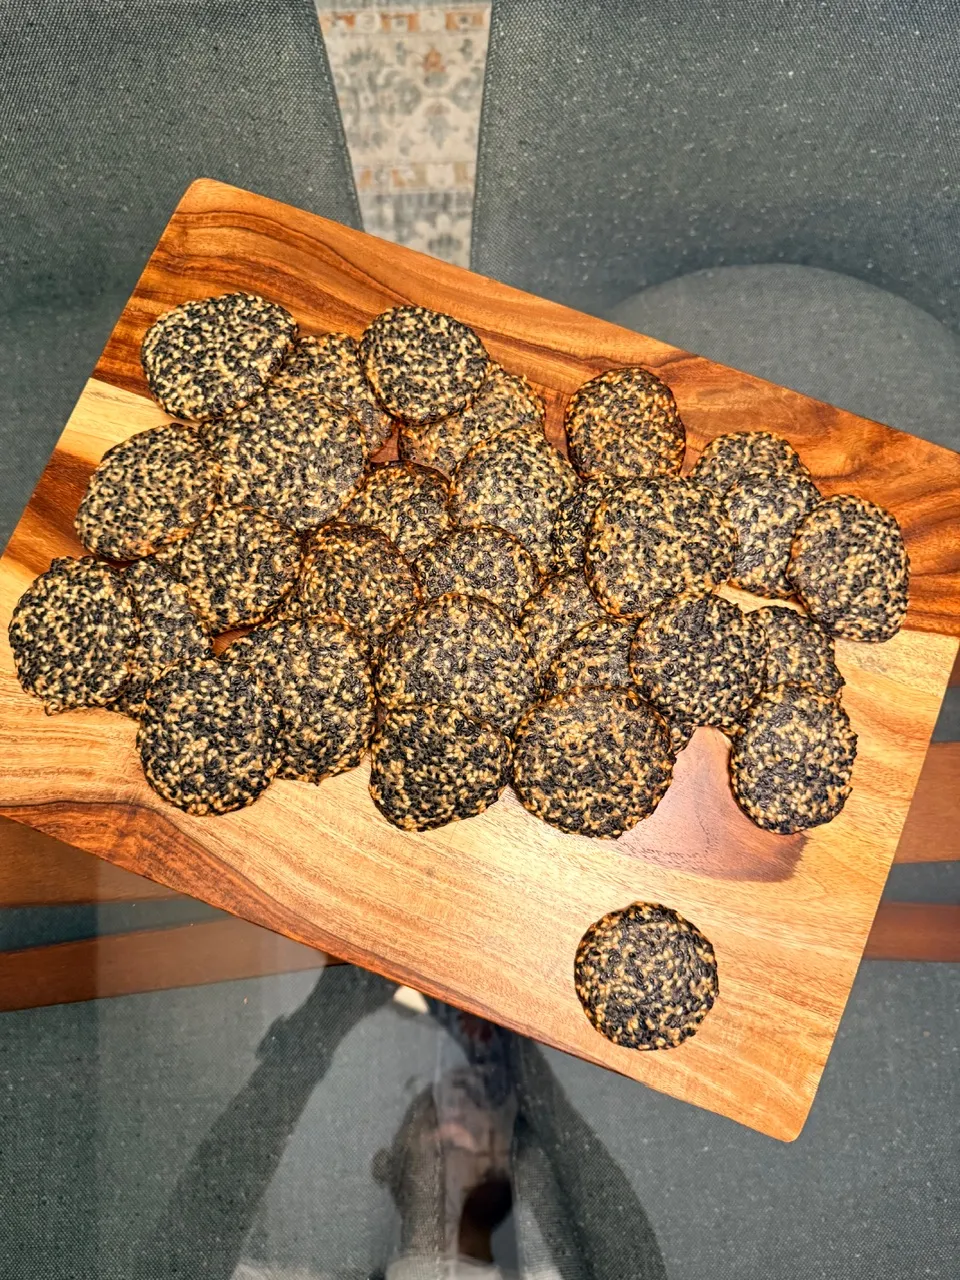
After my major panettone fail, I decided to makes these sesame crackers for the first time. I found a recipe on the net while looking for things to use the egg whites leftover from the panettone dough. I’ve long loved these crackers and have bought them at a local Chinese grocery store. I’m glad to have found a recipe that uses the egg whites and in fact is super easy.
- Log in or register to post comments
- 2 comments
- View post
- Benito's Blog