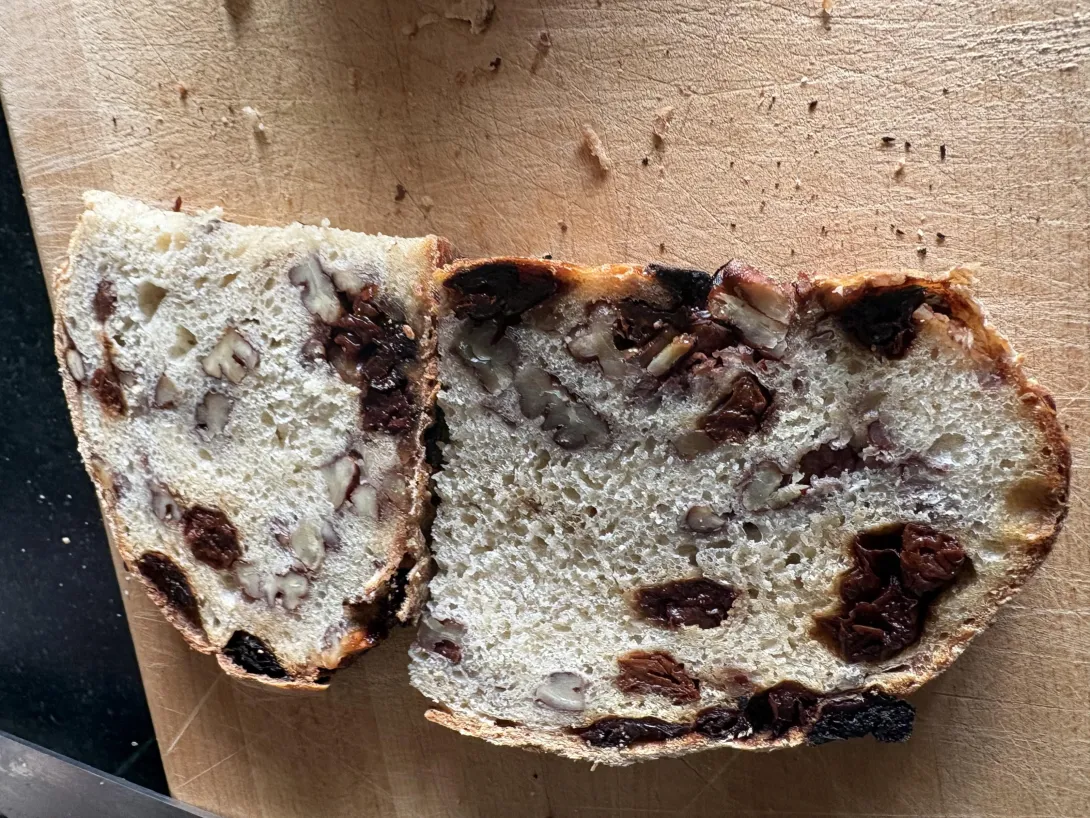
Purple Sweet Potato Double Black Sesame Whole Kamut Sourdough Sandwich Bread
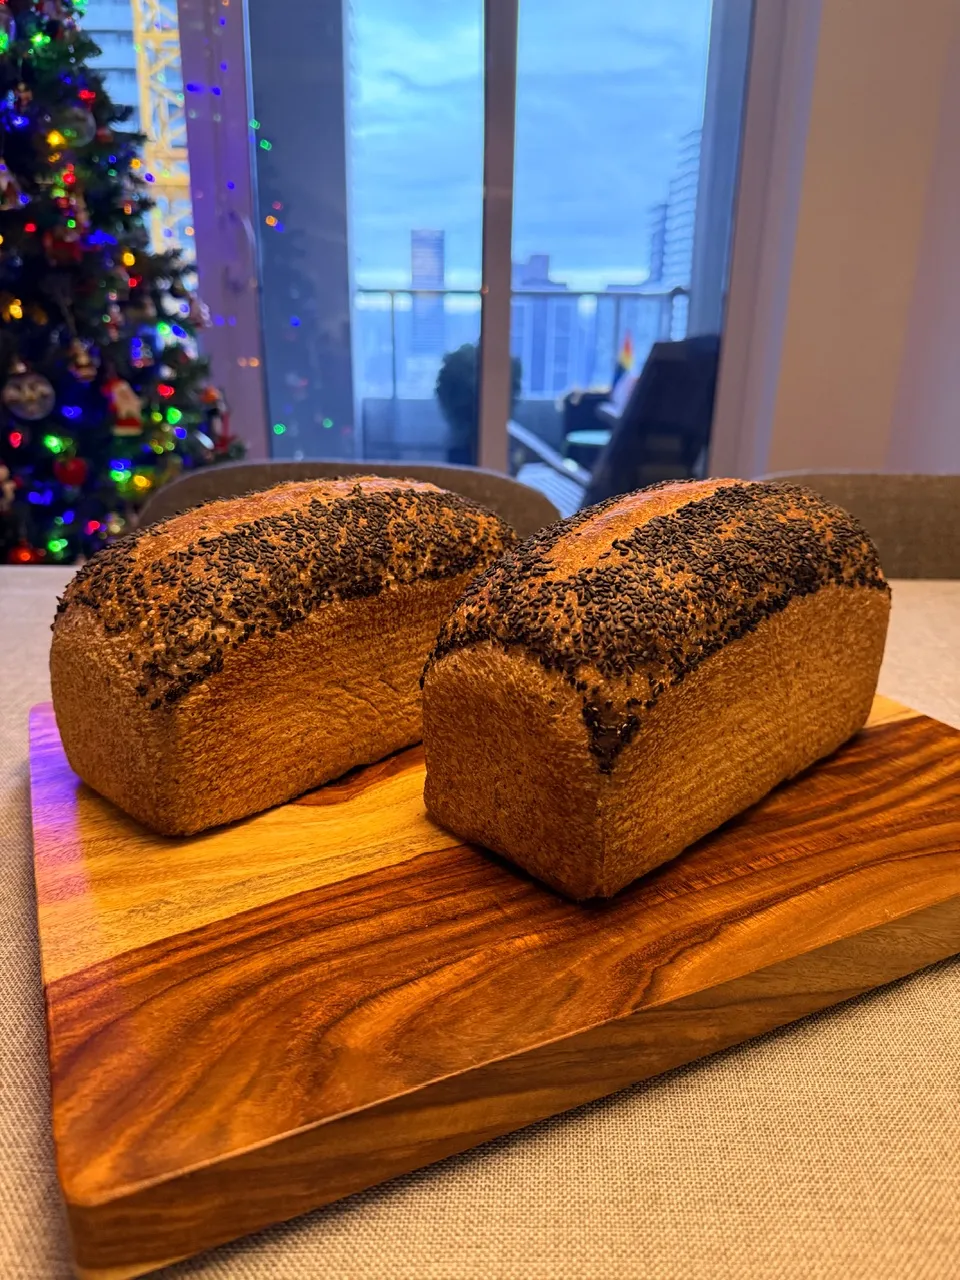
Baked two of these, one as a gift and the other for turkey sandwiches post Christmas Dinner we are having tonight. I have used most of my stash of frozen mashed purple sweet potatoes now. I’ll have to pick up more in the spring. We’ll be traveling for 45 days this winter so no need to get them yet.
- Log in or register to post comments
- 10 comments
- View post
- Benito's Blog