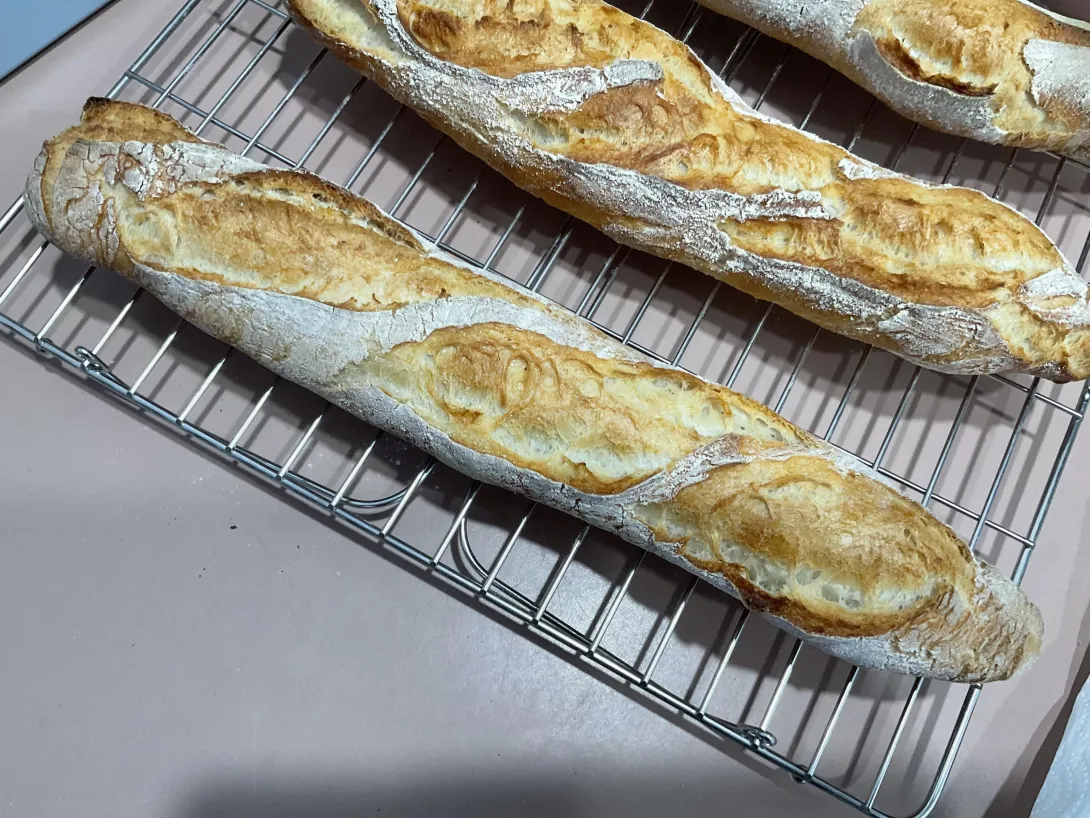
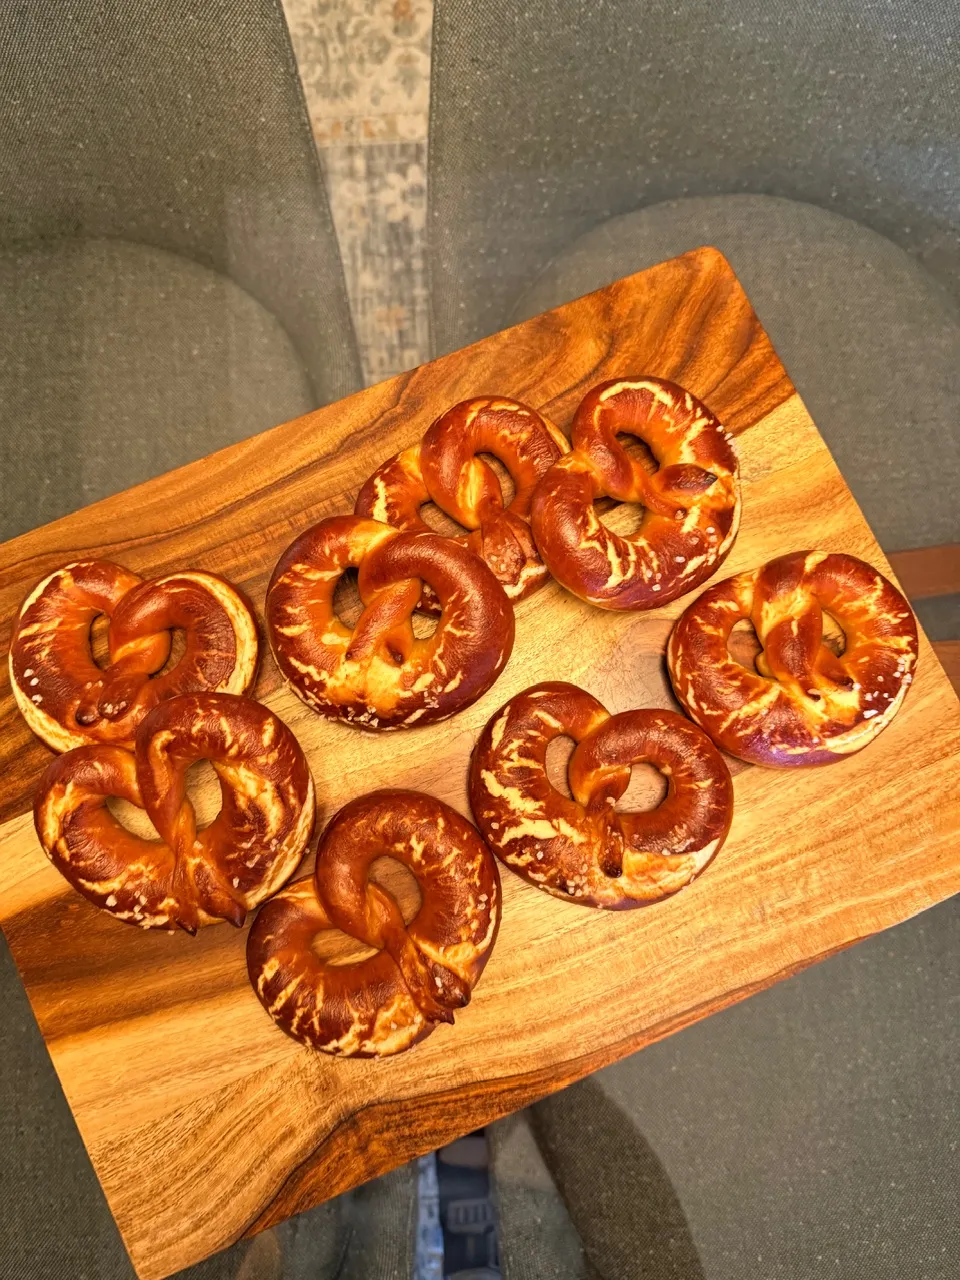
Baggies
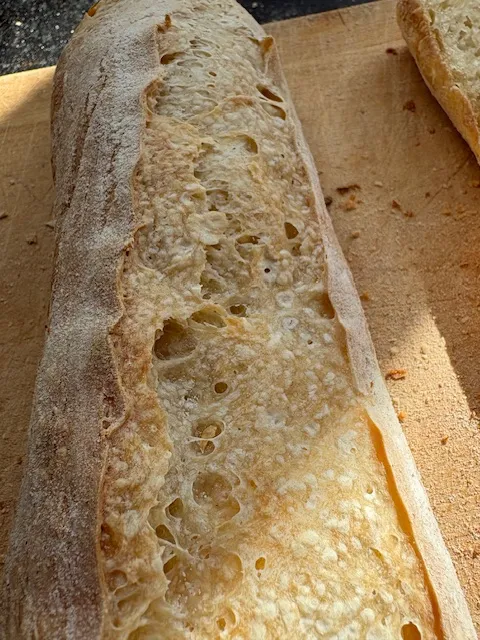
Usual 6 sticks. I only used SD levain no YW but as last time I used 160g very ripe/ ready levain instead of 80g. They are a tad more sour than I like. But my taster loved them.
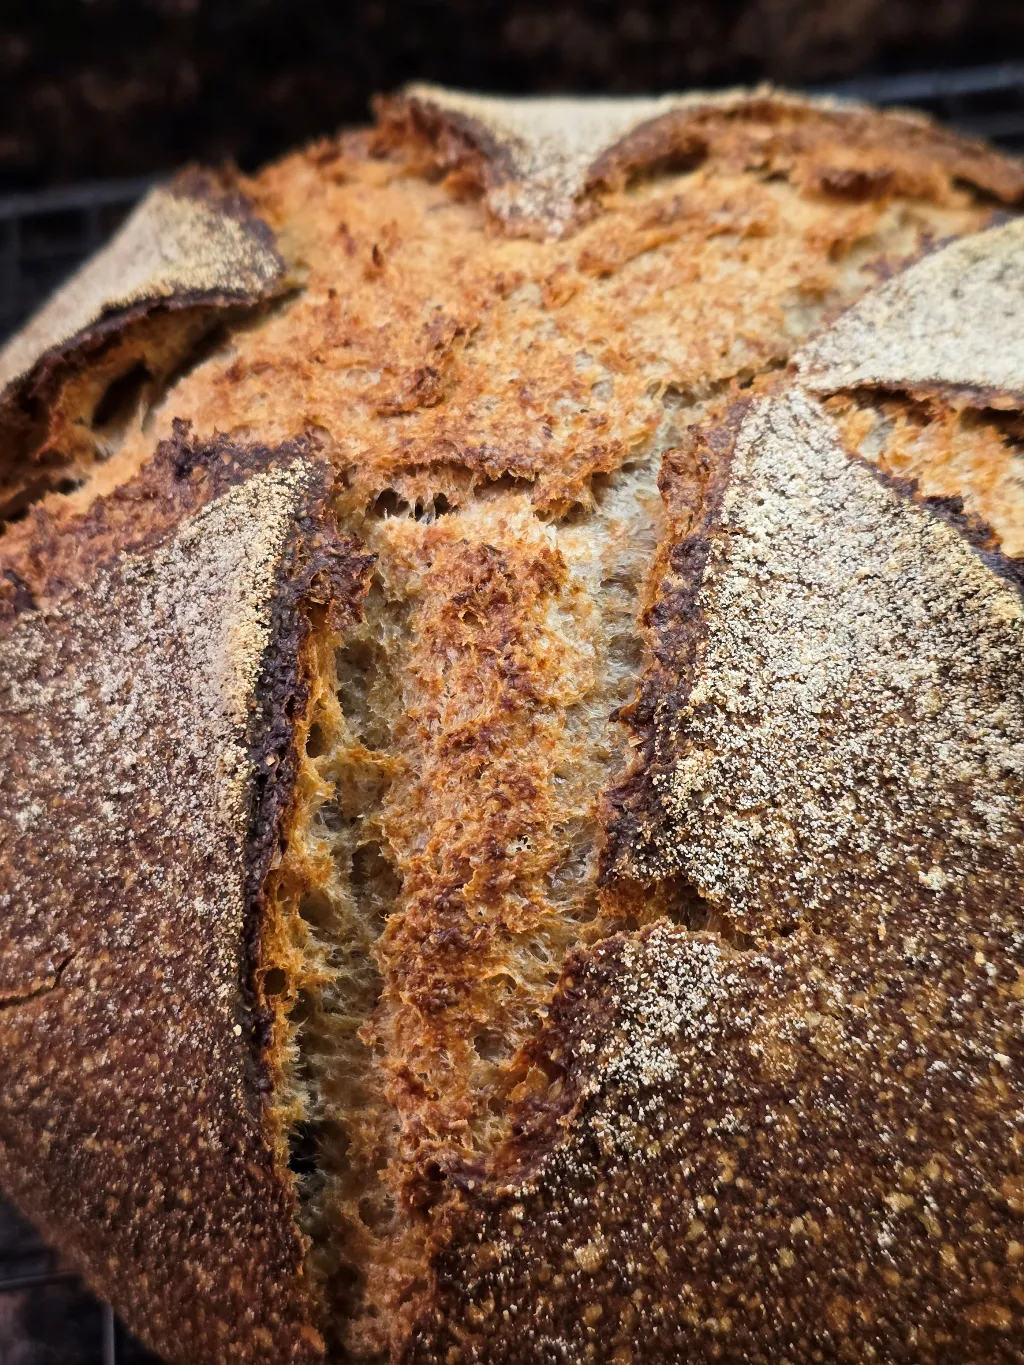
The crumb is very very shiny which I haven’t noticed before. I’m going to add 3% non diastatic malt for browning in the next iteration.