txfarmer's blog

Everything that's not bread
I do bake non-bread stuff, really, here you go...
Pie crust obession continues. Filled it with banana cream, definition of all american comfort food.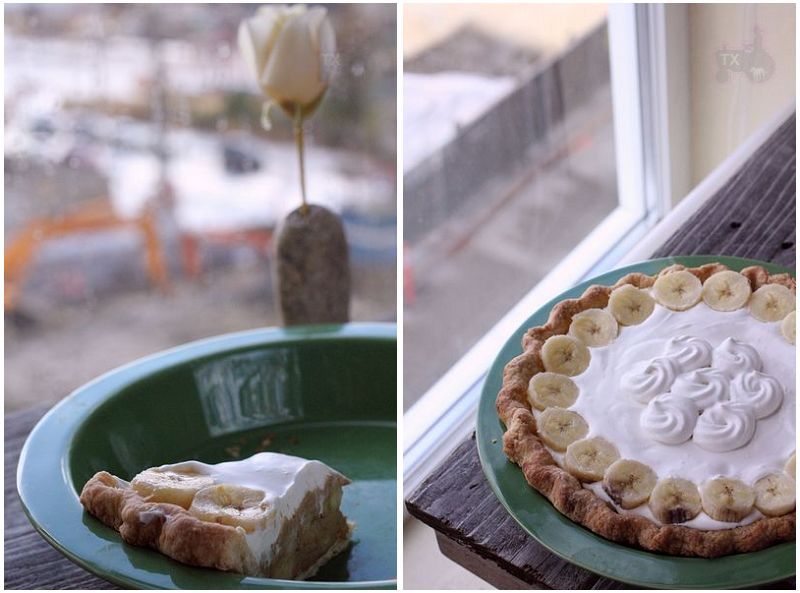
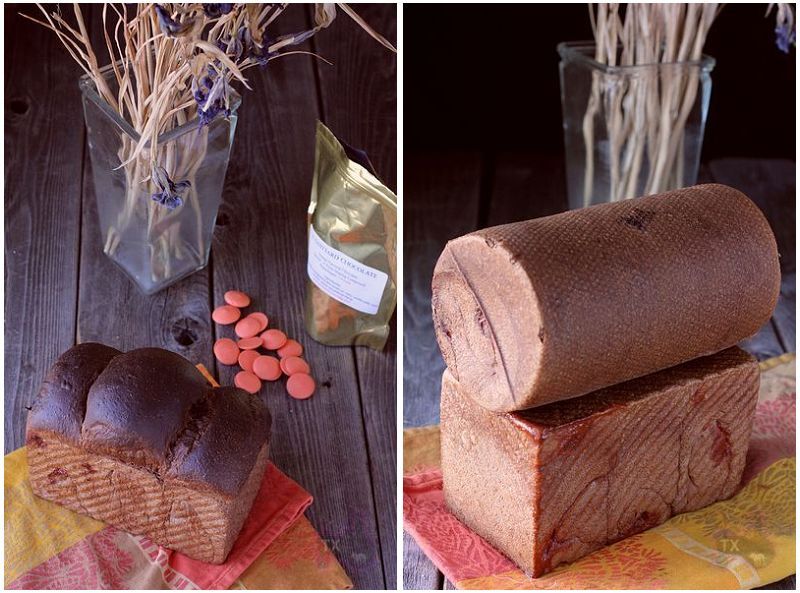
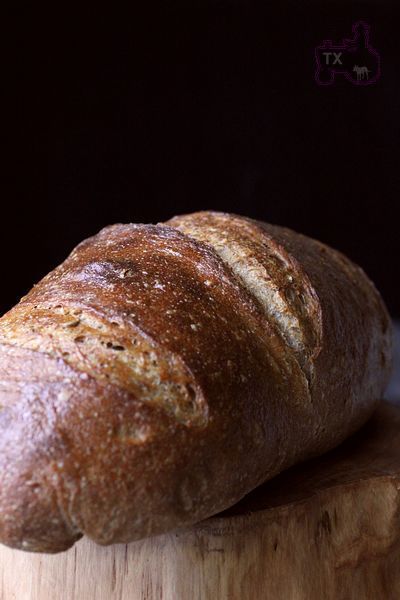
Fig Fennel Light Rye Sourdough with Hazelnuts - explosion of flavor
Sending this toYeastspotting.
Click here for my blog index.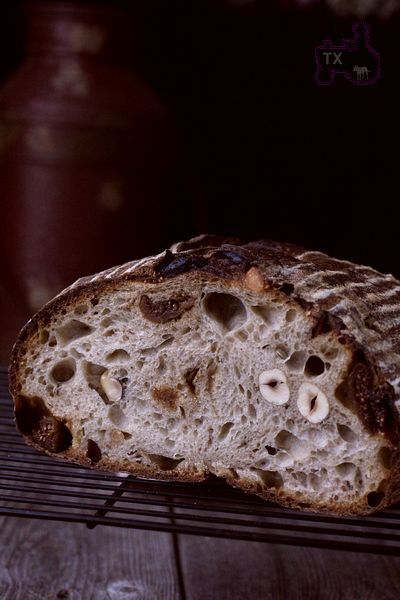
Cream Cheese Soft Sandwich Loaf + Pineapple Buns -- and Japanese Souffle Cheesecake
Sending this to Yeastspotting.
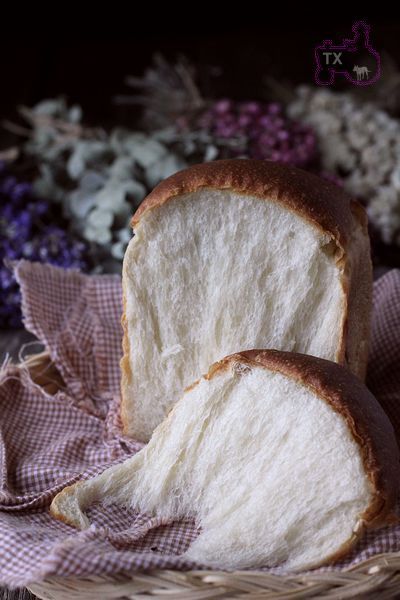
Another incredibly soft and shreddy sandwich bread, this time with cream cheese as the enriching ingredient.