I am not a fan of bananas but every now and then for my kids I make banana muffins, banana bread (quick bread), banana pancakes and cakes, and banana milk shake and smoothie just to remind myself why people like bananas. Whenever the bananas in my house have gone sesame (ie, growing freckles), the motherly cook's instincts in me start eyeing on them. I never force my kids to eat any fruit or vegetables. That's why the house ends up having so many unlikely combinations of chutney and jams.
Now, I have not come across bananas in a savory, or at least non-sweet, combination with flour. What if I inject that lovely banana flavor (not to me!) into the crumb of a sourdough bread and use it for sandwiches or just toasts? Would it work? No harm trying.
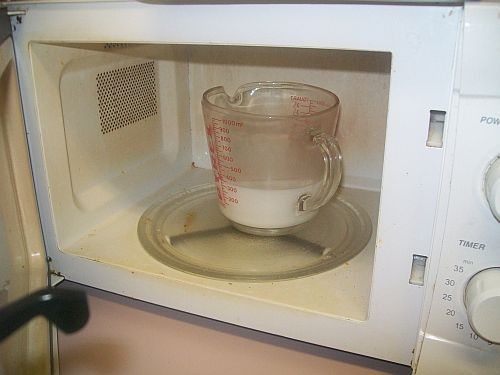
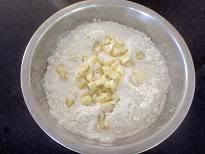
Step one: I started with four very large ripe bananas (475 grams). My idea was to use bananas as hydration for final dough. To puree bananas in my blender efficiently, I need to add some sort of liquid, and I chose to add 20% of banana weight in water (95 grams). I got 570 grams of banana puree. In addition to that, I had 100 g of diced banana to put in separately.
Step two: To decide on a dough hydration percentage. I picked 65%. For this I needed to make an assumption as to the solids to liquid ratio in the bananas - my guesses were 35% to 65% (like pumpkin).
Step three: To calculate how much flour and starter that I would need for the given amount of banana puree.
Step four: To work back to see if the figures match up before starting on the dough.
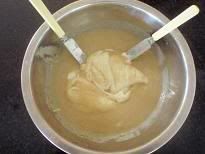
Well, was I in a hurry? I didn't go through Step Four properly. Immediately after I got the preliminary flour and starter figures, I poured my banana puree over the starter eagerly and began mixing!!
The formula that I used is as follows:
Formula for Banana Pain au Levain
- 570 g mature starter at 75% hydration (5% rye flour)
- 570 g flour (5% rye and the balance white flour)
- 570 g banana puree (made up of 475 g banana and 95 g of water)
- 100 g extra banana diced
- 18 g salt
Total dough weight was 1.8 kg and approximate dough hydration was 80% (not 65% as I set out to do)**!!
**Assuming bananas were 65% liquid, total dough hydration from the above formula was:
- (475 + 100) x 65% = 374, being hydration from bananas
- 374 + 95 = 469, being hydration from banana plus water added to make up the banana puree
- 570 / 175% x 75% = 244, being water content in starter
- 244 + 469 = 713, being total hydration
- 570 / 175% x 100% = 326, being flour content in starter
- 326 + 570 = 896, being total flour
- 713 / 896 = 80%, being total dough hydration
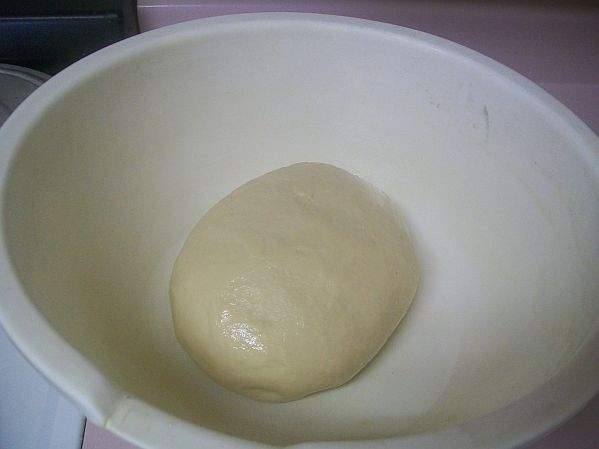
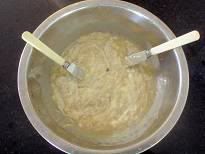
No wonder the dough felt very wet and sticky and 3 sets of stretch & folds were needed during bulk fermentation for dough strength. This dough was very difficult to shape. An ample dusting of flour on the work bench and quick, swift movement and minimalist handling during shaping were necessary.
Procedure
- Bulk fermentation 2 + 1/2 hours with 3 sets of stretch & folds of 30 - 40 strokes each, including autolyse of 20 minutes.
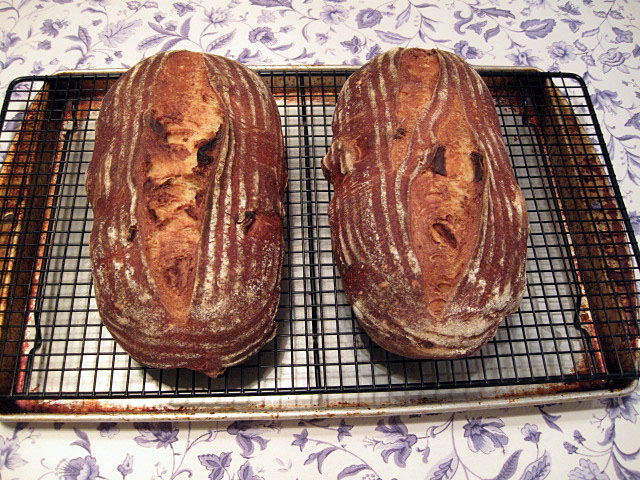
- Divide into two doughs of 900 g each.
- Proof for 2 hours.
- Retard in the refrigerator for 10 hours (I found with this recipe that the retarding process was essential because during the first few hours of the fermentation the dough appeared very sluggish. It was almost as if my starter was finding it tough adjusting to bananas, but in any event, after many hours of retardation in the fridge, the dough rose nicely.)
- Bake with steam at 210C / 410F (lower temperature than usual due to sugar content in bananas) for 20 minutes then another 25 minutes at 190C / 375F (Note: I baked one dough at a time. Lower heat and longer baking appear to be the way to go. Under higher temperature, the crust would just burn.)
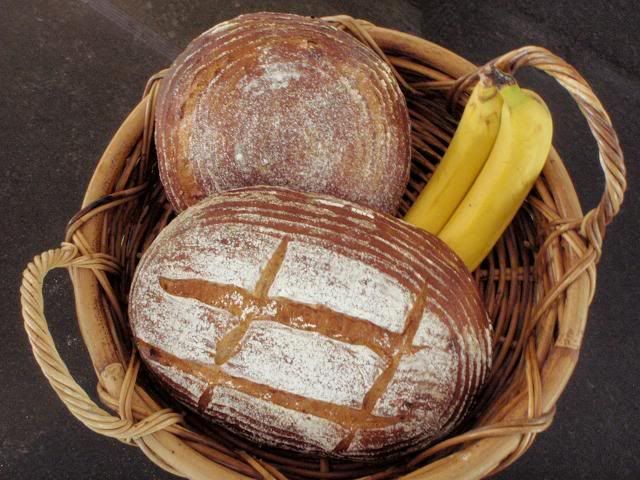
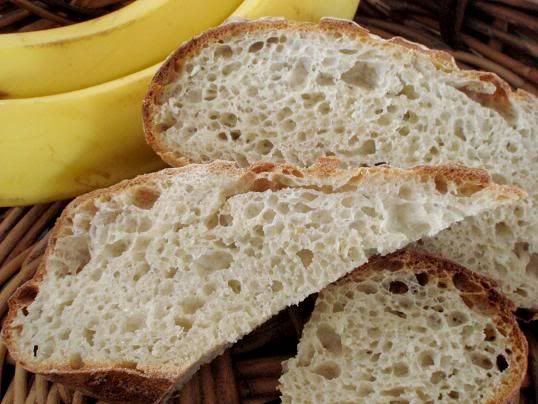
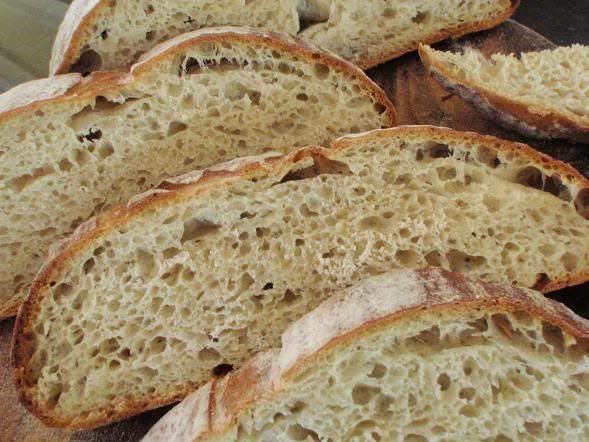
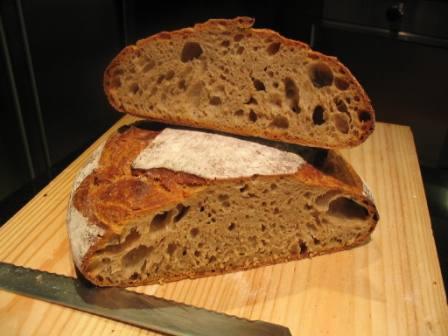
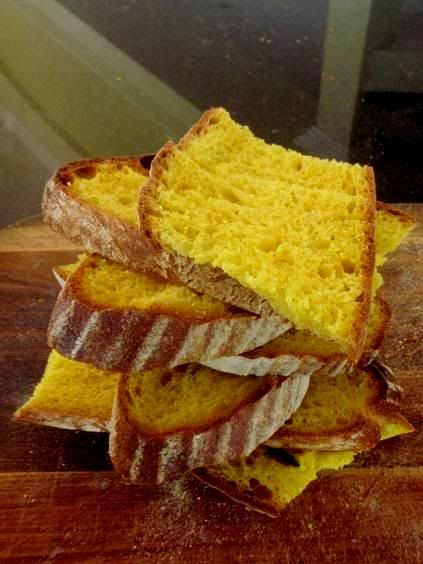
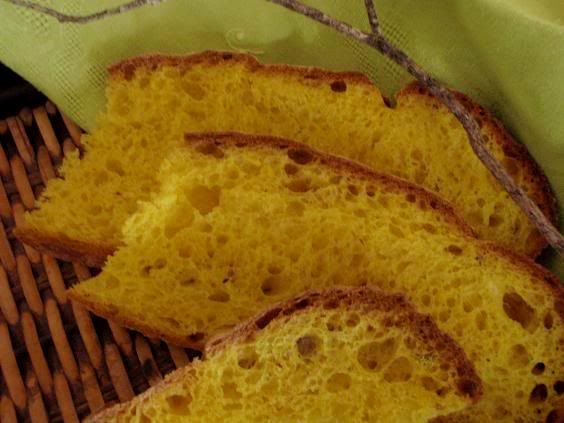
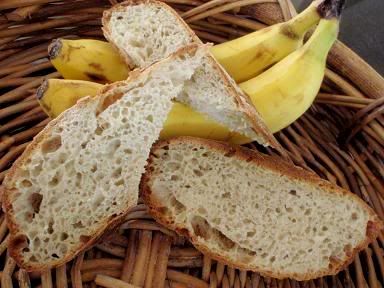
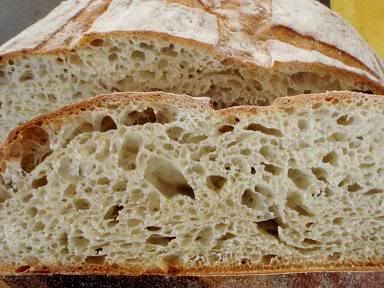
My daughter said this bread smells heavenly-banana. I don't know if that is possible but I have to admit that, for a person who doesn't like to eat banana, I find this sourdough very delightful. It is incredibly moist - a slice of this bread on your palm weighs heavily. The effect of bananas on dough is probably not dissimilar to potatoes on dough. It is also very chewy and sour (at least medium strength of sourness to me). There was no trace of the sweetness from bananas left in the bread.
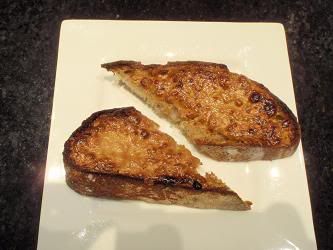
My son had a great idea - he spread peanut paste on a slice of this bread and grilled it. It tastes amazing:
Well, if you are interested to try this formula, I would suggest a lower hydration for easier shaping and handling of the dough. Below I calculate for you an approx. 72% hydration dough formula for a dough weight of 864 grams:
Formula for Banana Pain au Levain @ approx. 72% dough hydration
- 285 g starter @75% hydration
- 285 g flour (5%, or 14 g, rye flour and the balance 271 g white flour)
- 285 g banana puree (made up of 245 g banana and 40 g water)
- 9 g salt
If it is done right, I believe the simplicity of this formula allows the natural flavor of fermented flour come through and it is in the spirit of what Pain au Levain is about.
Happy baking!
Shiao-Ping


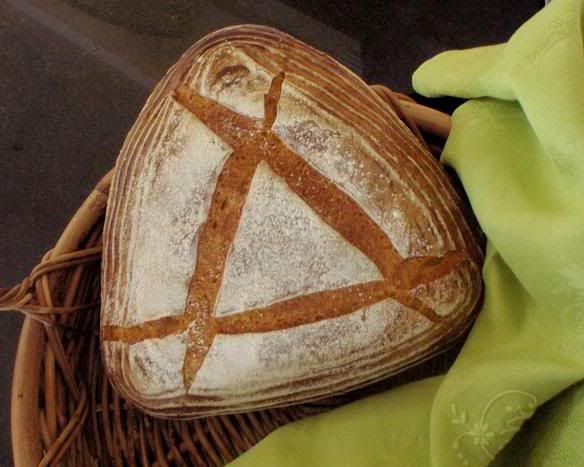
 Eric Kayser's "La Tourte de Meule"