RLB Bread Bible - Pugliese with durum flour.
This is a recipe from one of my favorite breads. I baked this bread about the same time to the day last year. Here it is posted with a link to another posting with a recipe in the blog as, you can see, I do enjoy eating and baking this bread.
I proofed the biga, dough and final proof in my new Brod&Taylor home proofer.
It's was very nice to be able to set the temperature of the bread proofer, to get things going at a more predictable time..so I wouldn't be up to late. Worked perfectly as you can see from the photos, I set it at 80F to speed things up just a bit.
I had plenty of flavor using my 2 day biga...which was warmed up in the proofer, after being removed from the refrigerator.
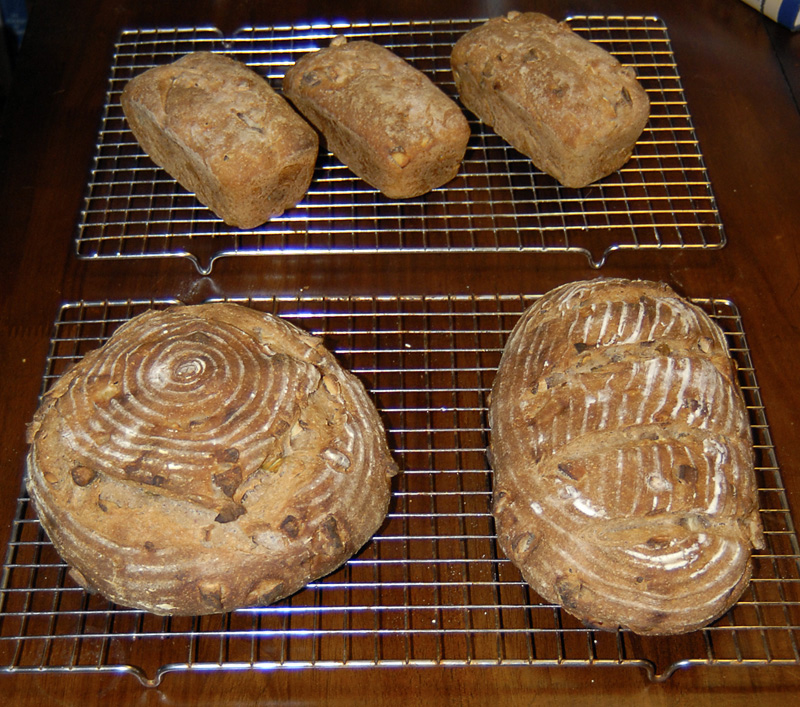
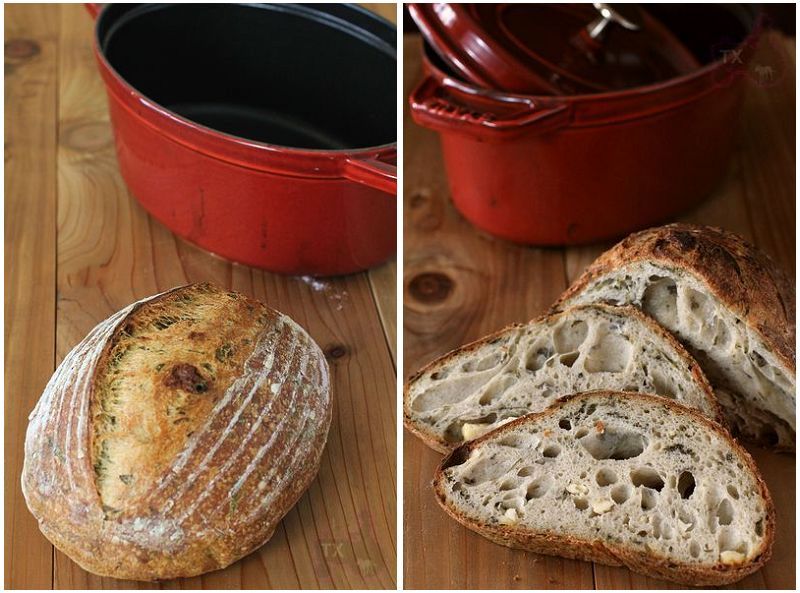
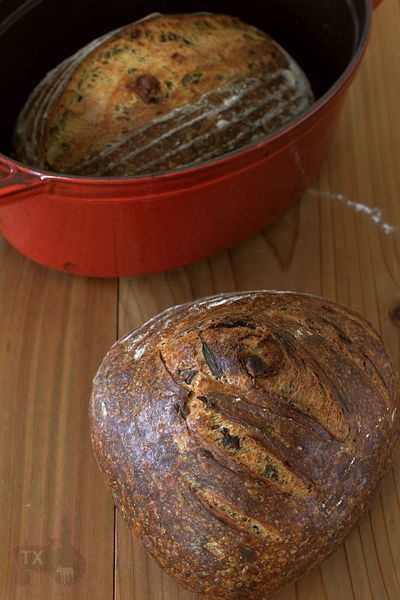
I doubled the recipe and it made one nice big pugliese loaf.
*My hydration levels are adjusted slightly for various reasons...dryness of flour, ect.
I did make extra Biga
The version I used two times the original recipe
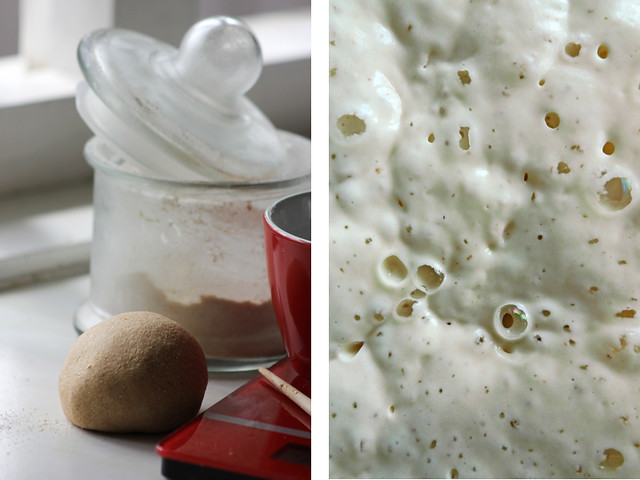
1. Biga
KAAP flour - 150gm
IDY - 0.4 gm
Water - 118 gms
6 hrs. to 3 days ahead make the biga - Set aside at room temperature for about 6 hours - Stir down and refrigerate
I used a two day refrigerated biga for optimal flavor
Dough
1. KAAP Flour - 142 gms
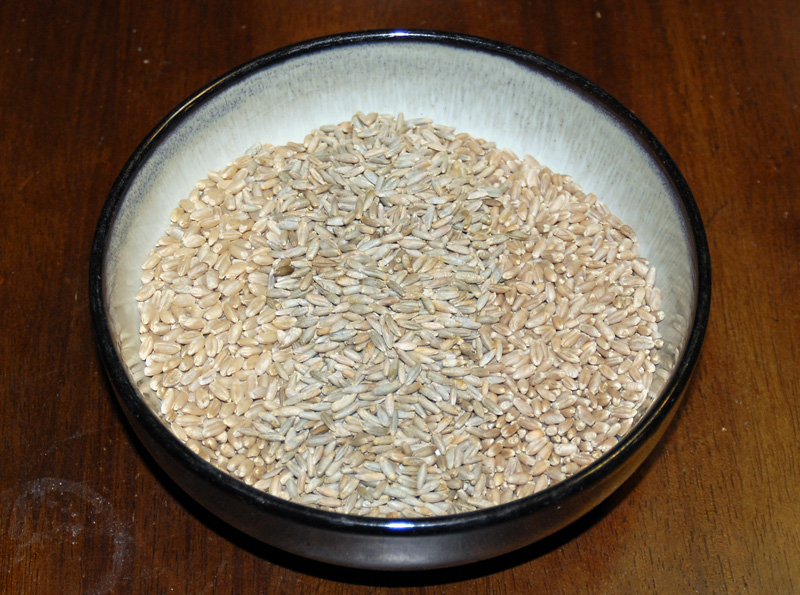
2. Durum Flour - 142 gms
3. IDY - 3.2 gms or apx. 1 tsp.
4. Salt - 10gms
5. * Water - 236 gms
*You also have the option of adding malt powder..be sure and adjust for doubling or tripling the formula.
All the Biga from above
Percentages below are as listed in the Doughs "orginal formula."
*You also have the Optional: use of malt powder 1/2 t. - 1.6g
The formula above is double the orginal formula. I also 3 times the original formula for two nice sized loaves.
Flour 100% - 74% Bread - 26% Durum
Water 80.4%
Yeast 0.79%
Salt 2.2%
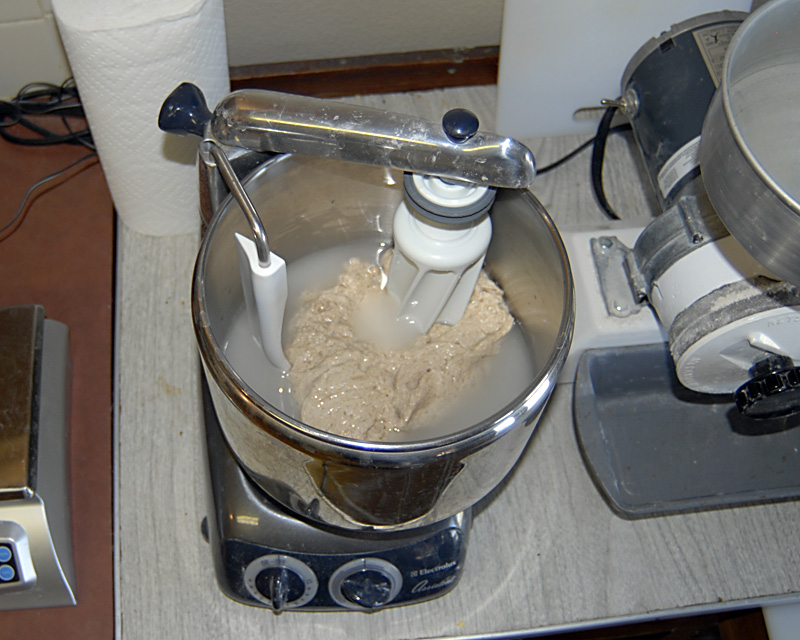
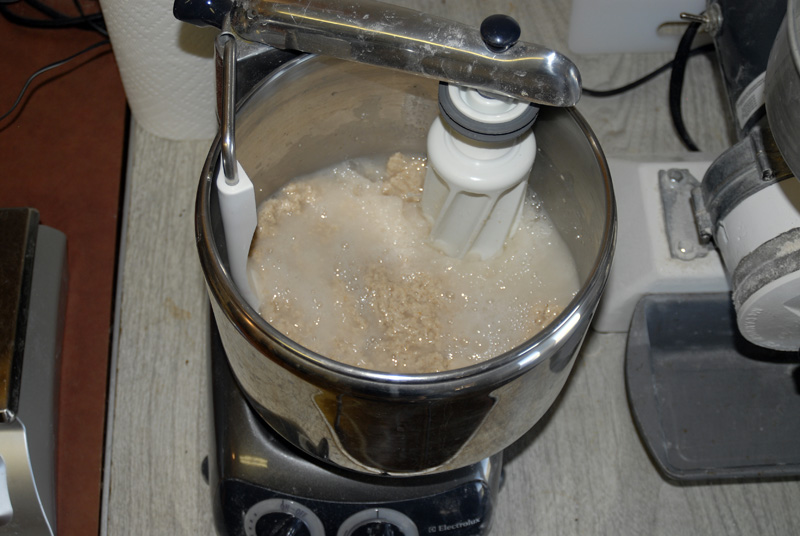
I placed my warmed weighed biga into the weighed room temperature water. Then I added it to the wisked flours, yeast and salt.
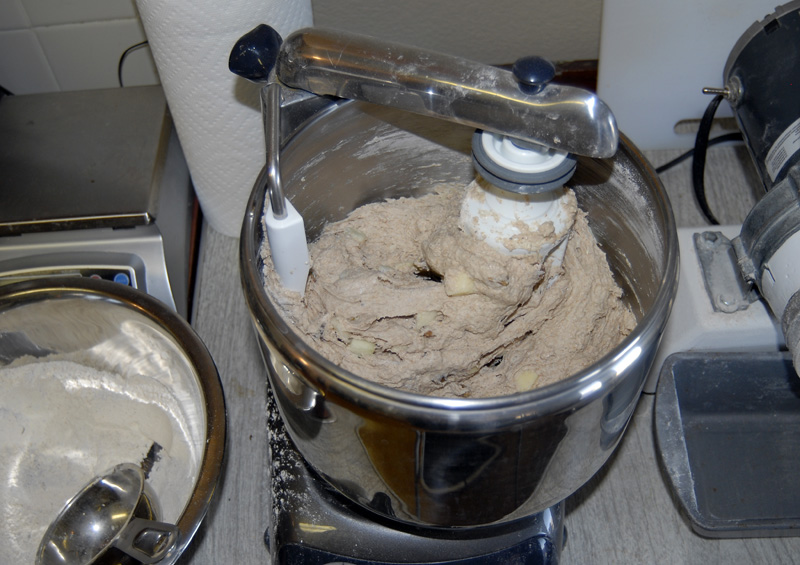
Mixed it slowly for a couple of minutes till all was moistened. Up the speed of my mixer gently and mixed until I had a smooth, sticky dough..about 5 minutes..adding a teaspoon of flour if needed.
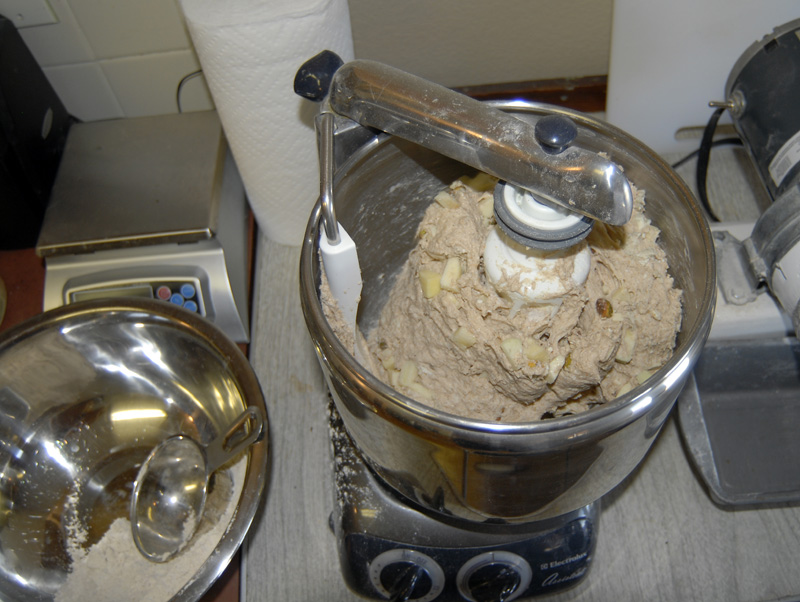
The dough will be very sticky. On a well floured, use durum flour, flour about a 6 inch square on your board. Using a scraper or well floured hands, scrape out the dough onto the floured area. Dust the top of the dough with a little more durum flour. Rest a couple of minutes, the flour will absorb into the wet dough. Give it a stretch into a letter fold. Dust it again and allow it to rest for about 30 minutes.
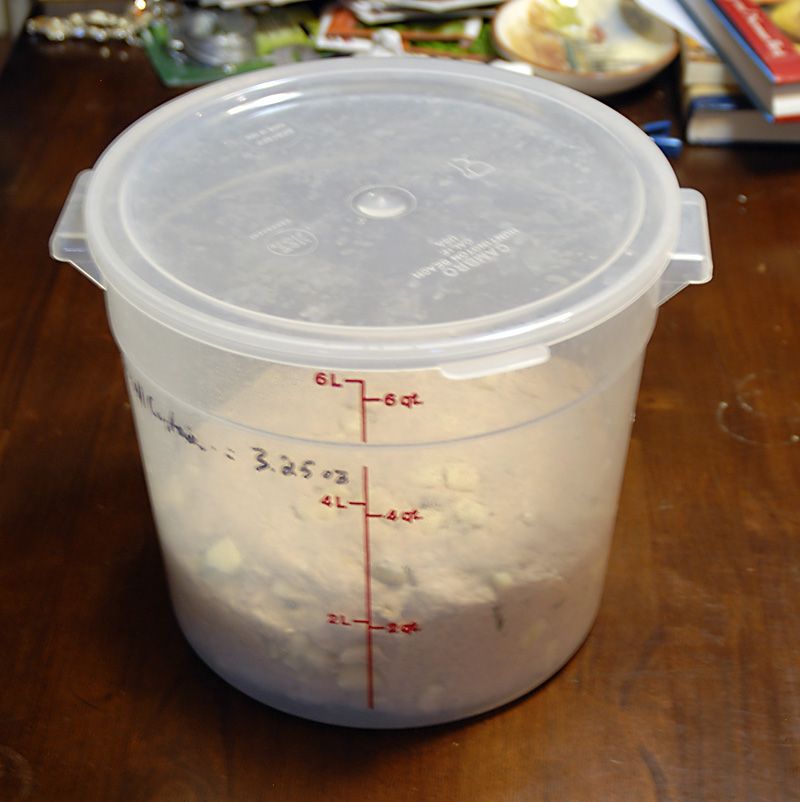
Repeat a second and third time, folding the edges into a rounded shape in the corners and place into your proofing bucket, sprayed lightly with oil.
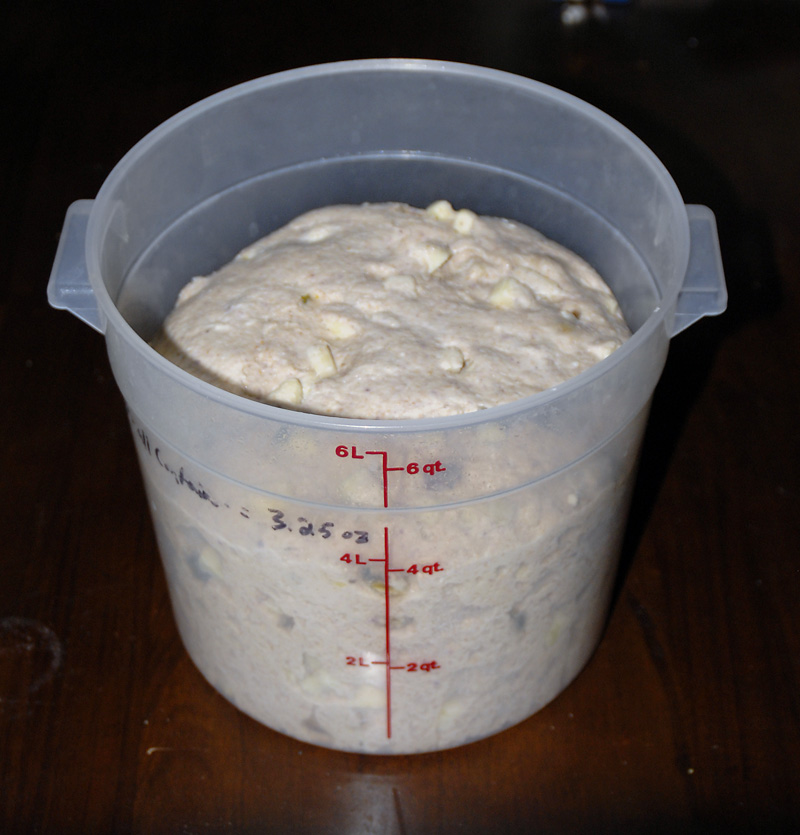
Proof at about 75F to 80F until tripled.
Pre-heat Oven and stone - 500F for about an hour
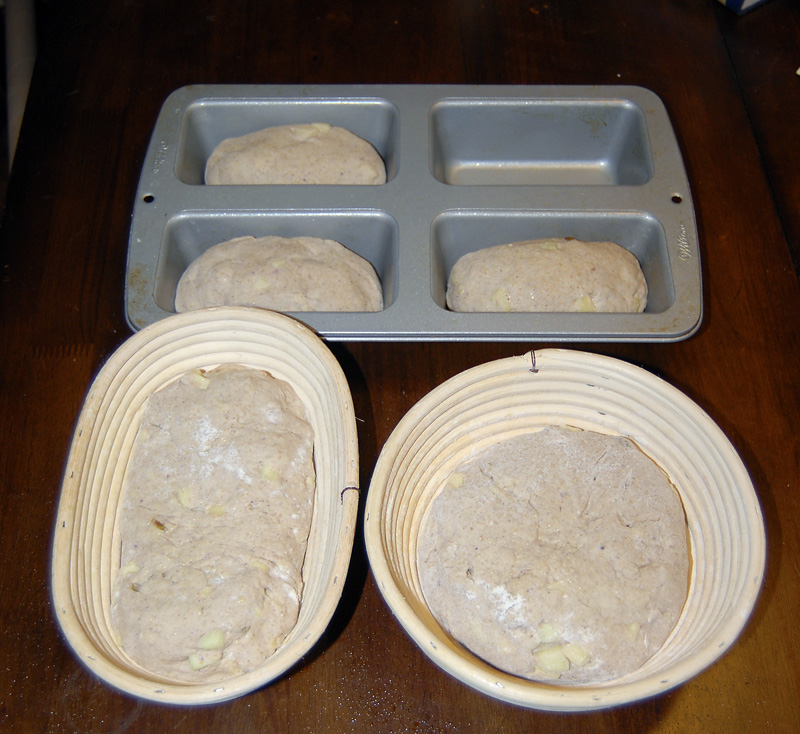
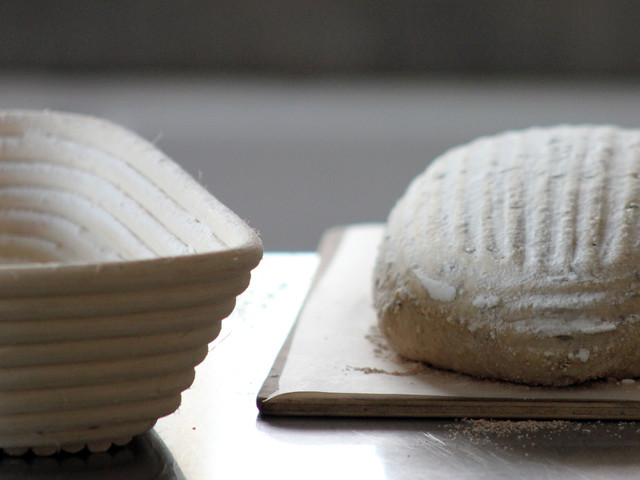
On a counter with durum flour, very gently remove your dough onto the counter and shape into a ball and place into your basket. Seam side up, pinch the seam together.
Proof until ready to bake.
The loaf is baked on a parchment lined sheet pan. For the (first half of the bake). Then you can remove the pan. I used my long handled bar b que spatula. I also use my pizza pan. You can cut a round of cardboard to help you gently remove the proofed loaf and flip onto the parchment lined sheet pan. Don't put your cardboard round into the oven like I did..oh well, no harm done.
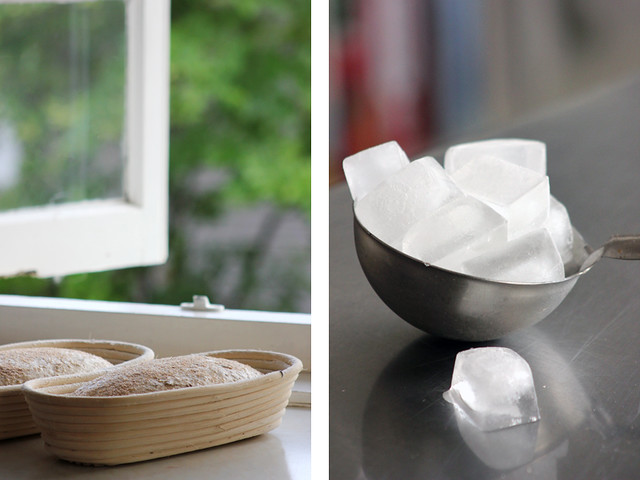
Pre-steam and steam your oven.
Turn the oven down to 450F after the first 5 minutes. Bake until bread is deep golden brown and tested done. I baked my large loaf about 35 minutes and left it in the oven with door ajar and oven off about 5 minutes before removing it to the cooling rack.
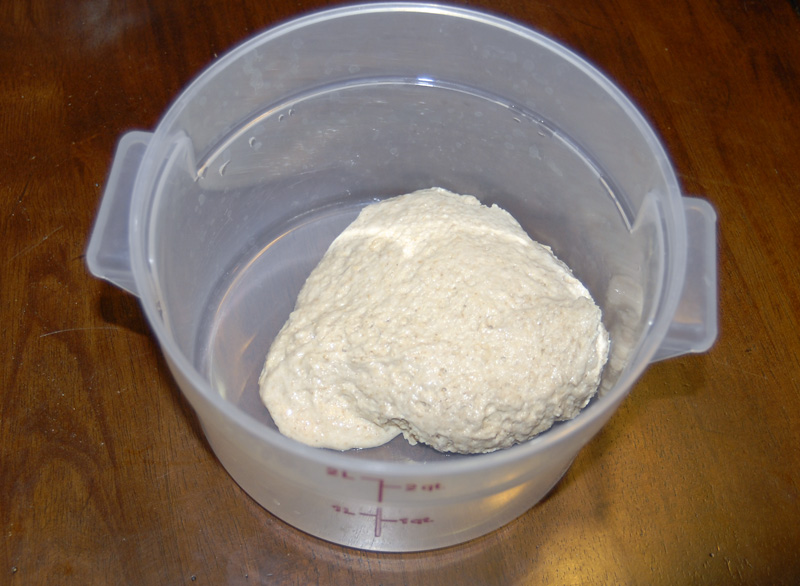
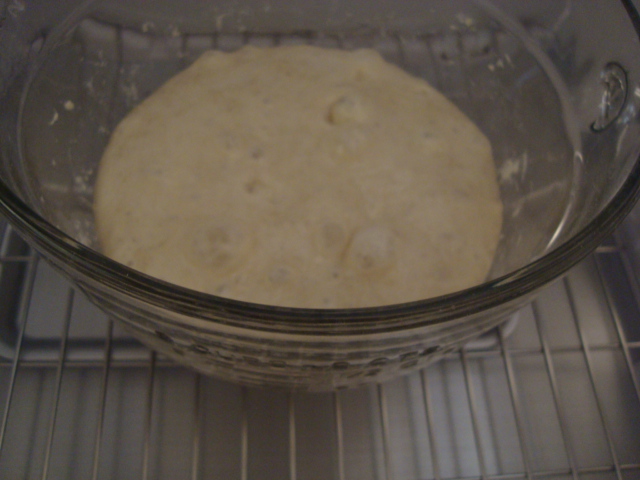 My Biga warming up in the B&T proofer
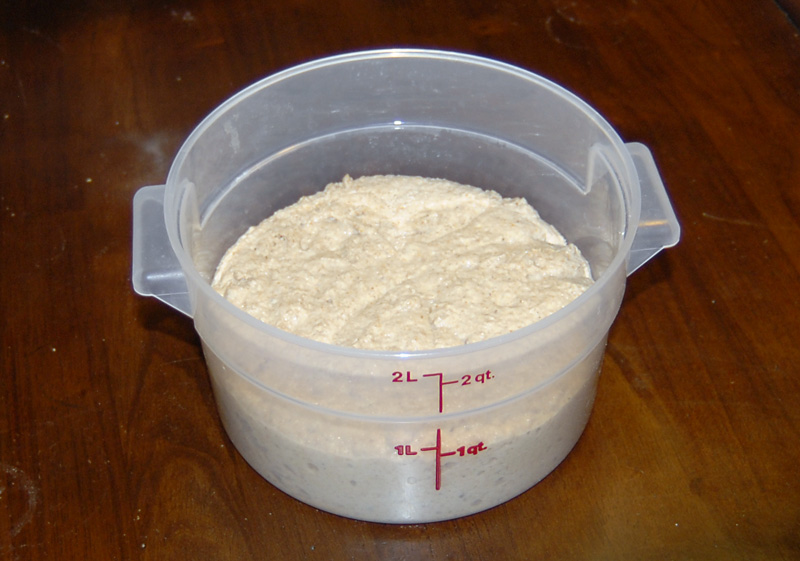
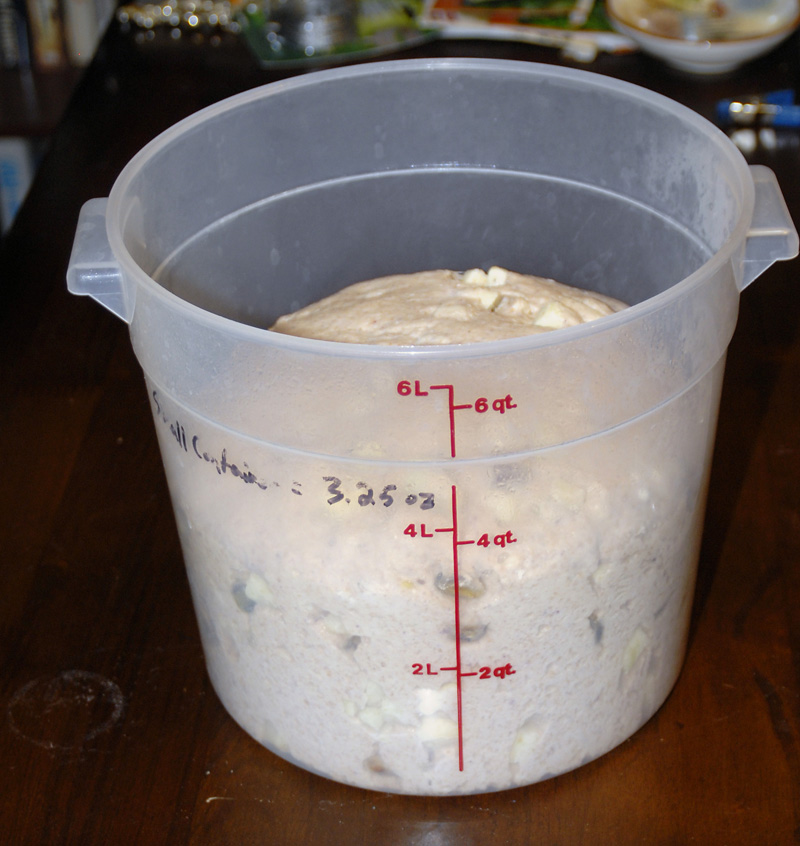
 Dough proofing at set temperature
 Looks happy.
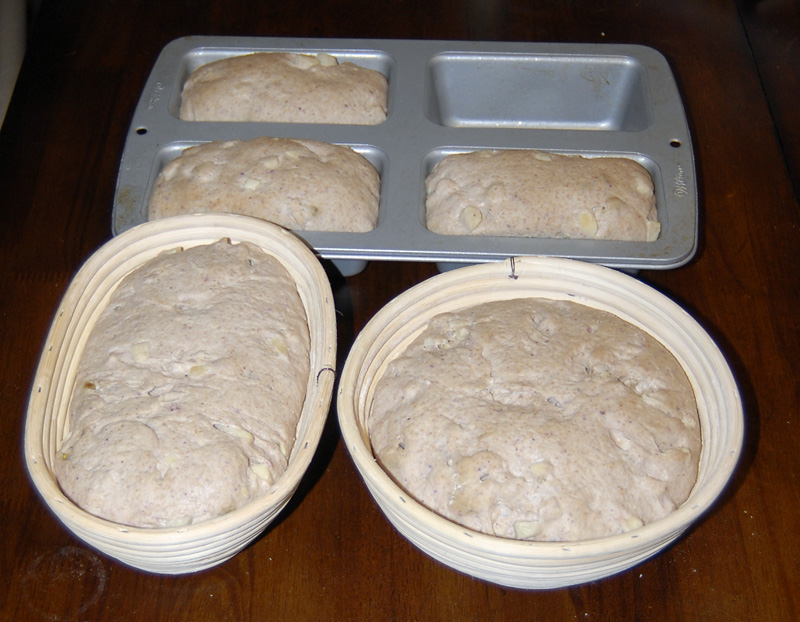
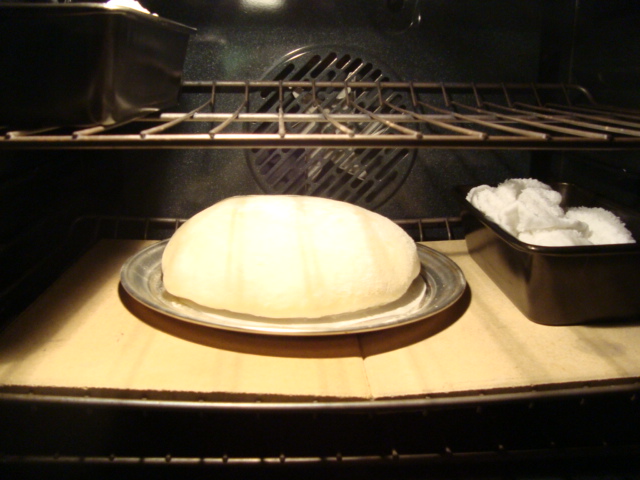
 Now the final proof
 Time to get it in the oven.
 happily steaming away
 Steam pans, Pizza pan and parchment removed
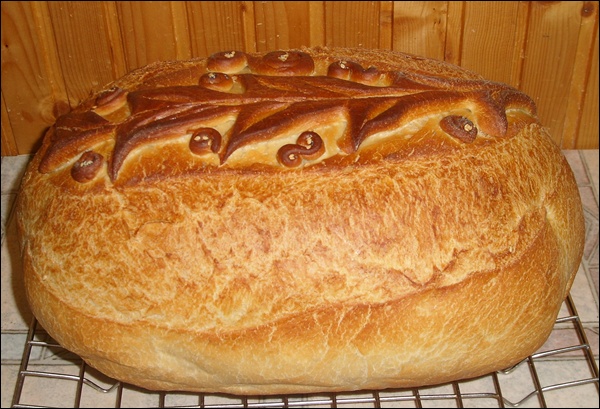
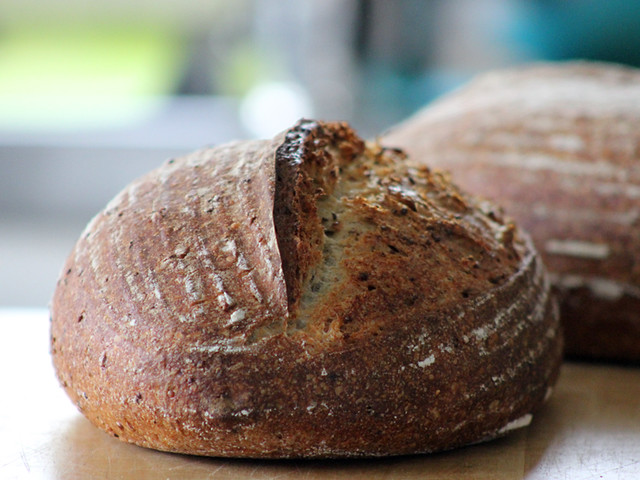
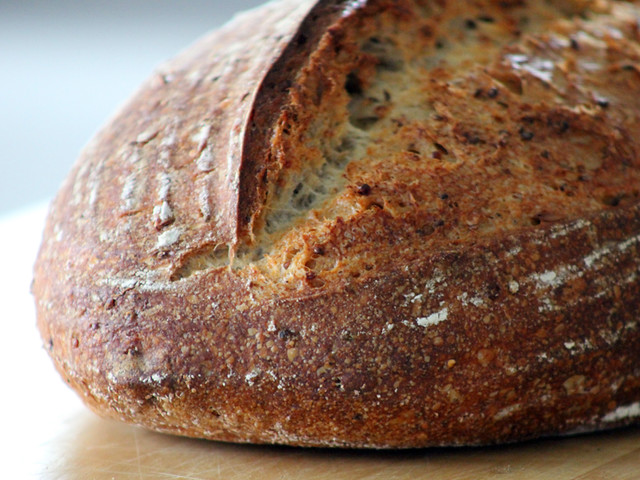
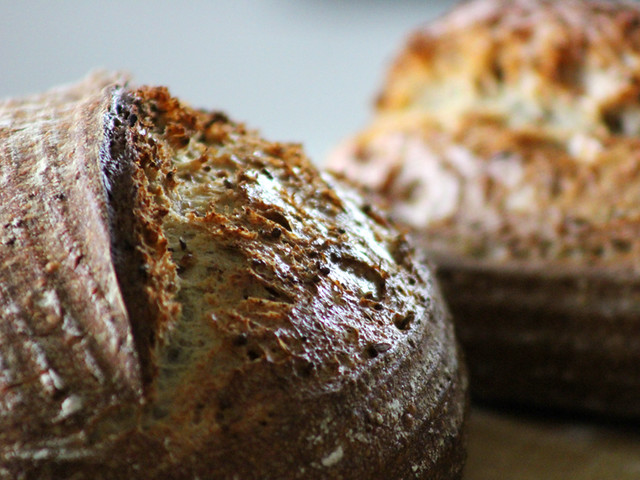
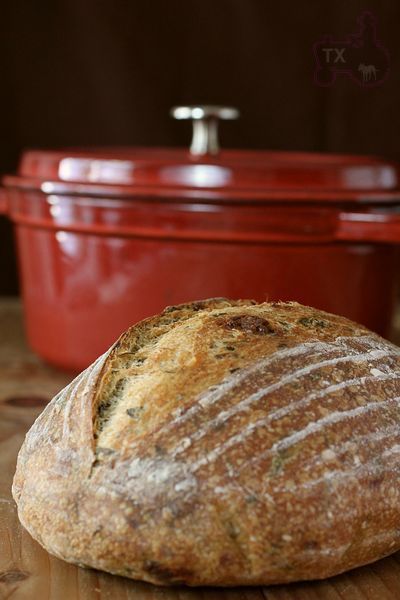
 The cooling loaf crackled and sang
 I got to bed early, thanks to my new proofer. Enjoyed
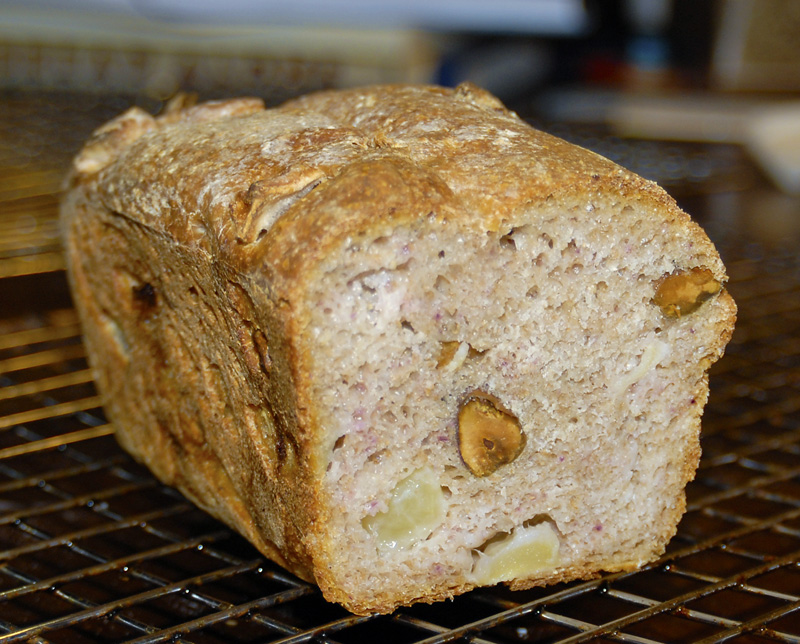
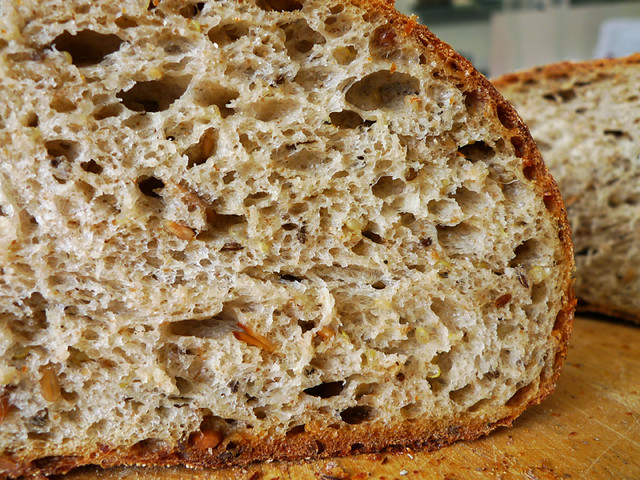
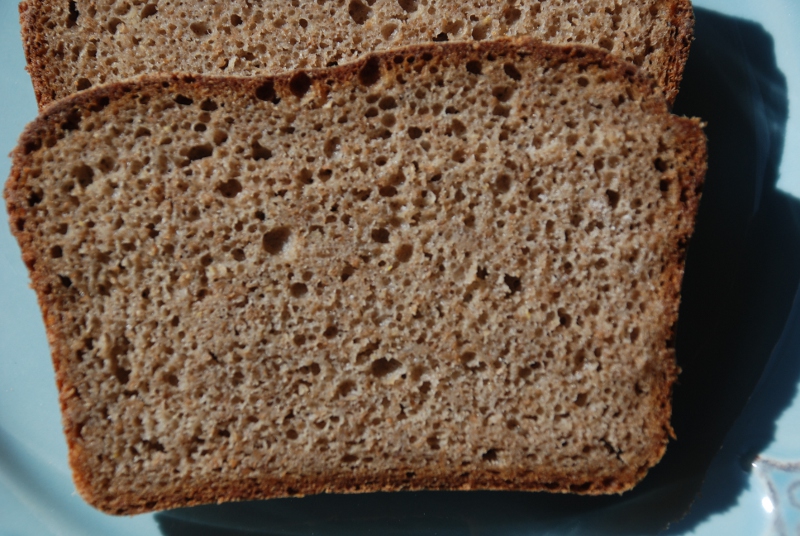
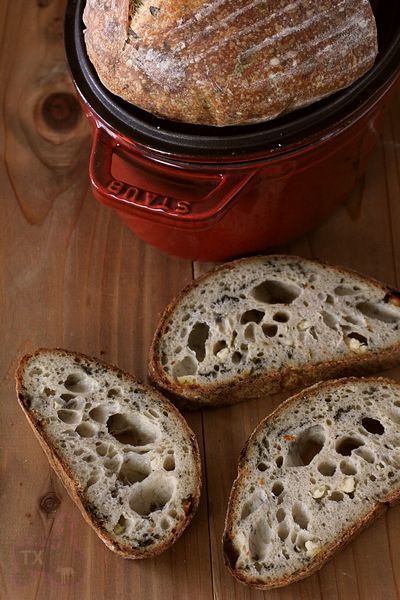
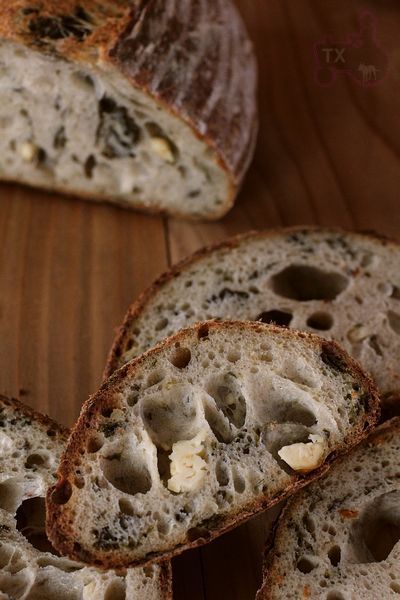
a slice for breakfast this morning.
Sylvia