Danish and Lithuanian Scalded Rye Breads

Hi everybody, especially rye bread enthusiasts... Just wanted to post some things that I have been working on:
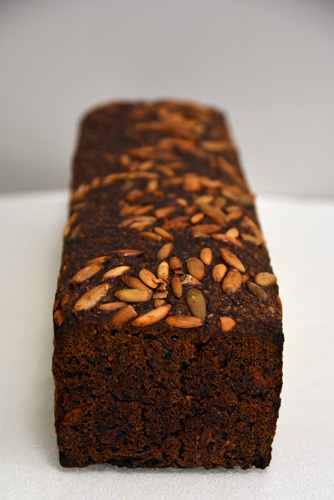
12/7/13 - Danish Rye Bread
This one turned out really well for winging it. It's a mix of a bunch of stuff, freshly cracked rye, spelt, wheat berries, rye flour, pumpkin/flax/sesame seeds, old bread, rye sourdough, spelt stiff levain, barley malt syrup, blackstrap molasses.

- Log in or register to post comments
- 24 comments
- View post
- breadbakingbassplayer's Blog