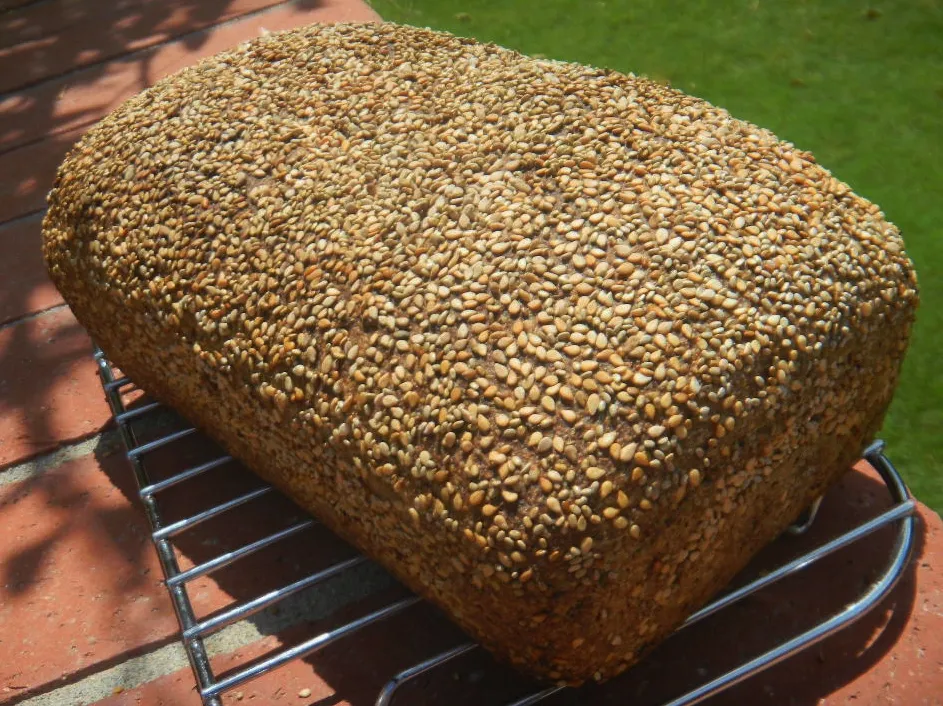
When I encounter really tasty bread from a bakery or at a restaurant, my usual reaction is ‘God, I want to make this myself!,’ and start going back and forth on my palate-memory lane, playing with formula in the attempt to re-create the flavour, aroma and texture I enjoyed. Many of my bread recipes are born like that rather than following/adjusting the recipes I found in books or on internet.
One of those breads I’d been trying to re-create was Pain l’Ancienne by a small artisan baker with amazing array of European (mainly French & Italian) breads, Earth Crust, a very popular bread stall at the Market in Cambridge town centre. I love the slightly chewy texture and its very open crumb. And of course I like the flavour but I wanted it to be a tiny bit more rustic/deeper than their verson, so I’ d been tinkering with the formula for quite a long time, not quite sure myself what sort of flavour-profile I want to achieve…..without just ending up with exactly the same formula of other breads I already had and liked, which often happens with me. :p
Then, in February last year we went to have a lunch with our family friends at a lovely restaurant on the Thames in the southwest of London after watching our daughter’s boat race on the river. As soon as we ordered the food, a waiter brought a huge basket with breads of various kinds, and among them were a few slices of bread with very open, creamy coloured crumb & quite rustic looking dark crust. Without any delay (nor manner), my hand bee-lined to grab the slice. As soon as I chewed into it, I knew. This is IT!! This is exactly what I wanted to achieve! I asked the waiter where they got their bread from and this was the bakerery he told me and, by judging from the photo and the description on their website, I think what I had was Ancient Loaf (Ha! :D) from their ‘Long Fermentation Speciality Bread……probably.
Anyway, whatever the name was, my quest of re-creating it by tinkering the uncompleted ‘Earth Crust’s l’Ancienne’ recipe that I’d been playing with had began….and sort of completed in the early autumn last year.
So this is my take on Flourish Craft Bakery’s Ancient Loaf/Pain l’Ancienne, though I’m guessing theirs is much higher in hydration than mine, from the look of their very open crumb with large holes. I lowered the hydration to just a little over 70% because 1) I’d be using the bread to make sandwich for my hubby, so too many, too large holes might not be such a good idea, 2) I didn’t want the dough to stick to my banetton during proofing. Also, according to their product list they only use wheat and rye, but I added small amount of spelt and wheatgerm for extra flavour…..plus a tiny bit of rapeseed oil for better keeping quality. I used rye sour as the starter to make sourdough because I know some traditional French bakers use it as their mother starter.
My take on Flourish Craft Bakery’s Ancient Loaf
S/D Rye sour 50g (75% hydration) fed, twice, with 140g strong white flour + 100g water during 14 – 18 hr period (or shorter or longer) before making the dough.
Feed 1 – flour 40g + water 30g
Feed 2 – flour 100g = water 70g
(Note: Only 240g is used for making the bread. Store the rest in the fridge as starter for next use.)
Main Dough
Strong flour 570g
WW 15g
Spelt 15g
Wheatgerm 2 tbls
Water 420 – 430g
Sea salt 14g
Very good quality rapeseed Oil (or extra virgin olive oil) 1 tbls
1. Mix mature sourdough with all the flour, wheatgerm and most of water until no dry bits of flour is left. Cover and leave for 30- 40 min.
2. Sprinkle the salt over the dough with some of remaining water and S & F in the bowl until everything is thoroughly mixed and the dough becomes smooth. Adjust the hydration, if necessary, at this point using remaining water. (Don’t make it too wet because….→) Add oil and mix thoroughly, using S & F technique. Cover and leave for 40 min. (or maybe 30 min if you live in a warmer country than this freezing Britain! Brrrr….)
3. Two more S & Fs at 30-40 min interval.
4. Leave for 1 – 1 1/4 hr and let it increase in volume by about 25% at room temperature.
5. At the end of the above period, check the dough’s strength and, if necessary, letter-fold once on a floured work-tup to strengthen the dough. Put it in the fridge for cold retardation for 12 – 18 hrs.
6. Take it out of the fridge and leave for 1 – 2 hr (depends on how cold where you live is…) to return the dough to room temperature (….and finish proofing, if necessary).
7. When fully fermented (you’d see a few large bubbles on the dough surface), divide into two, pre-shape, rest 15 – 20 min.
8, Shape, put in two banettons, cover (I use a shower cap) and proof.
9. Pre-heat the oven @240C with casserole/pot/Pyrex with lid.
10. When the is sufficiently proofed (finger test!), score the top and bake for 20 min with the lid.
11. After 20 min, remove the lid, lower the temperature to 210 – 220C and bake another 20 min.
12. Turn the heat off but leave the loaves in the oven with the oven door slightly ajar for 5 min.