Fun with Jason's Ciabatta
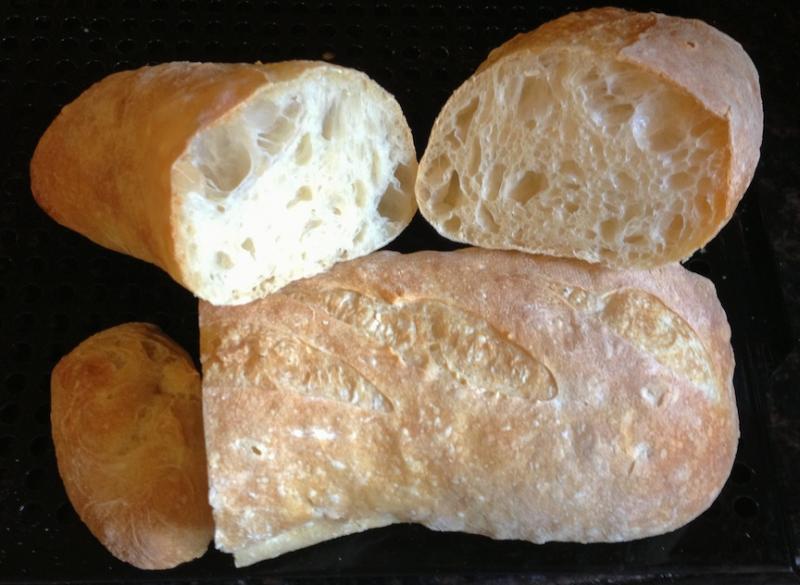
It's been a year or more since I've made Jason's Quick Ciabatta recipe, so I made a variation first and followed the next day with his standard recipe.
For the variation, I mixed Jason's standard 95% hydration dough until it started to climb the mixer paddle. At that time I added enough flour to make a 75% hydrated dough and retarded it overnight in the fridge. The next day, I shaped, proofed and baked the loaves.
- Log in or register to post comments
- 4 comments
- View post
- Frequent Flyer's Blog


