Overnight Country Blonde Levain (FWSY)

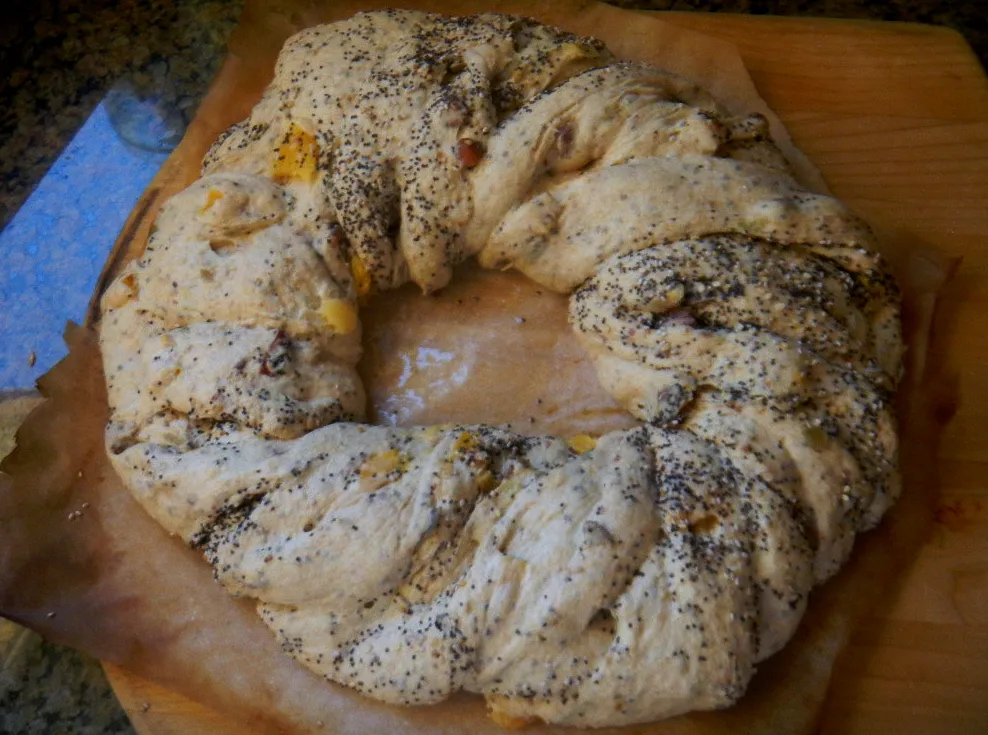
Had a dinner party this weekend and wanted to make Forkish's Overnight Country Blonde to cut up for an appetizer. I didn't schedule accordingly—whoops!—and ended up making Forkish's 80% biga instead. (I threw in some olives during the folding process for good measure.) Since I already started the dough for Overnight Country Blonde, I proceeded to close it up on Sunday, after the fact, but it's OK; I'm now graced with a boule for dinner tonight.
It's about 95F this weekend in Southern California, so I had to adjust the schedule.
- Log in or register to post comments
- 4 comments
- View post
- TwoCats's Blog