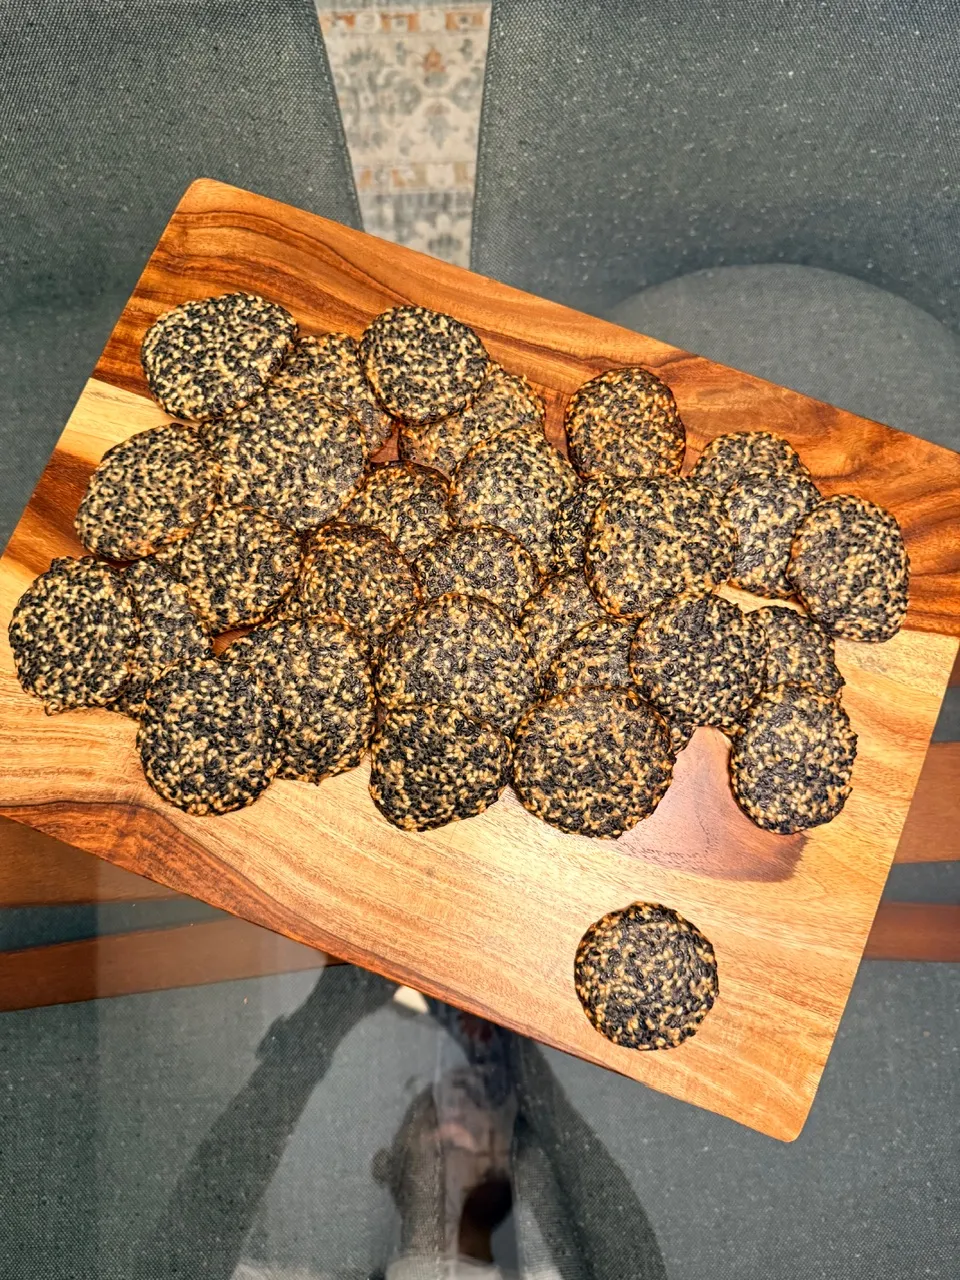
Million dollar cheesecake swirl carrot cake, with pignoli
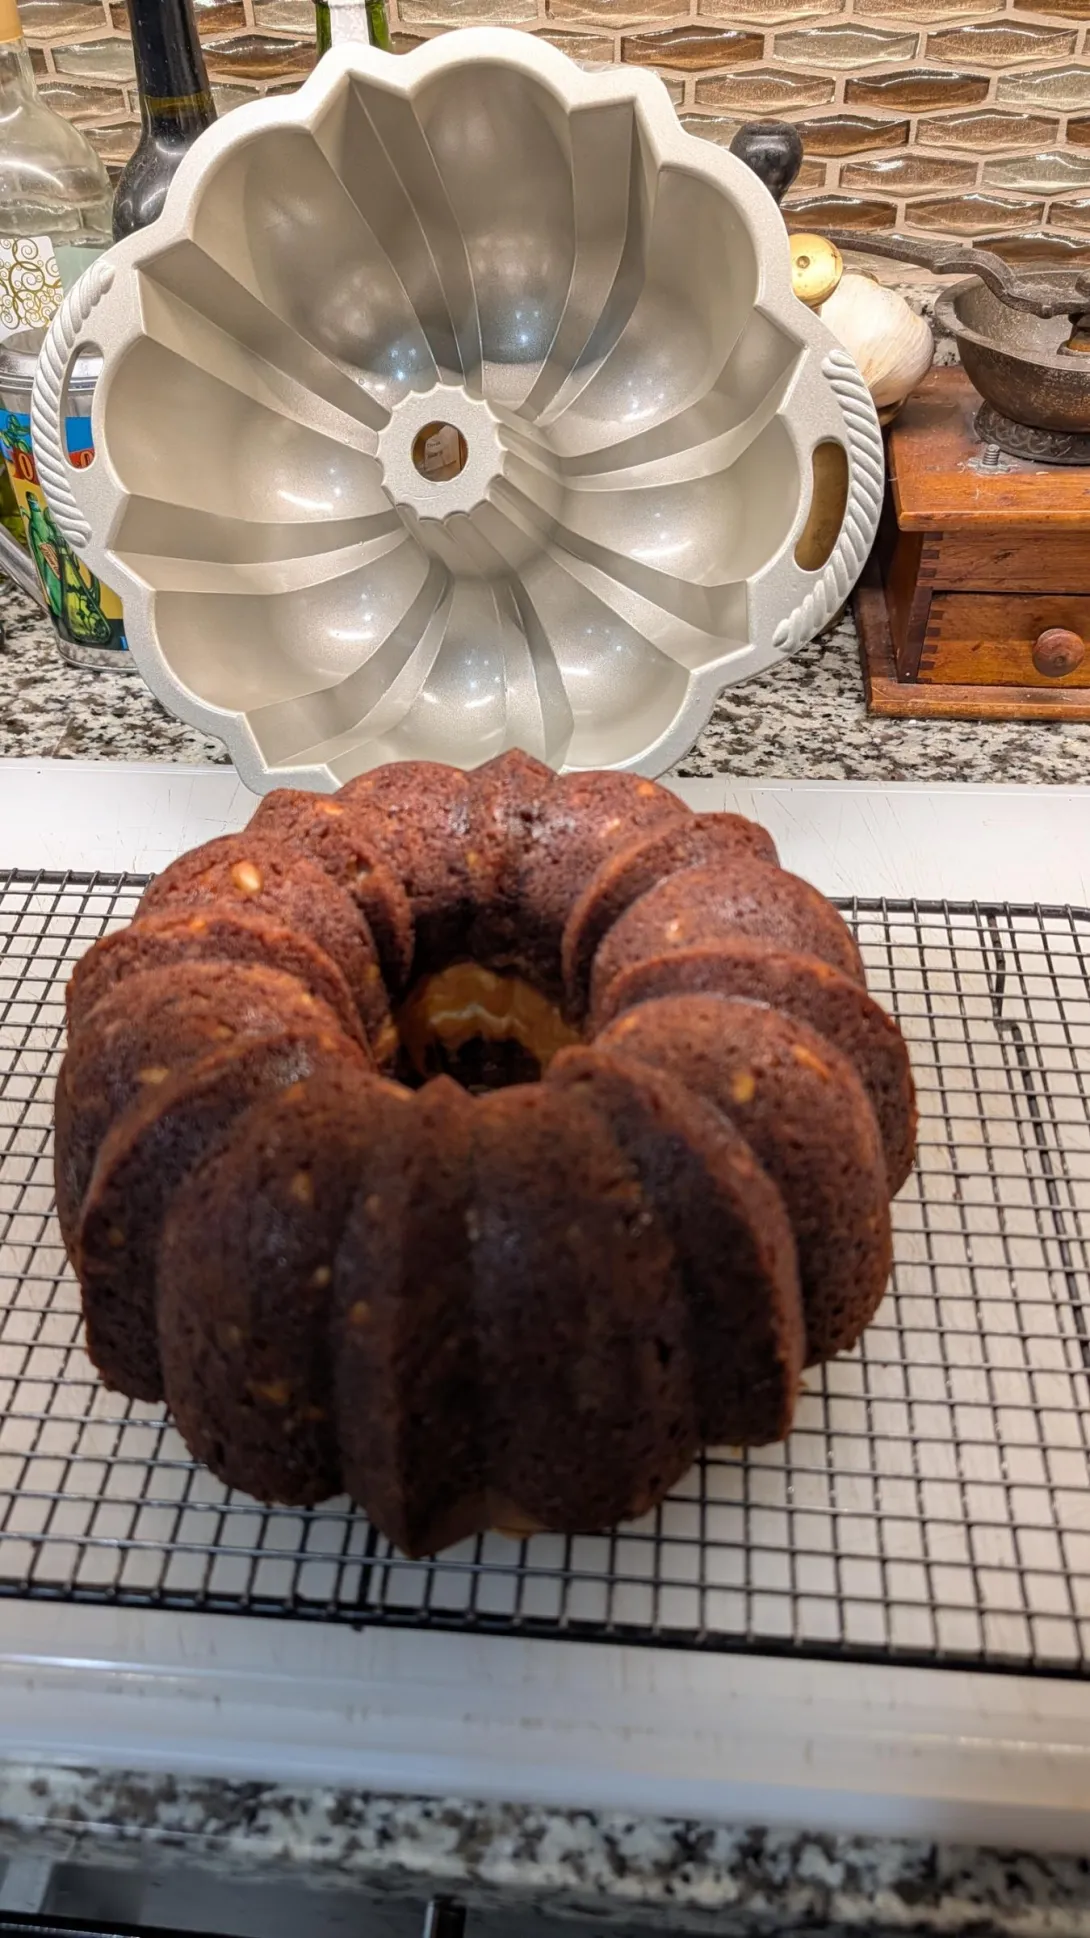
I upped my Bundt cake game, with a fly, new pan! Made in the USA. Nordic ware.
Stay tuned for the finished product.
Million dollar cheesecake swirl carrot cake, with pignoli.
- Log in or register to post comments
- 5 comments
- View post
- The Roadside Pie King's Blog