Blog posts

the impatient baker strikes again
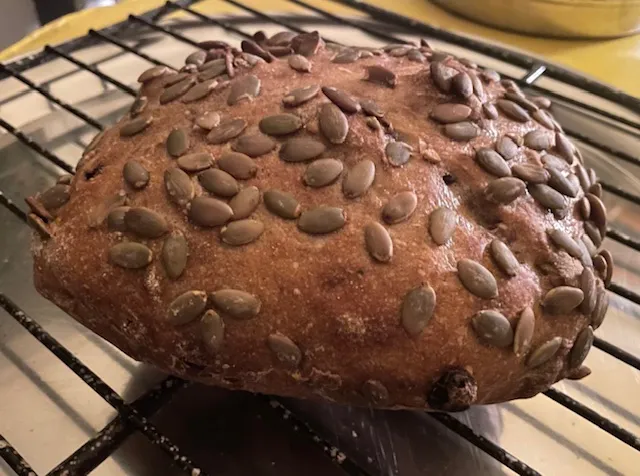
So I was super-patient with the yeast water -- letting four organic apricots sit in water for six days till the liquid was bubbling. But I was super-impatient with the dough: a somewhat more wholegrain version of Hamelman's Swiss Farmhouse formula. (I changed the recipe to 70% bread flour/10% rye/10% spelt/10% malted khorosan because I figured that no self-respecting Swiss farmhouse baker would make a 90% white flour loaf. A white bread is a city bread.)
- Log in or register to post comments
- 6 comments
- View post
- squattercity's Blog
Vegan Black and White Sesame Crackers (Aquafaba)
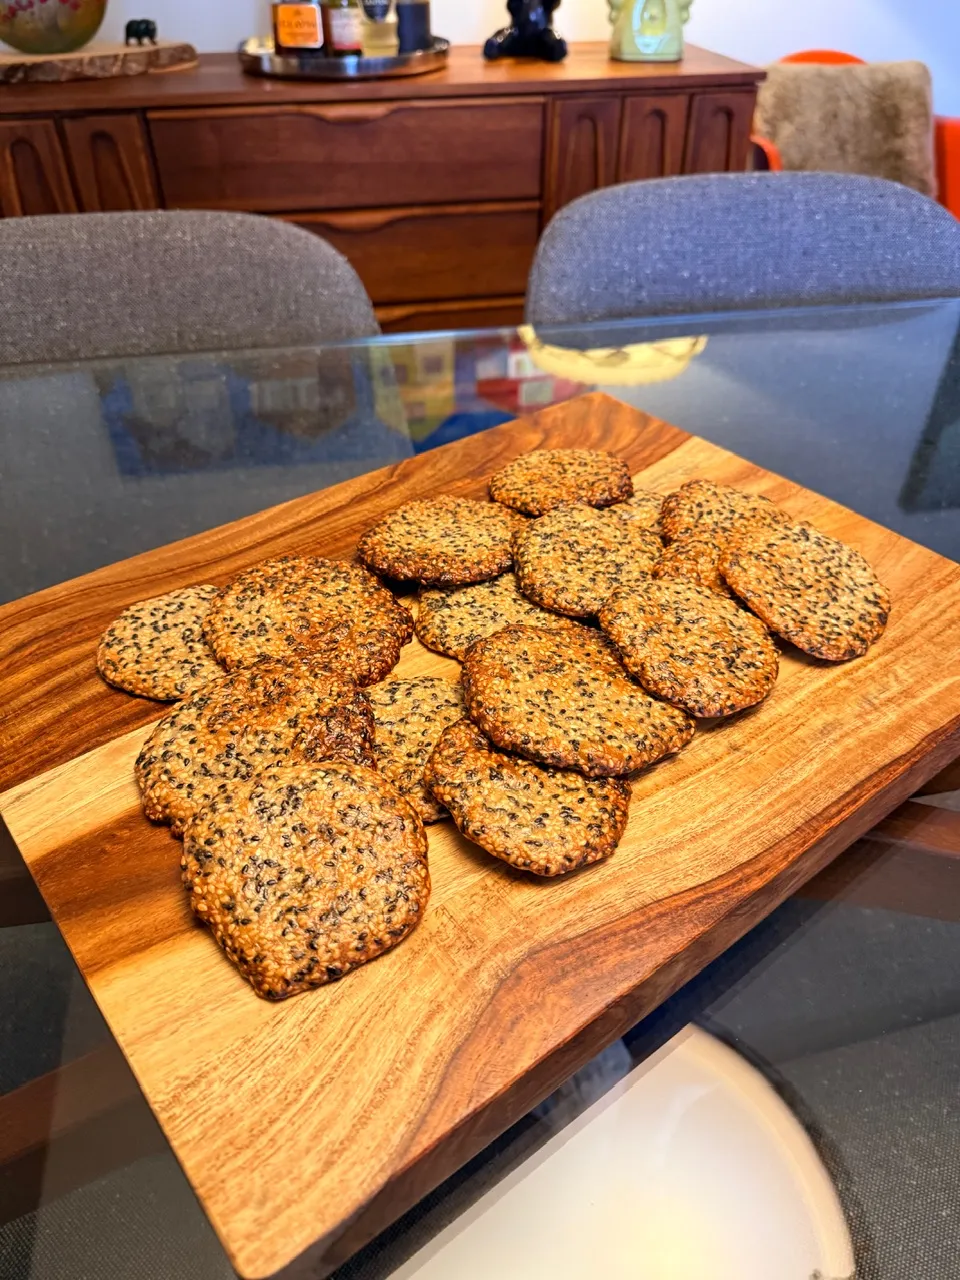
We will be traveling for a month and a half, we leave next week, so I haven’t been baking as much since we won’t be around to eat it all. I did however, have some aquafaba from a bean and fish recipe I made so decided to see how well it would work for these crackers which I’m kind of addicted to lately. You may recall that aquafaba is the water left over from a can of beans and it is very very useful as a vegan substitute for egg whites in many baked goods such as meringue.
Gofio muffins - baking from the Canary Islands

We're in Tenerife for a hiking vacation, and I chanced upon this bag of roasted corn and wheat flour in the supermarket.

There are also versions with only corn, or a combination of corn and other grains, but I bought the 50/50 corn/white.
- Log in or register to post comments
- 18 comments
- View post
- ll433's Blog

Cinnamon buns for the cold snap

The cold snap calls for cinnamon buns. There's a letter-fold step I missed photographing.


- Log in or register to post comments
- 5 comments
- View post
- loydb's Blog
Whole Wheat-Spelt with Caramelized Onions, Cheddar and Parmesan Cheese with a Spelt Tangzhong

I dare you to say that 10x fast!
This one was made with fresh-milled Butler’s Gold and Spelt from Barton Springs Mill. The rest of the flour was King Arthur bread flour.
The caramelized onions were cooked in my mini-slow cooker overnight. I drained them in a strainer to remove as much excess liquid as I could, and used the onion water as part of the water for the main dough.
I used a generous amount of cheese in this bake, combining shaved Parmesan and 10-year-aged Vermont Cheddar, both cut into small pieces.
- Log in or register to post comments
- 4 comments
- View post
- Isand66's Blog

High Extraction Yecora Rojo Batards

I recently picked up Richard Hart Bread: Intuitive Sourdough Baking, in which Hart describes a very simple shaping method for his "City Loaf". Basically, after pre-shaping into a round and resting, he folds it in half like a taco and places it in the banneton. According to him, there's no difference in oven spring or ear formation vs the convoluted stitching and rolling method he learned at Tartine. I decided to give it a shot, so I doubled my normal recipe to do a side-by-side comparison.
- Log in or register to post comments
- 5 comments
- View post
- fredsbread's Blog