This week's baking

Brother Glenn and I so often seem synchronized. Get this: I'm still baking bread too! But, then, I am not going to Scotland any time soon.
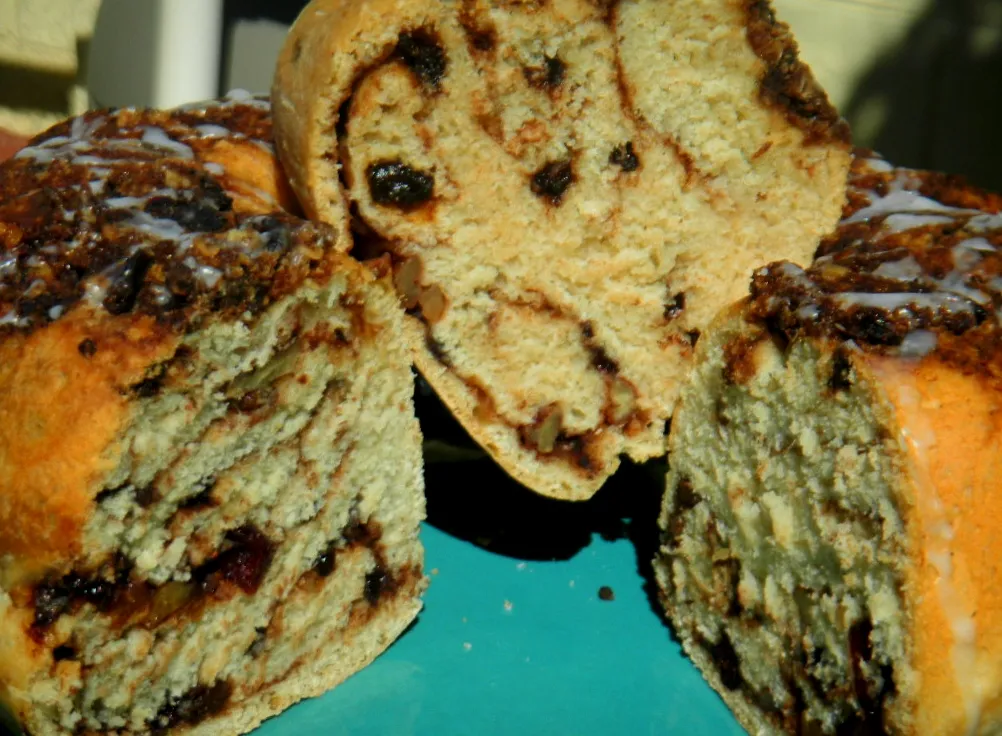
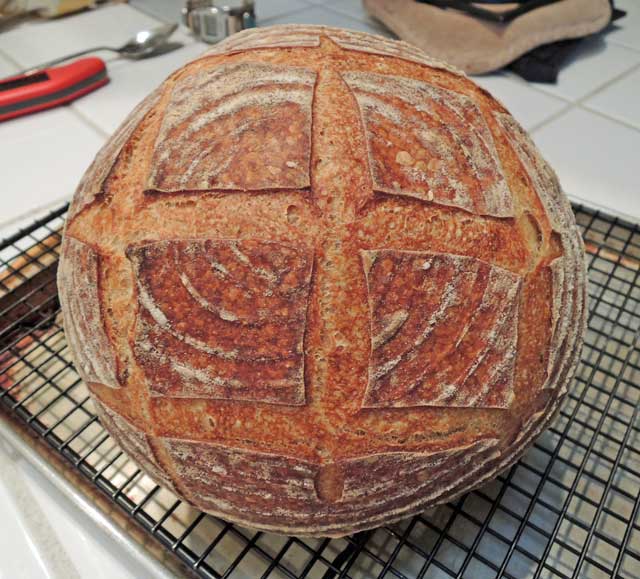
This week, I took a break from my adventures in Forkishland and baked some old favorites.

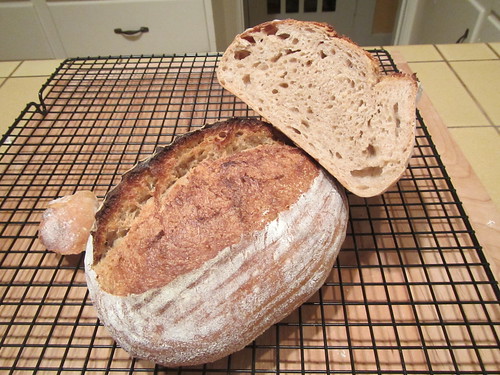
San Francisco-style Sourdough with diamond scoring
- Log in or register to post comments
- 13 comments
- View post
- dmsnyder's Blog