Wonder Bread or Wonderful Bread?

TFLers,
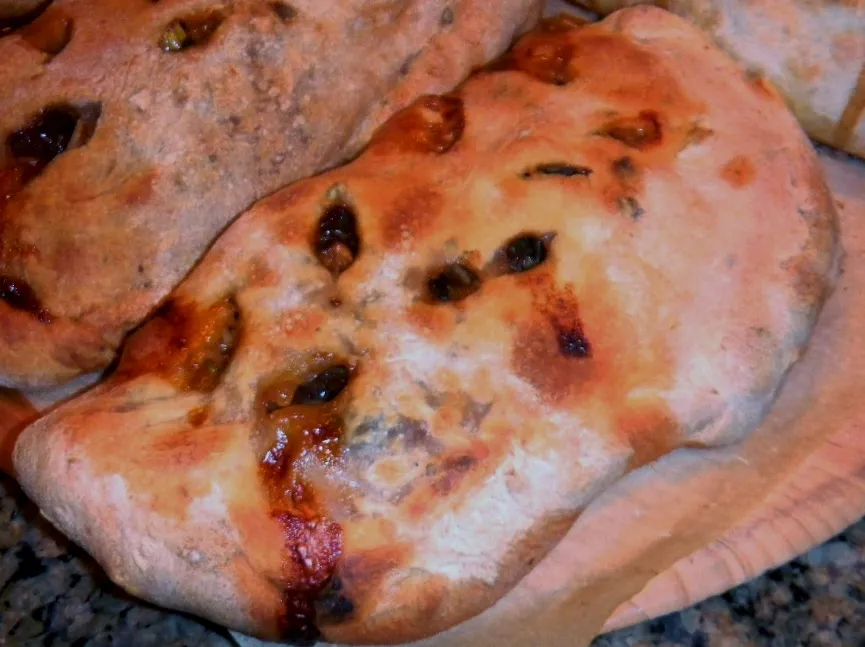
This forum has been my teacher and my mentor as I explore artisan bread. I've had some successes and spectacular failures.
As co-publisher and editor of GoodFood World, I often write about bread, flour, and grain. Here is the latest piece we've published on the subject of bread. Enjoy!
http://www.goodfoodworld.com/2014/01/wonder-bread-or-wonderful-bread/