Improvising tools and other thoughts
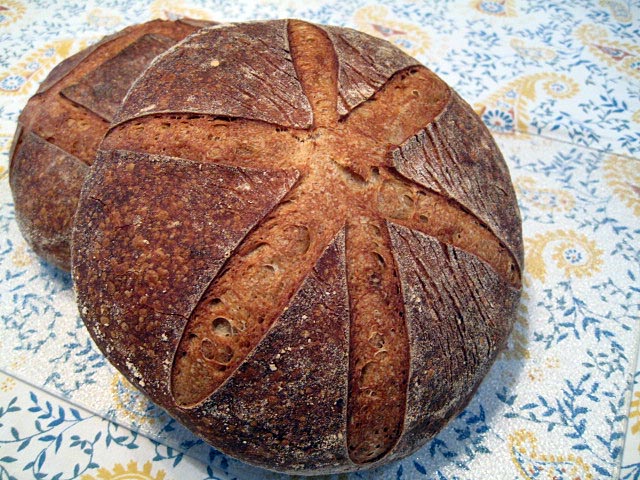
Over the holidays my husband has been trying to increase his carbon footprint by leaps and bounds. This time of year is quiet for us, we own an A/C and heating company in Texas. So summers are crazy and winters allow us some time to play. Our big new toy has been the wood fire oven. I didn't realize how into cooking in it my husband would become. I swear he has decimated the chicken population around here in recent weeks and I have made more bread than I could really give away. I am waiting for my neighbors to not look me in the eye and try to run wheneve
- Log in or register to post comments
- 8 comments
- View post
- janij's Blog