
very new, many questions, starting with scoring
Hi, I'm very new at sourdough. Given the endless possibilities I'm just going to start somewhere. Please let me know what sounds off.
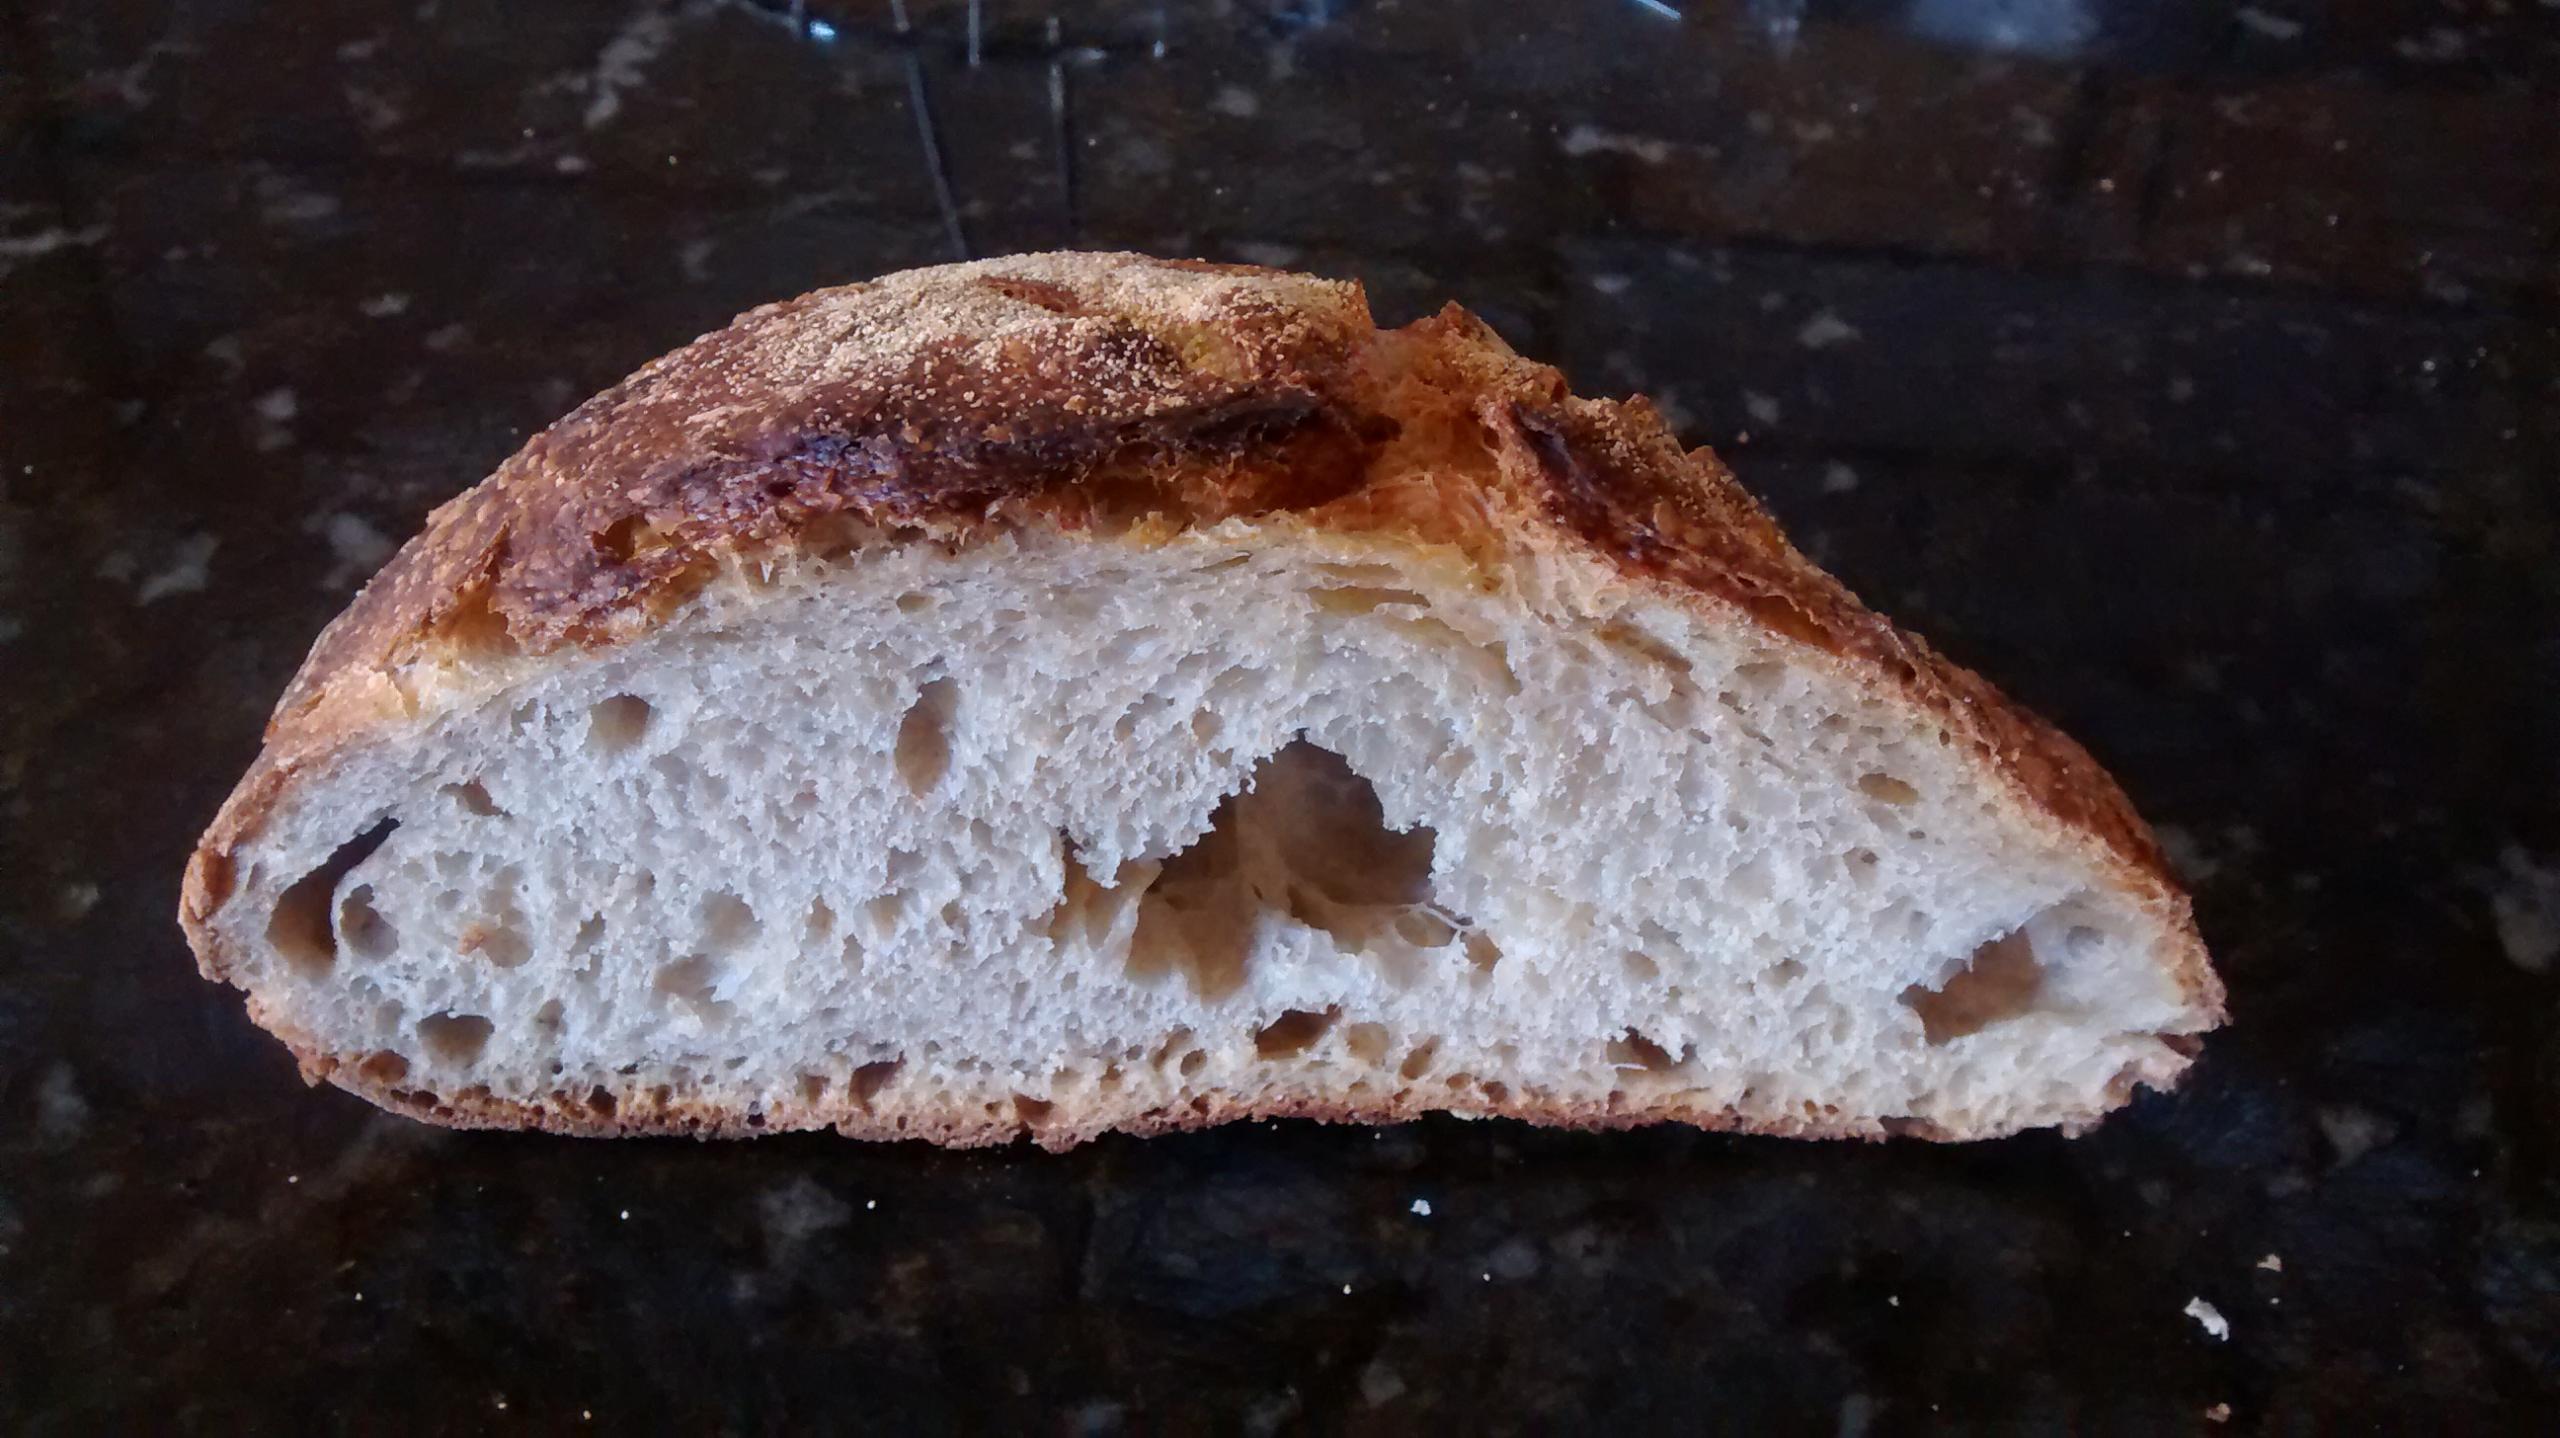
Where I'm at: I made a loaf that ended up with a real nice crispy thin crust and a nice soft crumb (the picture shows it) that isn't quite right but tasted wonderful. (It's the last part that will keep me going). The problem is the dough never quite looked like what I've seen in numerous videos. Not real silky and smooth. When I scored the dough the blade stuck more than cut. It was part cut and part torn. I had a round dough and tried to cut a star in it. The first cut was okay but the second didn't work so well. The result was that where the cuts came together the spring was really good but where they didn't the skin of the dough kept the spring from happening. It was kind of a lopsided looking loaf, but still tasted wonderful! The main question here is what does it take to make it easy to score. I suspect all the problems I'm having are related to the dough not being firm enough.
Details of what I did: It turned out to be a 65% hydration dough (I thought I was going to do 70% but miscalculated). I mixed just the flours and water and let them sit for 2 hours, added the salt and around 25-30% starter. Folded it as best I could. (I suspect 65% hydration is too low for stretch and fold?) Let it ferment for 3 or so hours. folded a few more times Formed it. Put it in the fridge overnight. Pulled it out, let it finish rising, and this might have gone too long because it was easily doubled in size, and then placed it in a preheated dutch oven, tried to score it, and then baked it. One thing about placing the dough in the hot dutch oven was that it was not graceful (that pot is hot!) and it smashed down one side. The dough was much softer than I thought it should be.
One thing to note is my house is at 68F and it's very dry (I live at 5000 ft) and to ferment or proof I have an old reptile heating pad that I put a bowl on and then put towels on top of that to make a sort of heat box. The dough always feels cool and I don't think it will rise unless I put it on this heater.
Anyway, if you can make sense of what I said and have any suggestions, I'm interested. Thanks!


Nice looking loaf for a first try! And it's so nice that it tasted good - bonus, right? :)
Here are a few things to try:
Hi Matt,
I've had the same experience with scoring. Just a slight dusting of flour can create a drier surface that's less prone to sticking.
Jeff
IMO scoring is WAAAAAYY easier on a loaf coming right out of the fridge (and I like the logistics and the results in the finished loaves too). You just need to get the timing down with how long you let the shaped loaves proof before putting them in the fridge, so they will be ready right when you take them out to slash and bake. Fridge temp will make a difference here, of course.
As an example (not a prescription)... for me making tartine-ish loaves, I do my final shape and let them sit at room temp (~68+) for 30-45 minutes, then put them into a 42F fridge at around 1-2pm and they are set to bake pretty much anytime the next day. I get everything set up and the oven and combo-cooker heated, pull out a loaf, plop it down, score, cover, and put it in the oven.
Lazy loafer, I don't think I said first loaf. More like first loaf that wasn't disappointing. :) Thanks for the reference to the breadwerx site. It strongly suggests I'm doing a few things wrong. Getting flour with a higher level of protein is the first. giving it more time and slowly working it more is the other. How hot do you set your oven if you're putting parchment in it?
JeffyWu, thanks, I will try it.
bikeprof, I'd think putting a cold dough in the oven wouldn't work, but I guess the difference between 40 and 70 vs 450 isn't that big a deal. I really like the timing you have. Good bread for breakfast, even if it's more like brunch, would be wonderful.
Many claim they get better spring baking cold loaves right from the fridge (and a number of folks who don't do a refrigerated overnight proof will pop their proofed room temp loaves into the freezer for 10-15 minutes just before they slash and bake).
I think both ways work well and it is more a matter of getting the timing/proofing level dialed for getting good overall results. Slashing, on the other hand, is simply much easier with cold dough, and I'll do the freezer trick just for that reason, esp. with baguettes, since they are the ultimate test of slashing technique, if I don't proof overnight in the fridge.
I've baked over 12000 loaves cold straight from the fridge. It works.
I don't really change anything when I'm using parchment, whether it's in the cast iron pots or on the hot granite stones. I pre-heat the oven (and the pots, if using) to 475F for about 45 minutes, then put the bread on the parchment into the pots and back into the oven. I usually turn the heat down to 450F once the bread is in there, then down to 425F when I take the lids off the pots.
And parchment doesn't burn at 475? Wow. This will be easier.
How much will the dough keep proofing if I put it in the fridge over night? It's at least going to keep proofing until it cools down.
I'm so glad I found this forum.
How much will it keep proofing in the fridge? Well, that depends (as always) on a few things:
Are we having fun yet? :) I think there probably is no simple answer to a question like that, which is certainly not a dumb question at all. Much of bread-making is a constant learning experience and consistency is rarely achieved by home bakers with relatively uncontrolled environments.
Just my 2 cents on scoring. I'm fairly new at bread baking myself and have had a lot of trouble scoring. Even though I'm using brand new double-edged razors, it seemed like I was going at it with a spoon. What I've done to improve on this is to summon my inner Conan the Barbarian and score like a warrior. Fast and deep. The dough will sense your fear and will grab your lame if you don't get the upper hand quickly.
:)
If you think outside the box a bit, you're not limited to one attempt per loaf. You can score, flip the dough part-way over and score again on multiple surfaces, and/or score, re-shape and score again.
So it's clear, either way will affect the dough and the final product. But only if you bake it, which you don't have to do. I always baked them and (luckily) never made a loaf that was inedible, but even if I'd tossed the doughs, the cost wouldn't have been much since the loaves I practised on in this way were the ones without expensive ingredients.
Long story short, I took a huge step forward (and the result tasted better than before).
I took the breadwerx recipe and stretched it to 3 days.
Important lessons: I used King Arthur bread flour rather than regular. I was amazed at the difference.
Lumps are bad. One problem with the breadwerx video is he puts the flour into the water and when I did that I got a ton of lumps. I tried again and did it the way I have always mixed water and flour (put the water in the flour and slowly pull in more flour). The resulting dough looked just like all the videos. This is a first.
I completely guessed on when it was done proofing.
Anyway, I took a photo straight out of the oven. I don't think I scored it deep enough because it looks like it started tearing. I wanted a picture of the crumb but my kids came over and there isn't much left. The taste was really good.
I'm sure there's more to learn but at least I have a good place to start from. Thanks again for all the help.