Last and First Loaves

- Log in or register to post comments
- 25 comments
- View post
- Franko's Blog
Thanks goes out to John01473bwho found the errors the formula spreadsheet and the one for Poolish Stuffing Bread too. Nice catching John!

Originally we were going to make some soup bowls for the squash soup our daughter requested when she comes home today from college. But, we just wouldn’t eat that much bread at one time and it would go to waste once it got soggy.

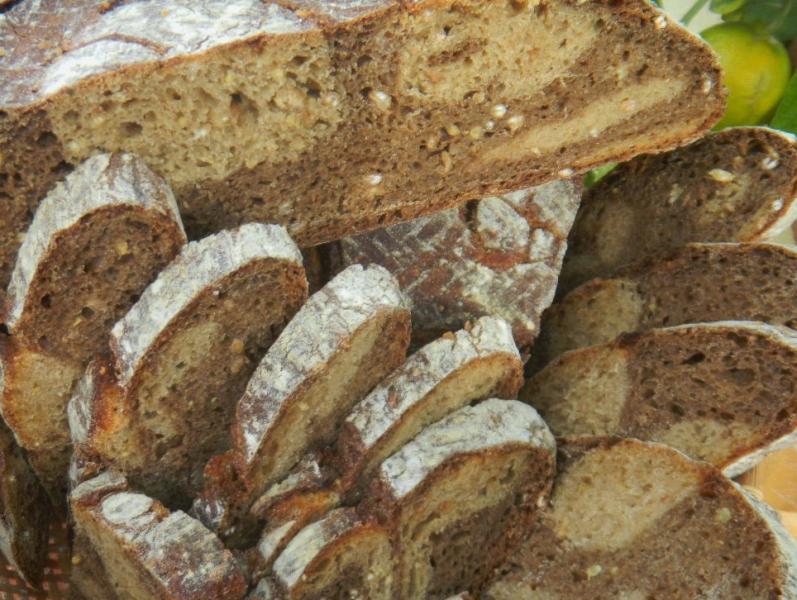
When we traveled for the first time to the Yucatan, I wanted (of course) to try some typical Mexican breads. The bakeries in Cancun and Tulum had beautiful displays, and we were very eager to purchase a selection of those pretty little breads and pastries.
But what a disappointment! The attractive exterior was misleading - everything we bought tasted more or less bland and sweet.
 Bakery in Tulum - a pretty disappointment!
I've been busy baking this week, but haven't quite caught up on posting about it. So you get them all at once.
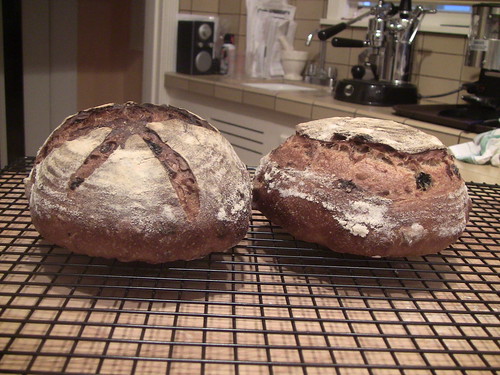
First, I played with spelt for the first time with a Sourdough Spelt Country Loaf. It truned out very tasty and had more structure than I thought it would.


Hello everyone,
I caught an episode of "Mexico: One Plate at a Time", on TV - hosted by Chef Rick Bayless.
Fresh flour tortillas were the subject - very quickly made, using a food processor.
The recipe is available online at rickbayless.com -
(I used the ingredients posted online, and the method demonstrated on TV, to make these tortillas).
Dear TFL'ers
I'm on an obligatory pause from baking, as i've underwent a spinal fusion Surgery in my lower back. Can't bake nothing now, nor bend forward... It is a dead pause for 3 months at least! I'm bound to this dreadful back brace, so the only bread related activity i'll do is watch TFL, and learn more, take it easy, and enjoy some time in some personal reflection (remembering how vulnerable we are as humans, and that without God's mercy and grace, we are helpless).

After the difficult and tedious Not So Stollen bake earlier in the week, we decide to continue our Thanksgiving bake list with something much simpler, less stressful even if not as enjoyable.