Lucy is Runner Up with Her Mice Guarding the Pumpkin Entry
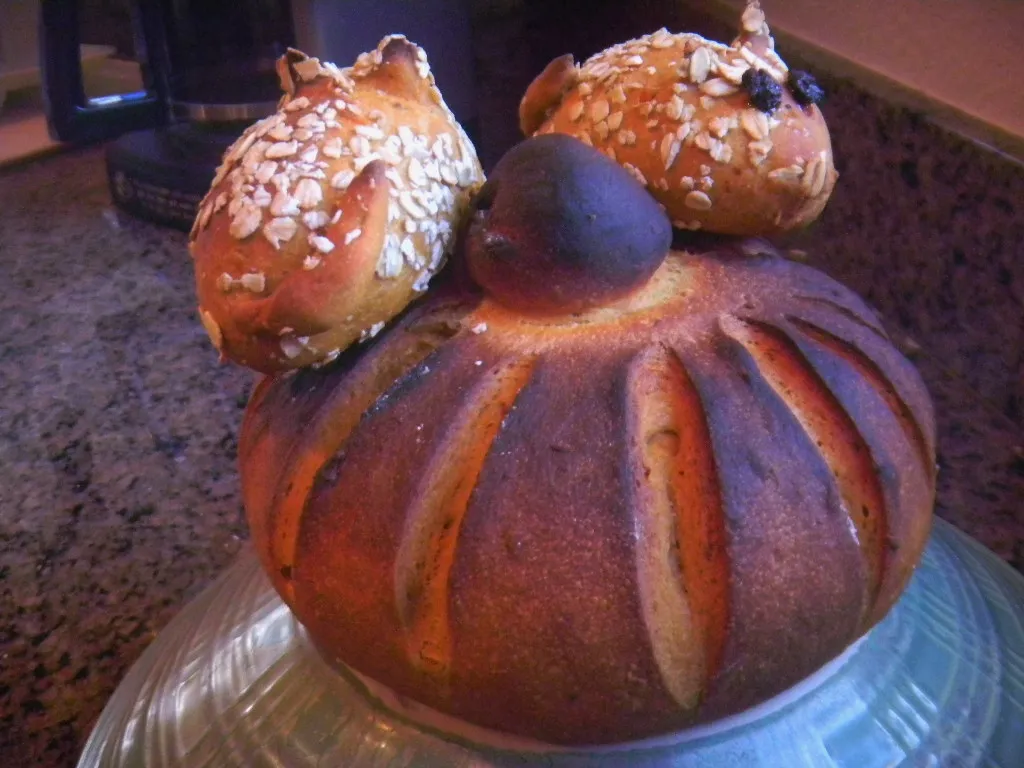
Lucy is so excited in finding out that her Mice and Pumpkin won runner up in the Arizona Republic’s Halloween Baking Contest. She won a gift card and this Wednesday she has her entry featured in the Food and Drink section of the newspaper along with the winner and the other runner up.

- Log in or register to post comments
- 16 comments
- View post
- dabrownman's Blog


