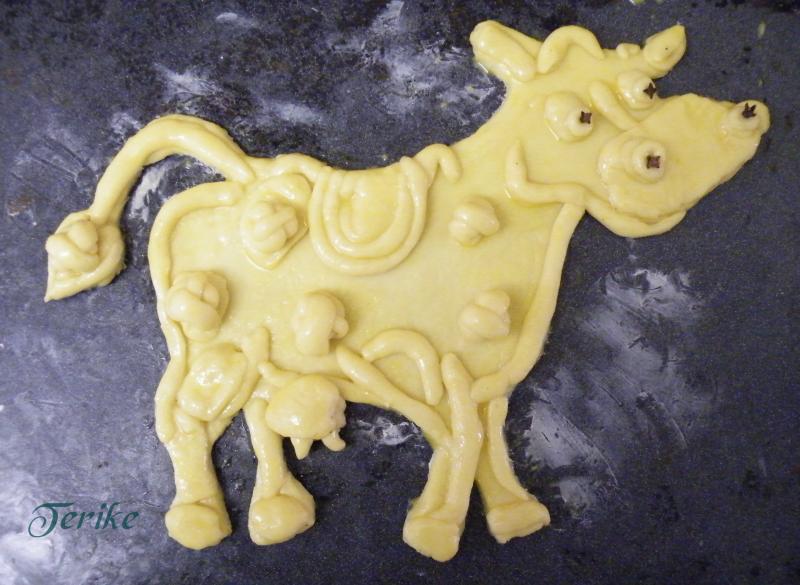
vVolin cake


- Log in or register to post comments
- View post
- Szanter5339's Blog


There really is a difference. And right now we’re loving fougasse. So much that we have entirely rejected the idea of making focaccia.

When I first read about fougasse, I thought it must be virtually the same as focaccia. I dismissed making fougasse because I’d made focaccia. They were the same, after all....
Shaken Baking Confidence
There was some strong verbal abuse to be heard in the BreadLab kitchen this morning. The air trembled with ancient Dutch strong language when that elusive and downright arrogant confectionery that calls itself "French Macaroon" failed in the oven... yet again!
I have returned to last weeks Dark Rye formula with a test bake to determine if the rye flour I am milling is creating havoc with the 100% rye formula.
Two batches of dough were prepared using different flour in each.
For one I used organic wholegrain rye flour from Kialla Pure Foods and for the other I milled organic rye grains from the same company in my Komo Fidibus XL mill.
I didn't even finished my last rye bread (the one I wrote about here) and I was eager to do another one. This time with rye chops in it. Or...at least I think they are rye chops... I took some rye berries, soaked them overnight in warm water, and next morning I chopped them with a sharp knife. I guess that makes them rye chops...doesn't it? As a difference from last time, I used british rye flour (last time it was austrian) from Doves Farm.

Three years ago, I made Double Knotted Rolls from a formula provided by nbicomputers, AKA Norm Berg, AKA co-author with Stan Ginsburg of Inside the Jewish Bakery. (See: Norm's Double Knotted Rolls) We enjoyed these rolls a lot, especially for sandwiches made with leftover Thanksgiving turkey.

I finally got around to making Hamelman's "Pain au Levain with Whole Wheat Flour." For comparison, I also baked his Pain au Levain. The former was cold retarded overnight. The latter was not. However, I did retard the firm sourdough starter used for both breads overnight, and I believe this resulted in a tangier pain au levain than my previous bakes.
On to some photos:
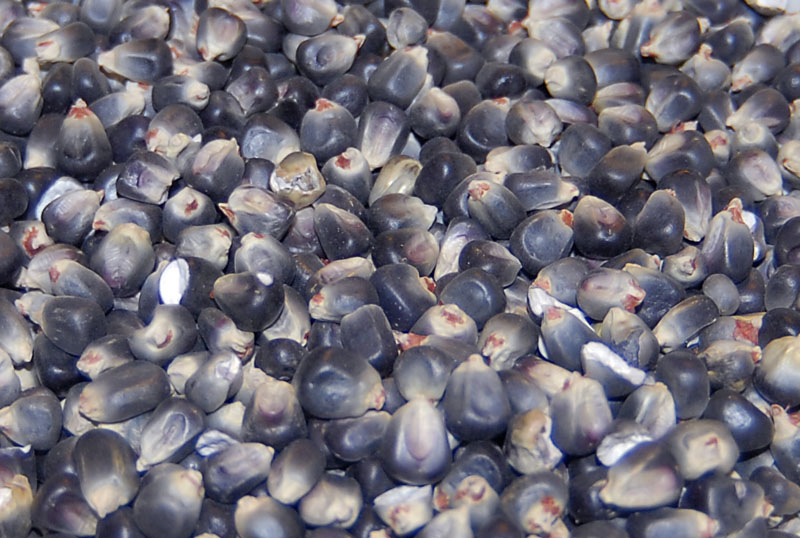
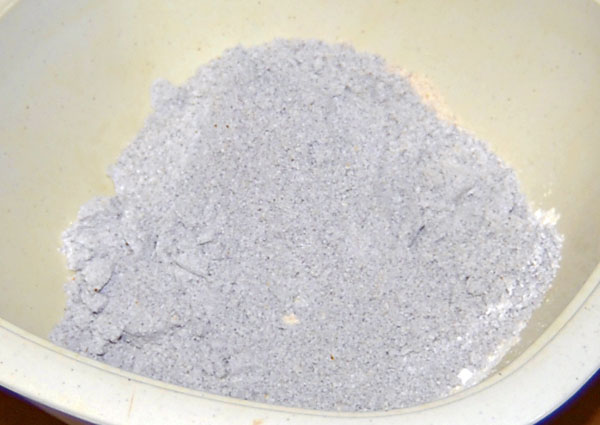
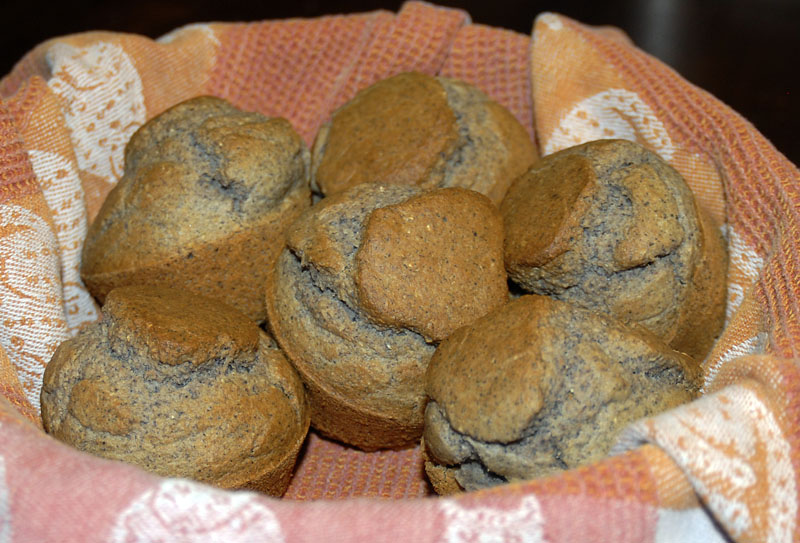
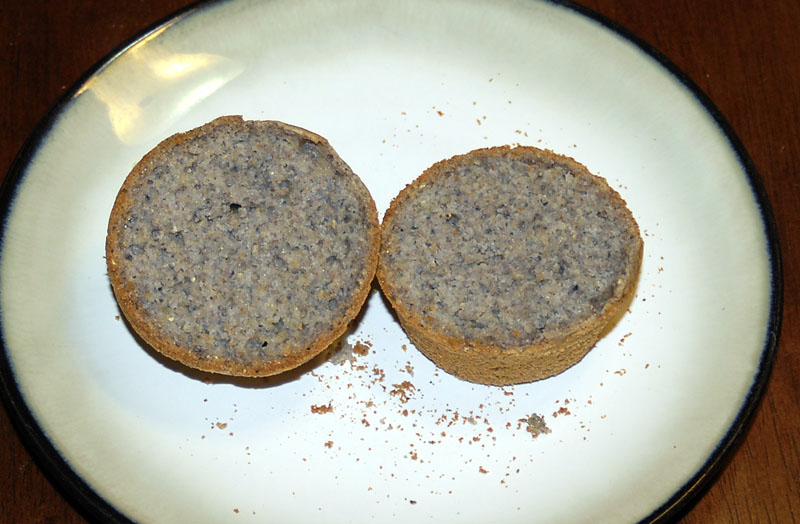
I broke out the metal 'stones' for my Retsel and made cornbread tonight. The corn was organic blue corn from Heartland Mill. The wheat flour in the recipe was a mixture of hard red and hard white wheat from Pleasant Hill. These, plus some butter and jam, were all we needed for dinner tonight.