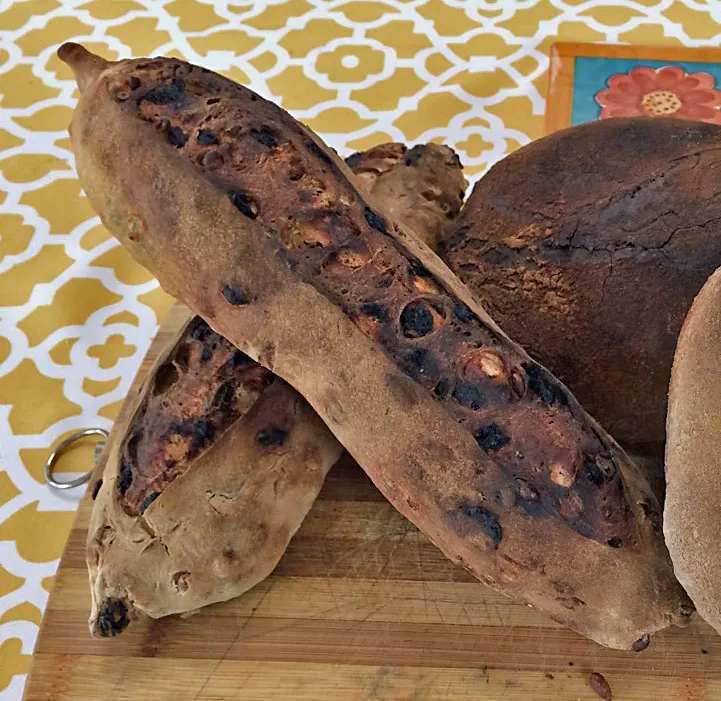
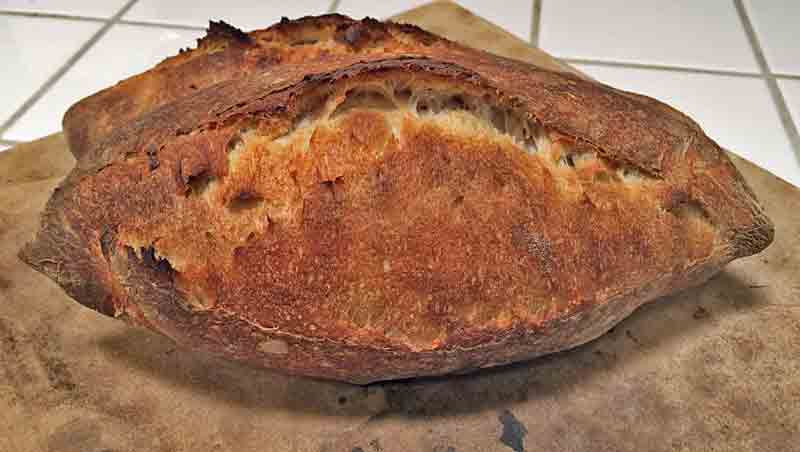
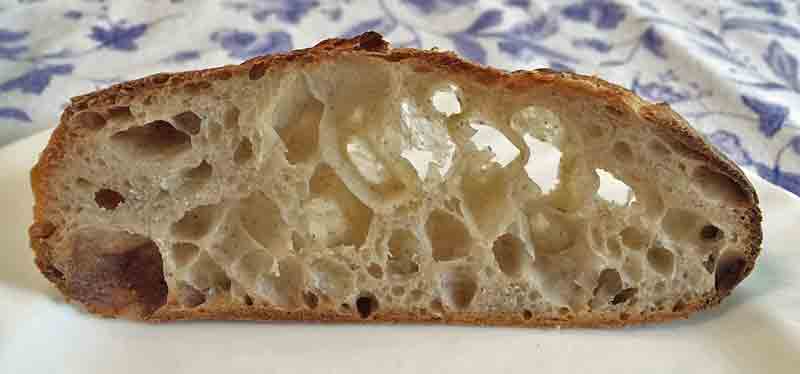
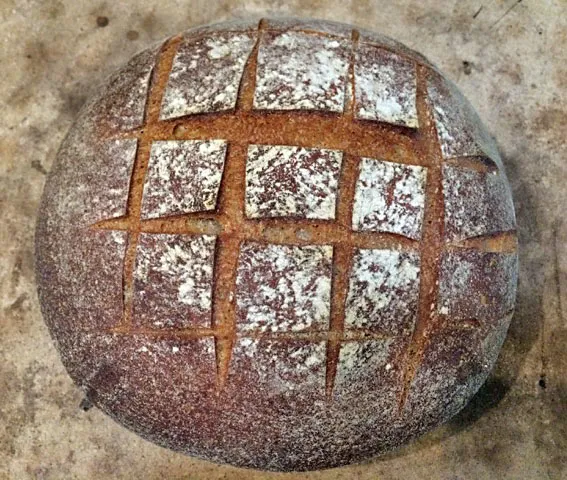
Dutch oven versus hearth baking: It's a draw.

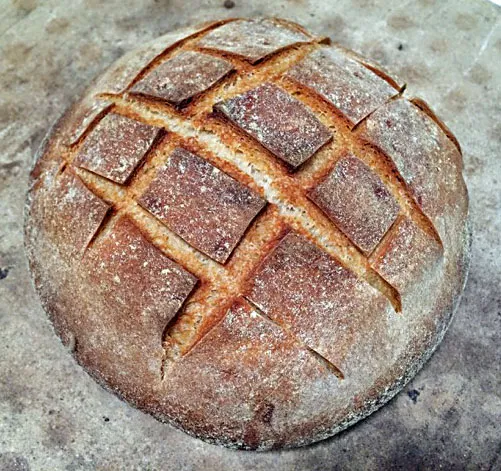
This week, I have baked two batches of Forkish's "Field Blend 2." The whole rye and whole wheat flours in both batches were milled in my Mock Mill KitchenAid attachment (Highly recommended!)
One batch was baked in Lodge Dutch Ovens at 475 dF for 50 minutes (30 covered, 20 uncovered). The other batch was baked on a baking stone with my usual oven steaming method at 460 dF with steam for 15 minutes, then at 435 dF convection bake for 30 minutes. The DO loaves are the boules. The hearth loaves are the bâtards.