Hello, friends!
I made burger buns in the air fryer on the 4th of July, but I didn't document the process.
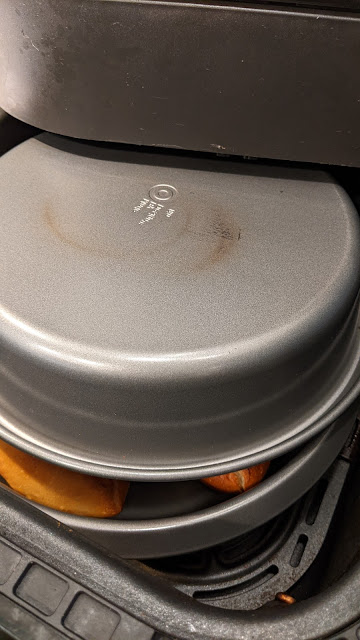
So I re-baked and took pictures. This is the Instant Vortex Plus Clear model. It has a wider but shorter interior than my Corsori air fryer.
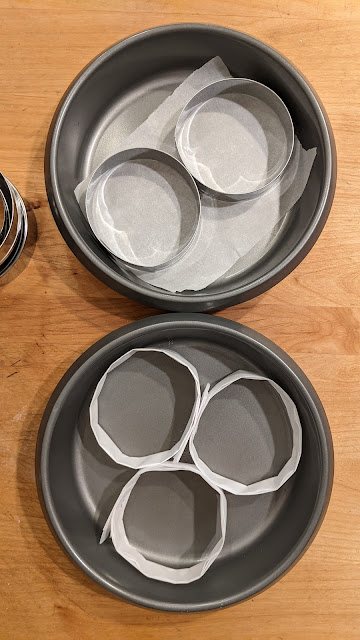
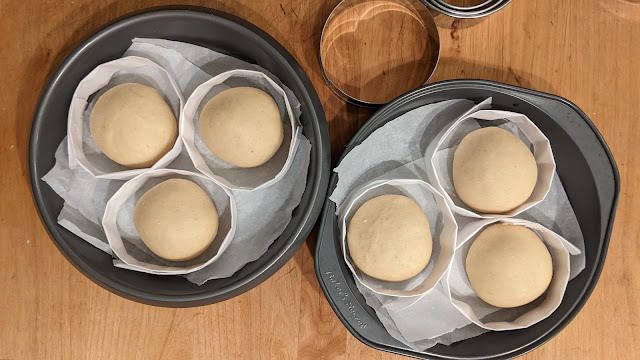
I used two Target Made by Design 8" pans (online purchase, now on sale for $2.80 till Wednesday 7/13) to prove and bake the buns. During proofing, I used a small glass container to push the pans, making sure they were completely closed to keep the dough moist. Remove the glass container before baking.
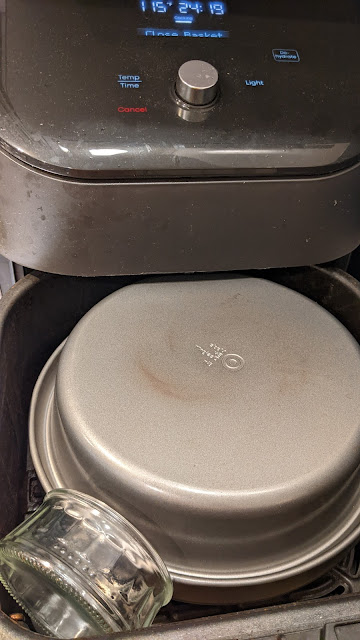
No opening between the pans during actual baking, it's shown here to illustrate the setup.
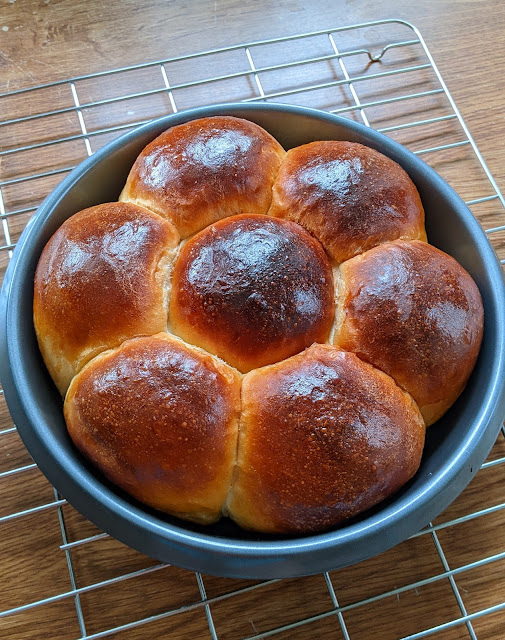
I mixed my daily milk bread dough and bulk fermented it in my Zojirushi bread machine. After shaping, I proved the buns (covered) in the air fryer at 115F x 40mins using its dehydrating function.
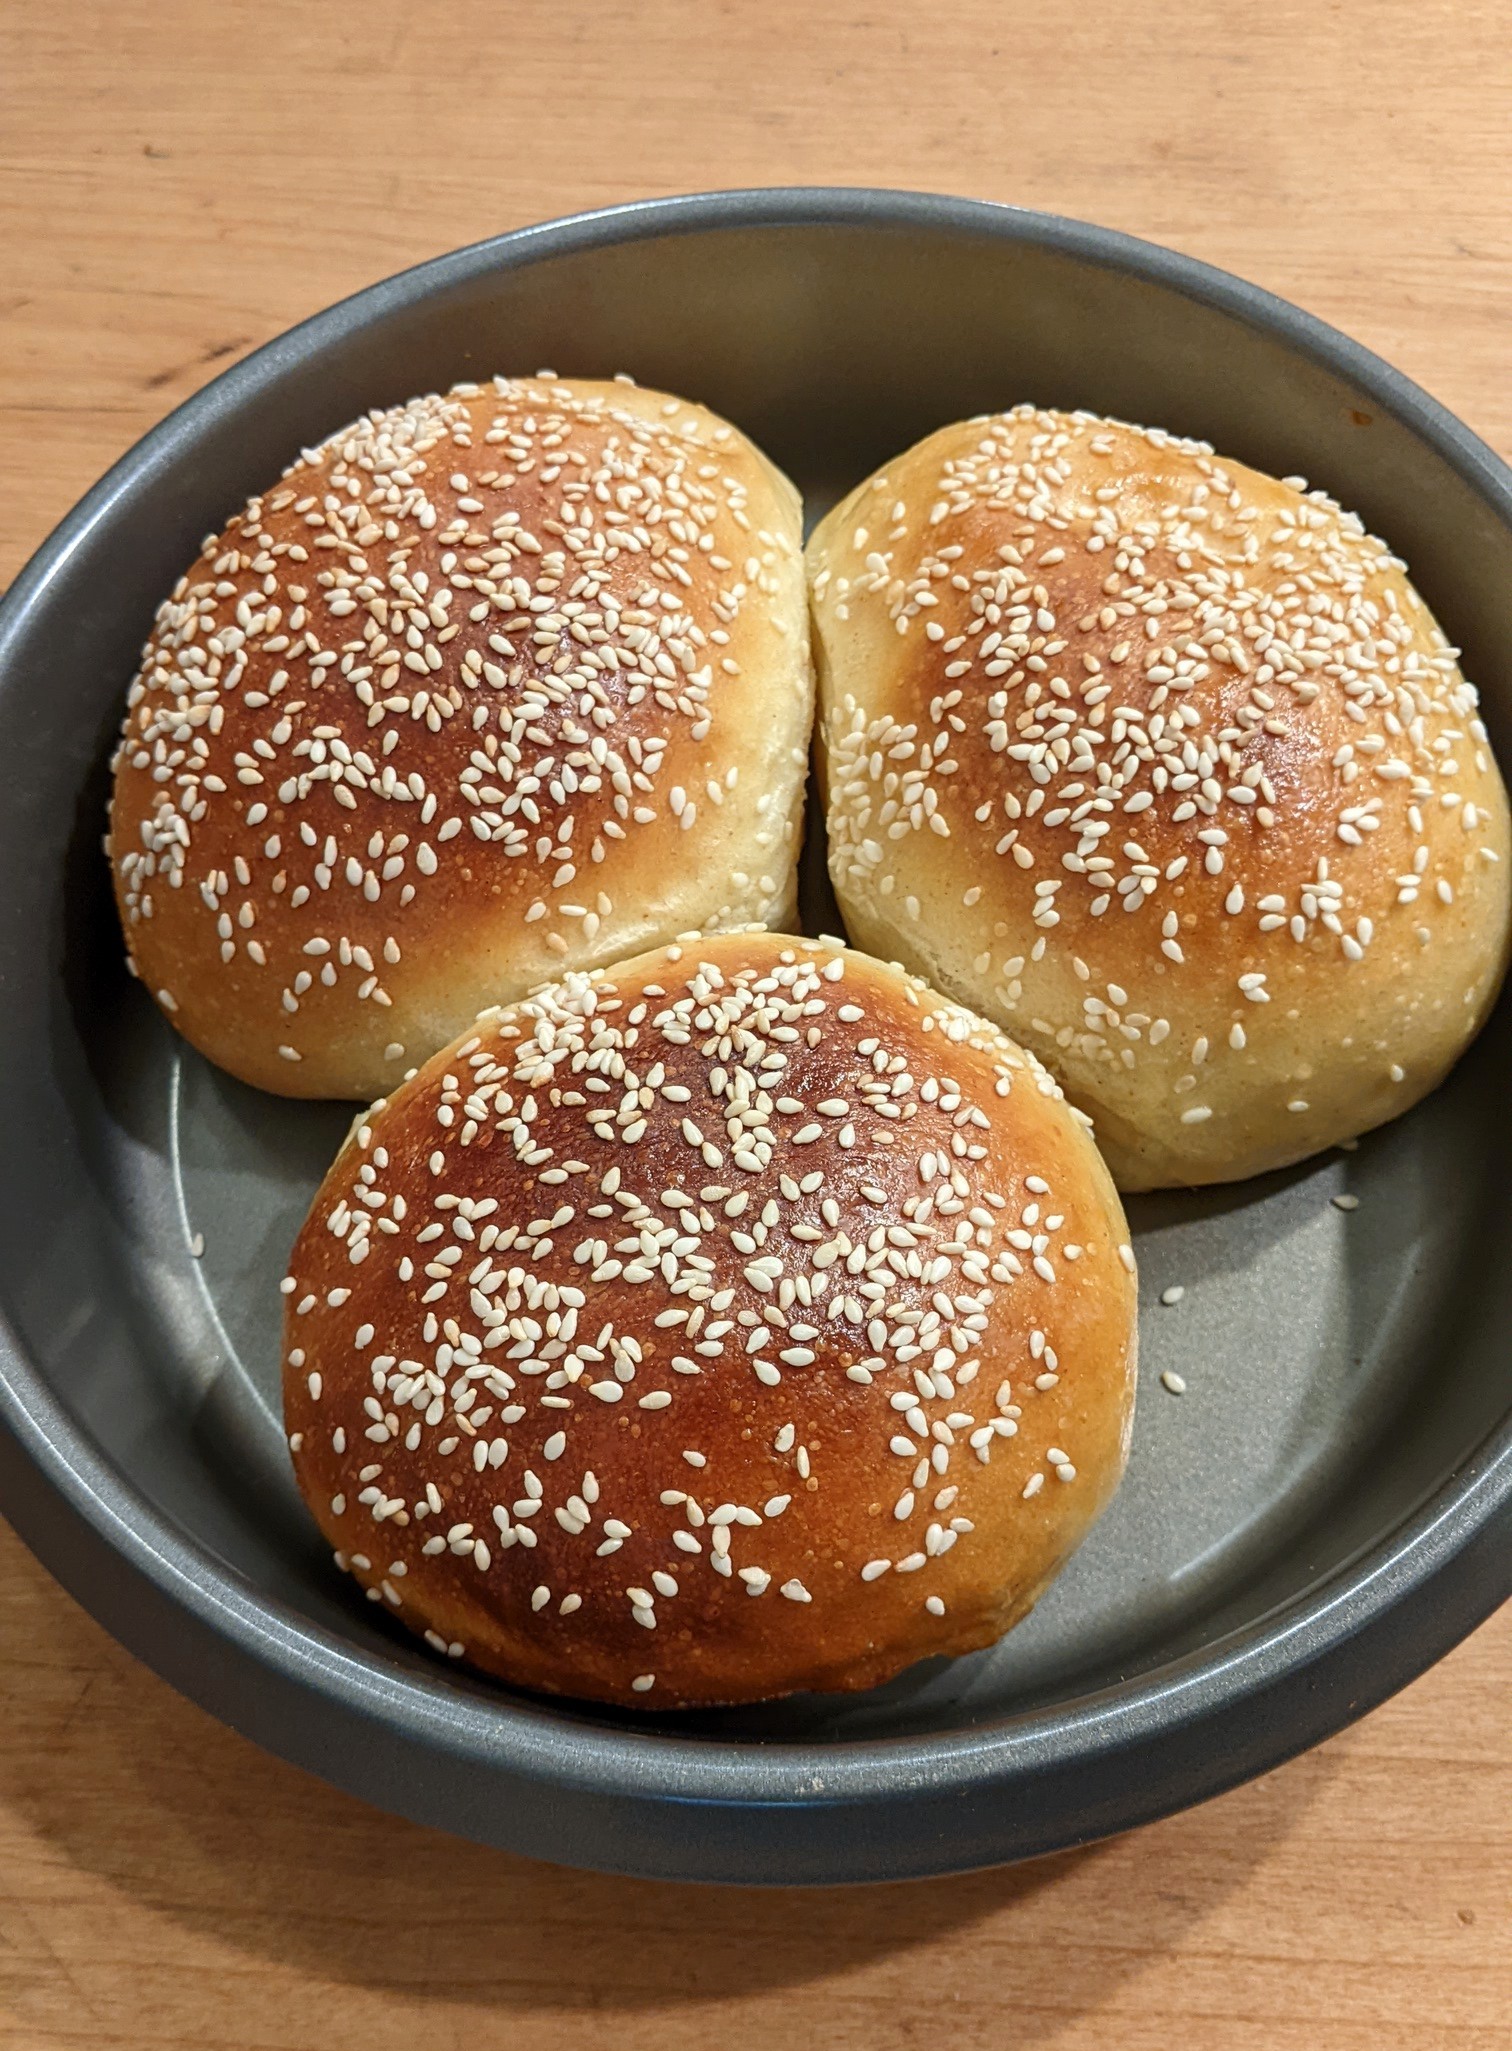
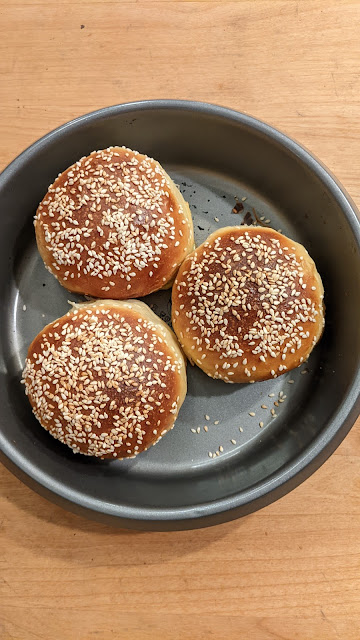
90g x 3 buns
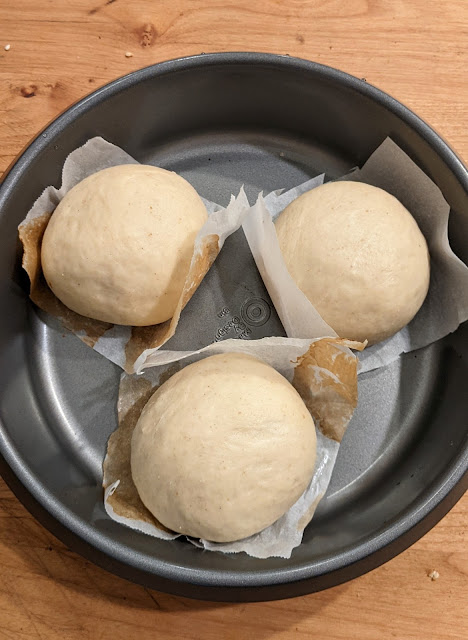
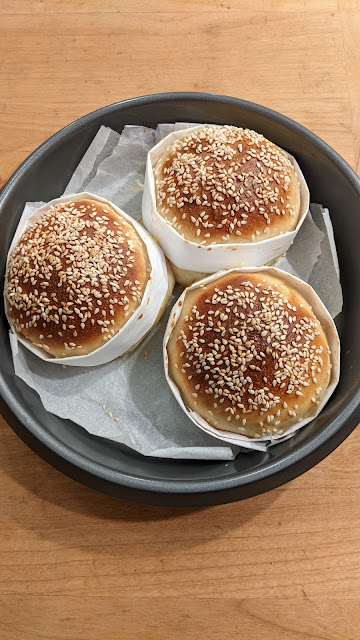
Egg washed
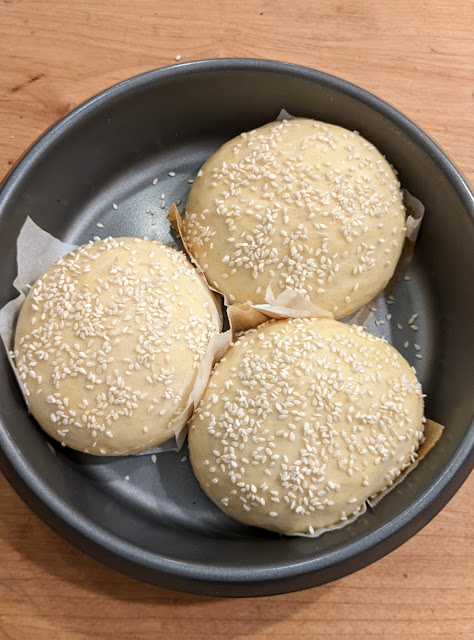
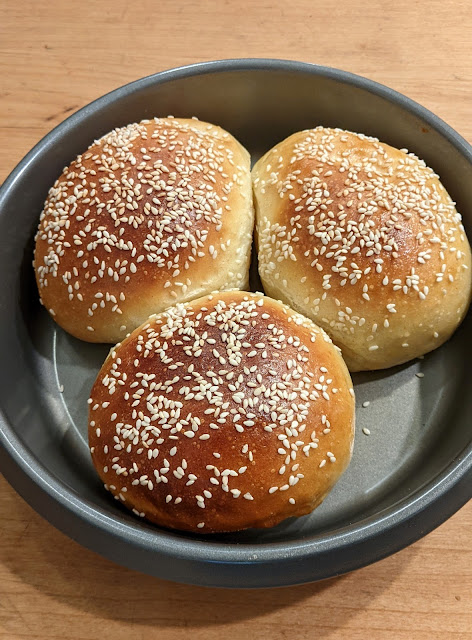
No preheat Baked at 400F x 13mins, checked (can bake for 2 more mins for a darker crust like the one I baked on July 4th)
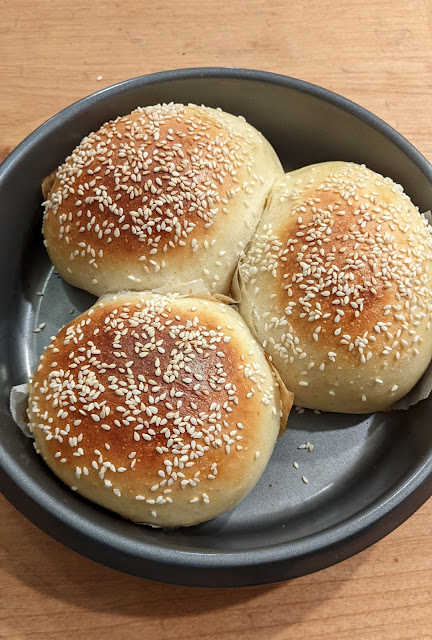
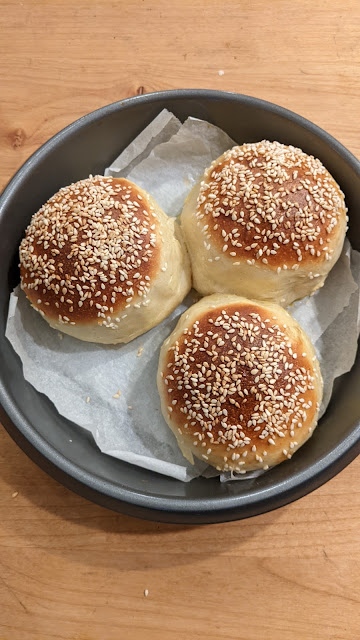
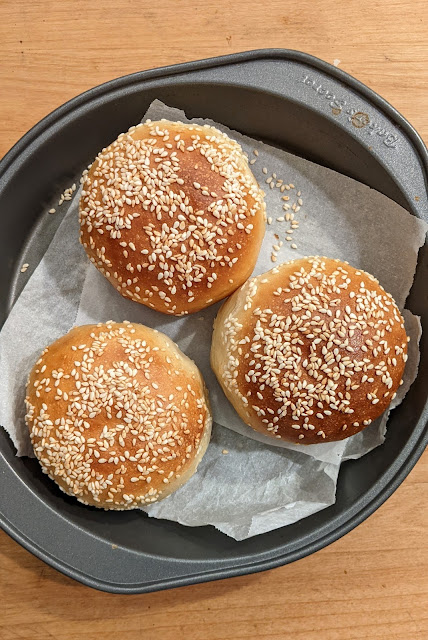
Turned the pans upside down, baked at 400F x 5 mins, and checked again. Bake longer if needed.
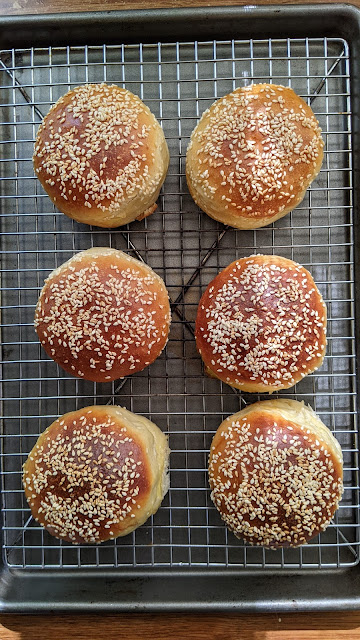
Same milk bread dough baked as dinner rolls. Same temperature and timing. 70g eachtotal flour 260g
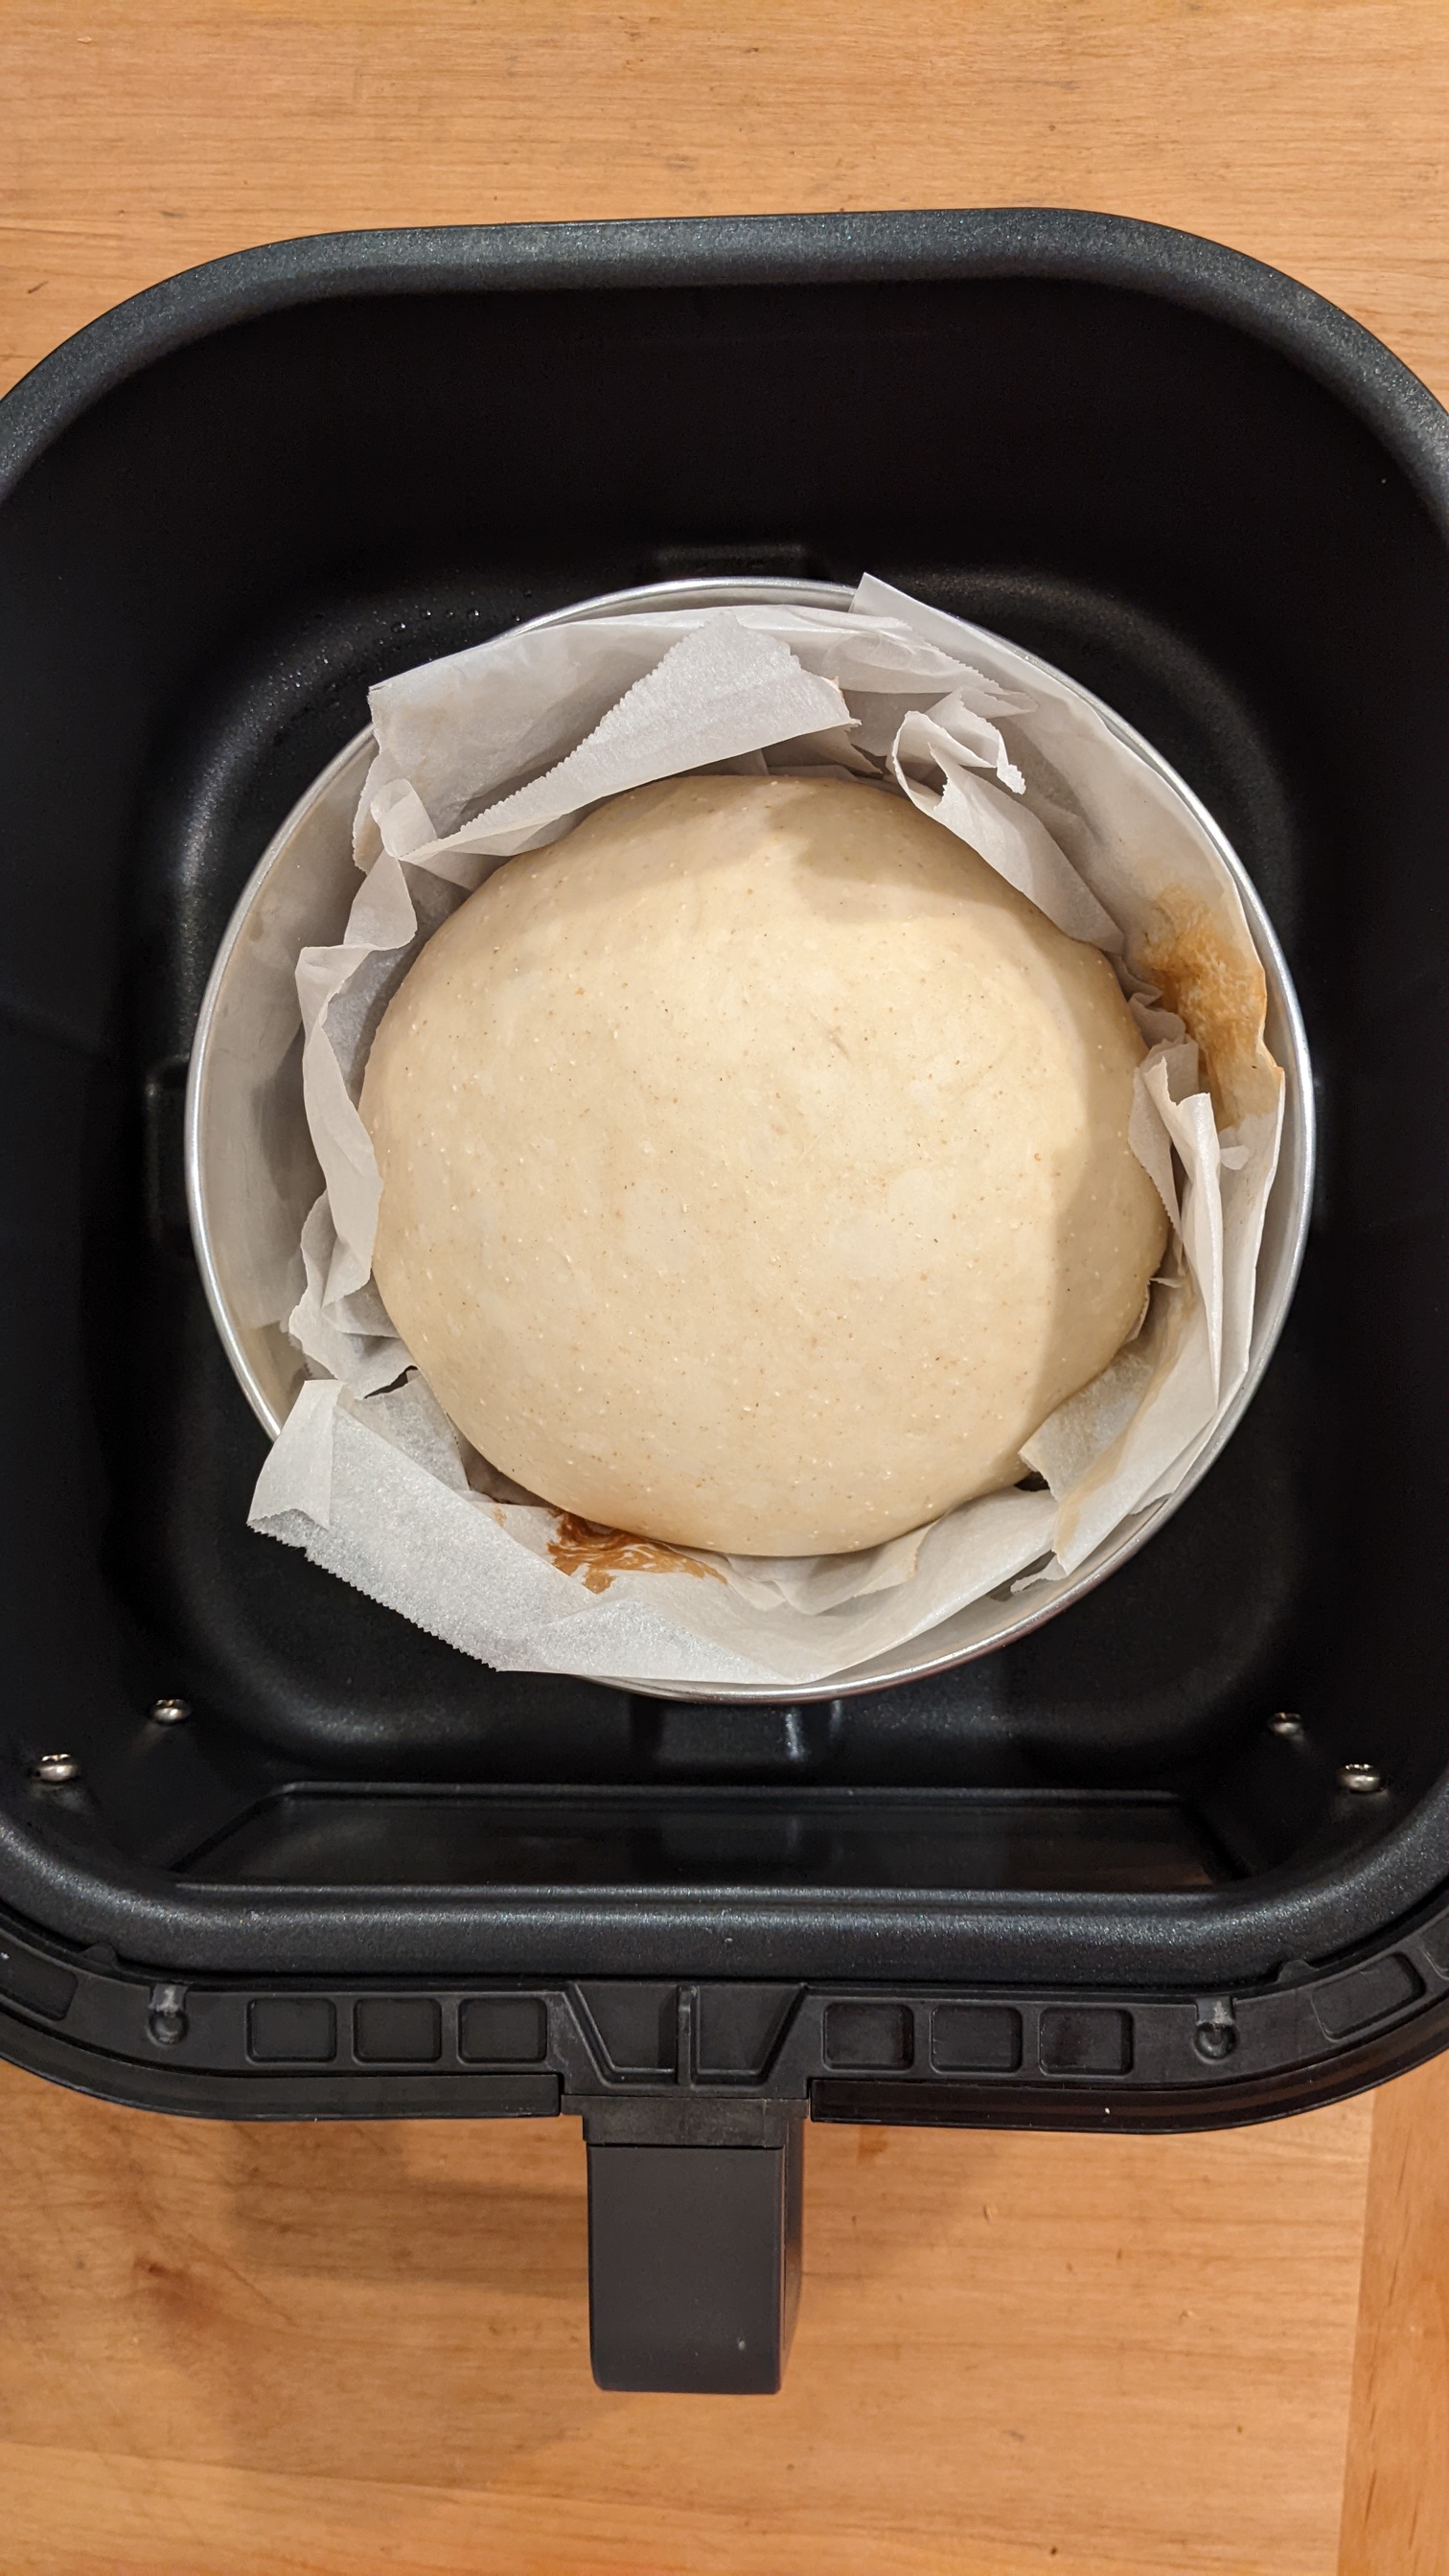
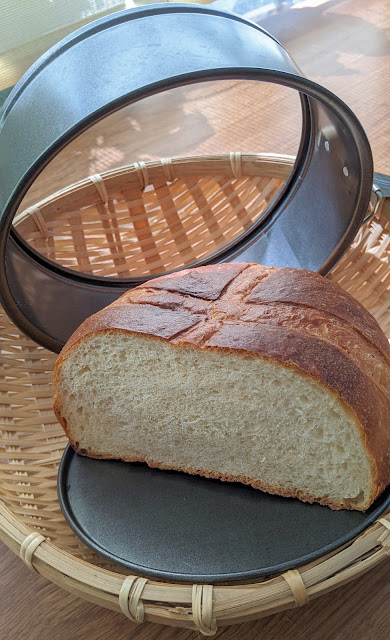
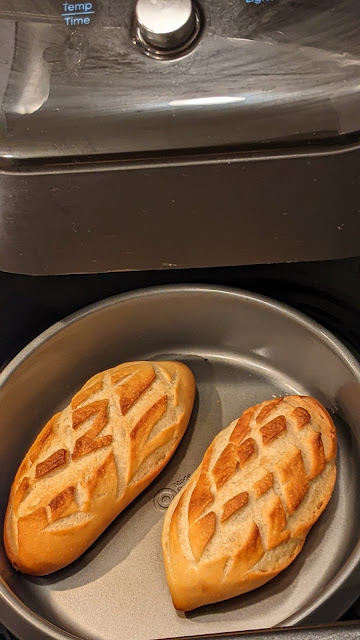
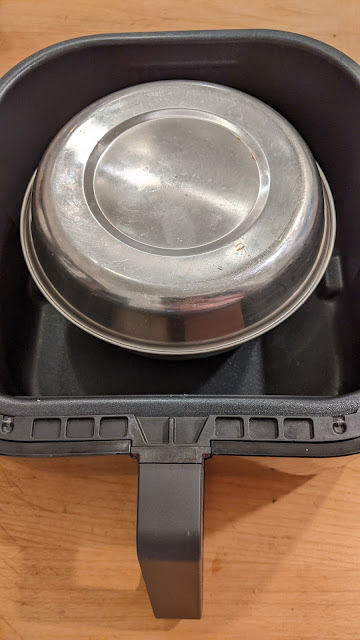
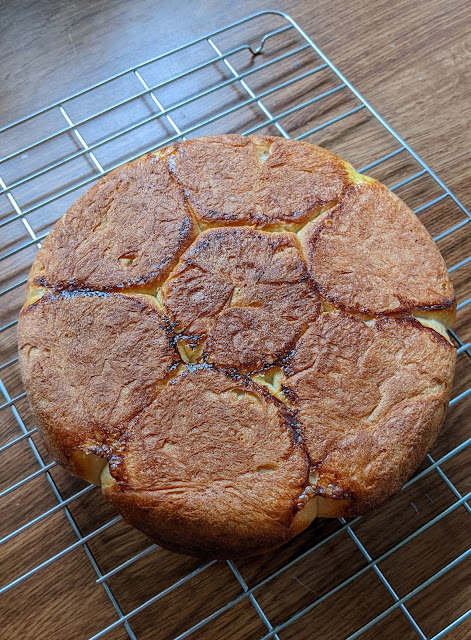 To make a boule in the Instant Vortex Clear air fryer
 I use the black baking pans shown below to make boules in my Corsori air fryer, but they are too tall for the Instant Vortex.
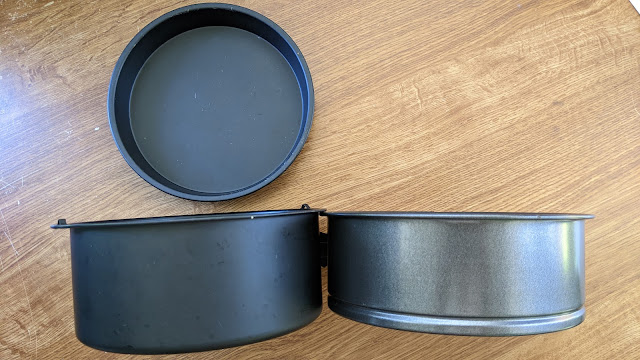
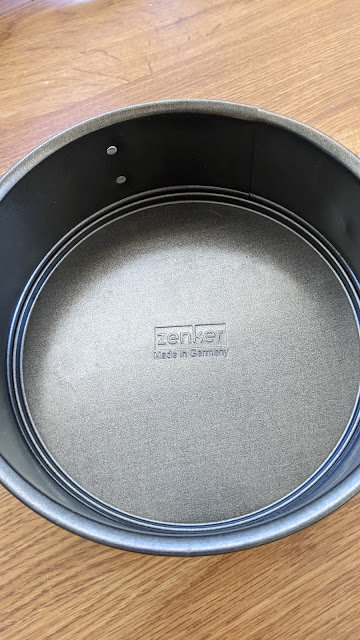
So I got a German brand springform pan, which is slightly shorter, and covered it with the above black pizza pan to make boules in the Instant Vortex.
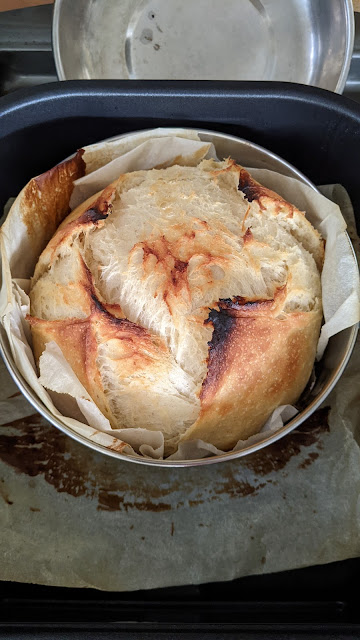
No preheat 400F x 15minsflip400F x 10 mins, checkbake longer if needed260g flour, ~480g dough

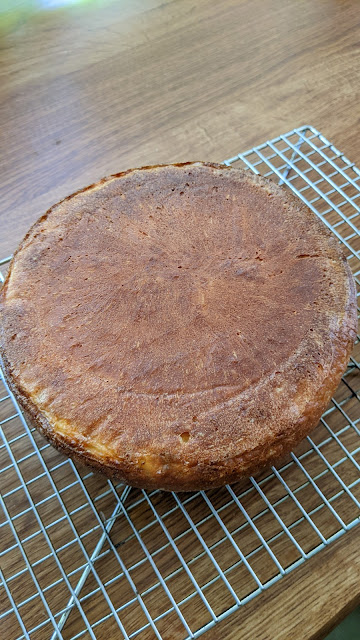
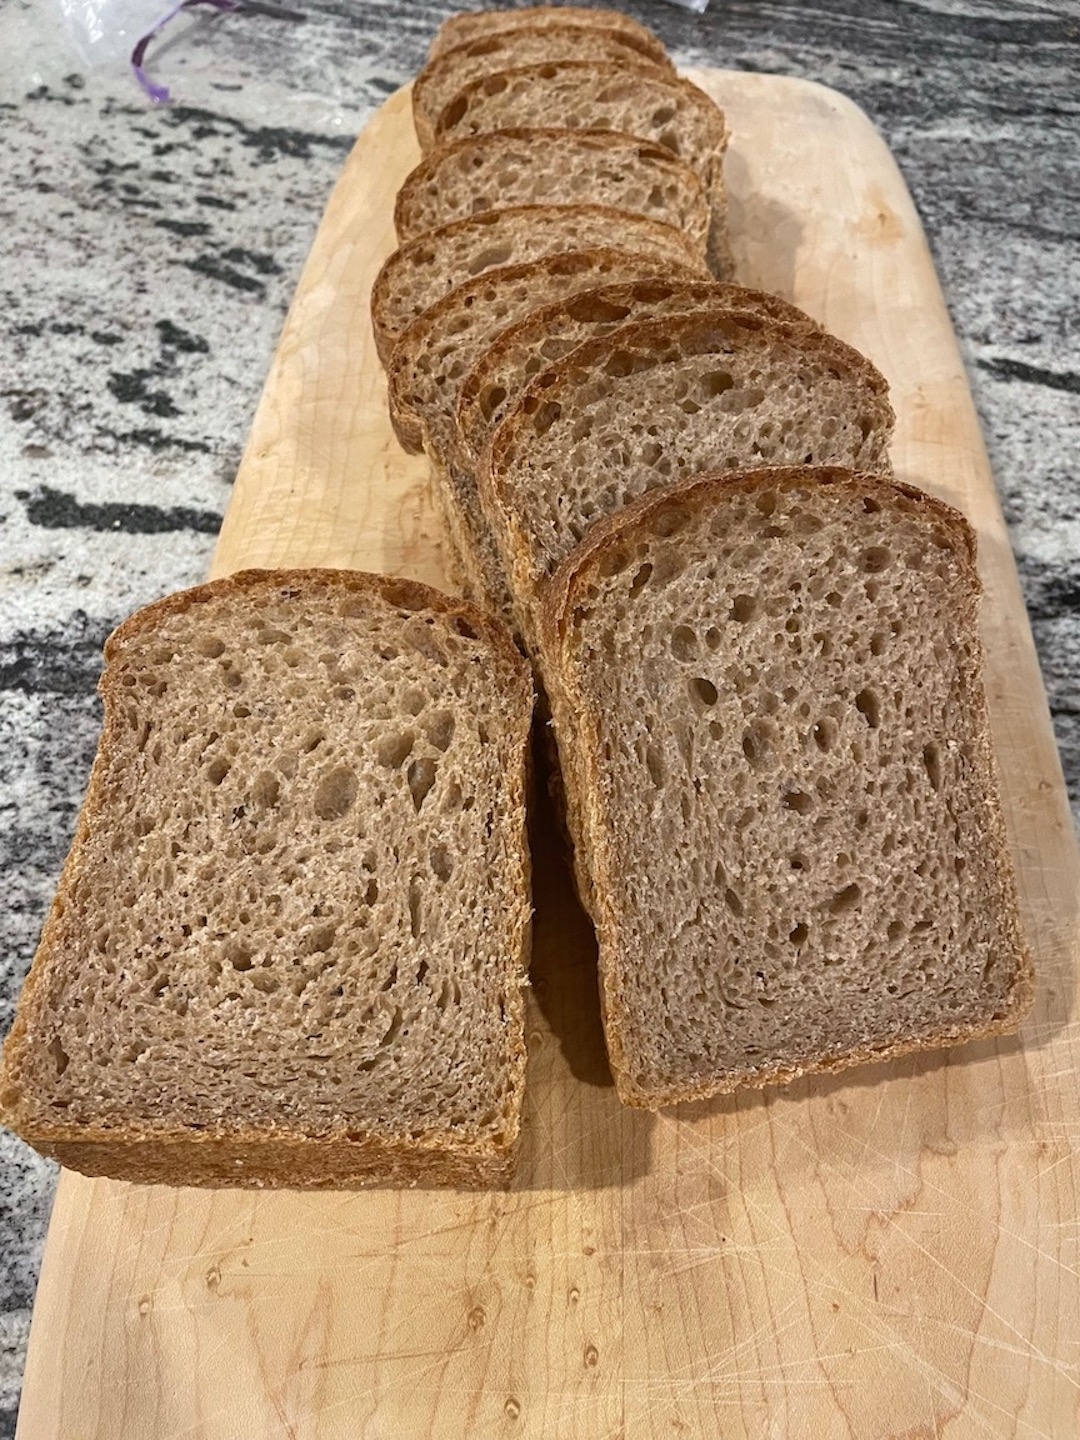
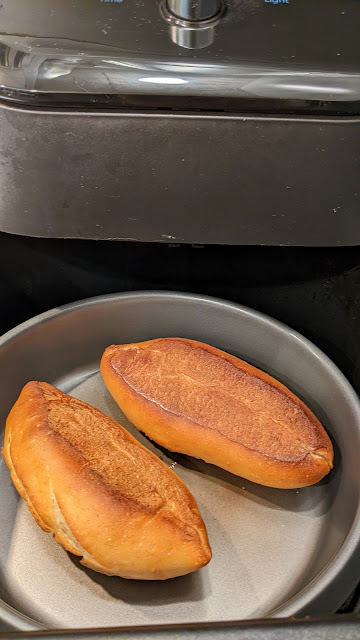
Crumb
Made some rings following Gavin's ideas.
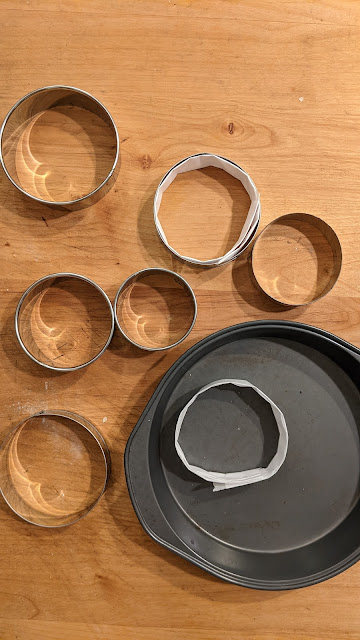


While the buns had a perfect mini-burger shape, the areas covered by the rings didn't brown well, even though I had already removed the rings halfway.

Made some French rolls in the Instant Vortex.
I used Baker's Secret pans to bake some rolls in the Cosori. Target pans are too big to fit there. Generally, Instant Vortex browns more evenly than Cosori.
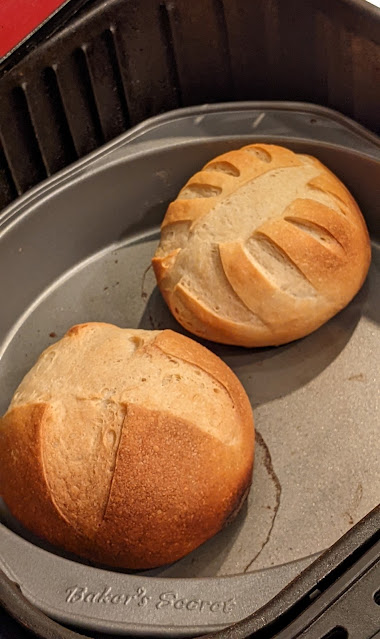
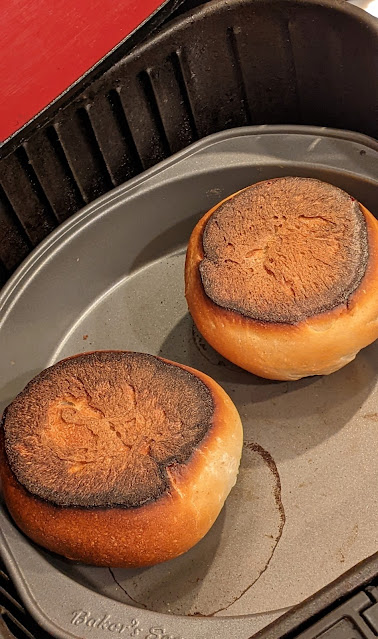
Lastly, make sure not to use stainless steel or any other light-colored pans to make bread in the air fryer.

Almost no browning at halftime, and the finished loaf was very pale.
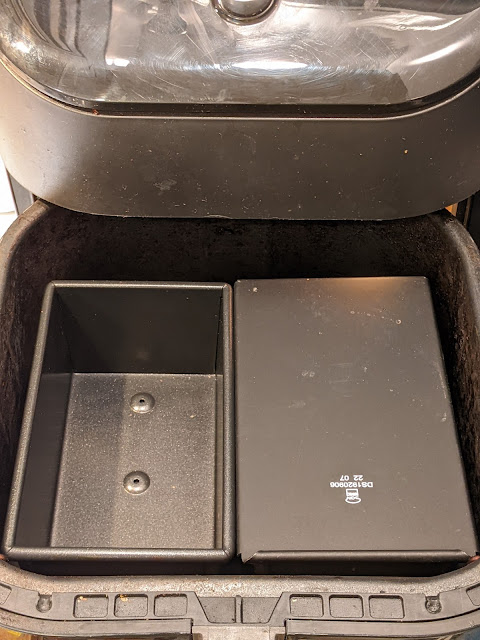
See
here and
here for another air fryer bake P.S. The air fryer can accommodate two 250g pans,👇👇👇 which are equivalent to one 9x4x4 loaf, I believe.
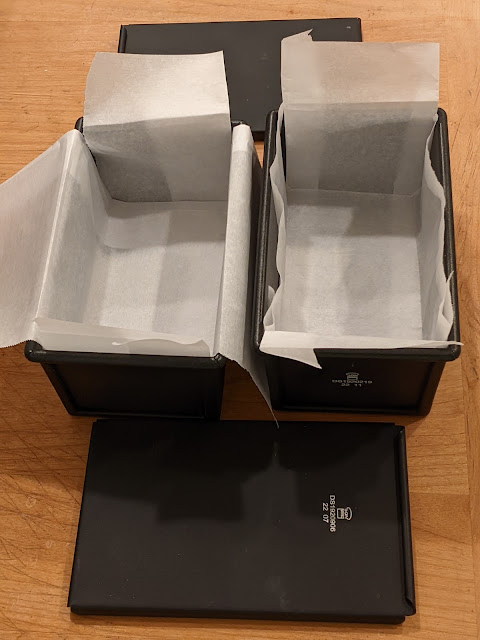
$11.03 $6.03 new user| 250g/450g/750g/900g/1000g Toast Molds Aluminum Alloy Non-stick Coating Toast Boxes Bread Loaf Pan Cake Mold with Lid Bakeware
https://a.aliexpress.com/_mrjp5xq The End