The Fresh Loaf

A Community of Amateur Bakers and Artisan Bread Enthusiasts.

Most bookmarked

Bread Head's picture
Bread Head

Just Prairie Gold Whole Wheat for Bread?

I just found this Wheat Montana Prairie Gold 100% Whole Wheat Flour at Walmart.  

I was wondering if I could use just this flour in my bread and not add any bread flour or all purpose flour?  Since it is saying "high protein" 

I usually mix about 90% all purpose flour with 10% whole wheat flour in my breads I make -(No Knead and Tartine)

Thanks.

Skibum's picture
Skibum

Today's ciabatta

I tried Jason's Quick Cocodrillo Ciabatta on the weekend and was less than impressed with my result.  The loaf spread out rather than sprang and I suspect insufficient gluten development.  My previous bake at the same hydration turned out great, but had both dairy and honey as part of the liquids.  I want to nail a proper ciabatta, so decided to make some changes to Jason's basic recipe.  First I used half whole buttermilk in the liquid, reduced the amount of semolina and as I don't have a lot of experience working with very wet doughs, cut the hydration to 85% and cut the recipe in half, so I can bake a loaf a day and get the hang of things.

My procedure was to mix all but the salt and instantant yeast until combined, then autolyse for 20 minutes, pouring 1/2 tablespoon of olive oil over the dough.  I then added the salt and instant yeast and mixed well for 2 minutes, 5 minute rest followed by a bit of a messy stretch and fold for 2 minutes on an oiled countertop with oiled hands and using an oiled dough scraper to remove the dough from the counter.  After a 10 minute rest I began a series of 4 stretch and folds with 10 minutes rest as per PR in ABED.  After the fourth fold, I let the dough bulk ferment for 1:15 or so and then a final stretch and fold.  After 1 hour on the counter the dough went into the fridge for the night.  I baked in the am after 3 hours out of the fridge and did a very gently letter fold os per PR in BBA and proofed for 45 minutes on a piece of bakers parchment, trimmed closely to the dough and supported by a well floured linen couch, then baked as per hearth baking, steaming using that wonderful towel method.  The result was most satisfying and perhaps the most attractive and tasty loaf I have ever produced, but I say that usually say that after every bake . . .


Today, I am mixed the same formula at 90% hydration and had good gluten development after the 2nd fold and excellent windowpane after the final fold following the 1 hour bulk ferment.

I will post the results of the 90% hydration ciabatta after tomorrows bake and mix a 95% version using the same formula.

Formula

50 g durham semolina

200 g strong bread flour

113 g whole buttermilk

100 g water

1 tsp, 8 g salt

1 tsp, 2 - 3 g instant yeast

1/2 Tbs olive oil

Happy baking folks!

Brian

BostonJohn's picture
BostonJohn

Not porous. interior holes not big enough

New guy here. just made some Ciabatta Polesana as outlined in "The Italian baker by Carol Field. Looks great Tastes wonder full, but holes on interior of loaf aren't as large as Pictures. Only about half thet size. Any suggestions or remedies. CooKed about 30 min at 475 with frying pan and ice for steam for 1s 10 minutes.  Came out at about 205/207, I wouldn't describe it as porous. Lots of recommendations not to fold at all..


Thanks,

John

Bread Head's picture
Bread Head

Help getting that fruity starter smell

My starter is the Tartine way.

I mix it and dump it out everyday and add about 20 grams of ice cold water and 20 grams of refrigerated flour         (Flour is 50% all purpose and 50% whole wheat)

Sometimes after I dump it, it smells great- fruity, sweet, etc.  Other times it does not have that smell.

Why?

Also does is matter which flour I feed it with; All Purpose Flour or Bread Flour?

Thank you for your time.

ekphrasis's picture
ekphrasis

croissants: freeze before or after baking?

hi everyone, I just baked my first batch of croissants.  I used the recipe in the Tartine book, and I have to say I'm pretty pleased with the results.  the dough is flakey and delicious.  

however, I've got a quandary:  I only baked half of the recipe because I only have one baking sheet.  the other half is now shaped and rising for 2 hours.  I have read that you can freeze the croissants after they have risen, but prior to baking.  I've also heard that you can bake them and freeze them right away, then pop them in the oven to reheat.

so...which is better?  there is no way that I can eat the remaining 10 croissants that I baked this morning, let alone the 12 more that are rising right now.  Whichever method I used, what is the best freezer storage technique, and how long will the frozen croissants keep?


I have a second croissant related question that I'll tack on here: the frist batch came out beautifully browned on the top, but slightly undercooked.  My oven gives an accurate temp.  Robertson's recipe calls for 30 mins @425F.  What is the best way to get them crisper on the inside without over-browning?  Should I a) bake at a lower temp for longer, b) do 10 mins at 425 then reduce the temp?, c) bake at a higher temp for less time (I recall Julia Child baking hers for 15 mins at 475)?  Thanks for you help!  Wish you could help me eat them...


dabrownman's picture
dabrownman

100% Hydration, 100% Whole Grain Kamut Flat Boule with YW and SD Combo Starter

It is really odd and slightly annoying that the spell checker wants to replace kamut with kaput.  Is this a pre-judgment before the start?   But, after seeing the results that Michael Wilson achieved with his similar White Spelt Bread here

http://www.thefreshloaf.com/node/29146/100-white-spelt-100-hydration


We decided that spell checkers are way more stupid than my apprentice who is one sharp cookie for a ‘Dumb Doxie’ with a large nose for fine baking .......and a tummy to prove it.

We also looked at Shaio-Ping’s 100% Spelt and txfarmer’s more recent one too to see what we could glean from them here:

http://www.thefreshloaf.com/node/13934/100-spelt-levain-bread               and here:

http://www.thefreshloaf.com/node/28388/100-spelt-sourdough-trying-spelt-first-time


We were going to take up Michael’s challenge but white spelt is no where to be found.  When we tried to get a half pound of kamut berries out of the Whole Foods bin, we dropped 3 pounds in the bag in a flash by mistake.  Since there is no way to put it back, we immediately decided to do a 100% kamut with 100% hydration bread instead but those weren’t the only changes we had in store since then we had no idea what they might end up being  after my apprentice got her paws in the mix.


We didn’t read Mini Oven’s many kamut experiments from 2008 – 2009 that explain anything one would need to make a 100% kamut bread or one with soakers, scalds, sprouts …etc !  We would have made a different bread had we known what we learned from her and others old posts on kamut.


Our bake isn’t like Michael’s in many important ways that I personally find attractive and worth talking about even though my apprentice says I am just lazy to do it right like Michael does.   First off, we used home ground whole Kamut and it is way more thirsty than white spelt so the 100% hydration problems are thankfully reduced a great deal.  We used a YW and kamut SD starter instead of commercial yeast since we don’t have any and built this combo levain over (2) 4 hour and (1) 2 hour builds.

We also are never going to hand knead anything for 40 minutes unless it is large gold bars that are too heavy to pick up but safely stored in my bank vault – and only if they might need some light dusting and quick shine. 


'Oh Mon Dieu Pain Rustique' is the new name for this bread :-)

We also added a little VWG, white and red diastatic and non-diastatic malts and a little honey - not much of any of them though.  We also added our take of some of txfarmer’s 36 hour method; starting with a 10 hour retard after the kamut levain build was completed.


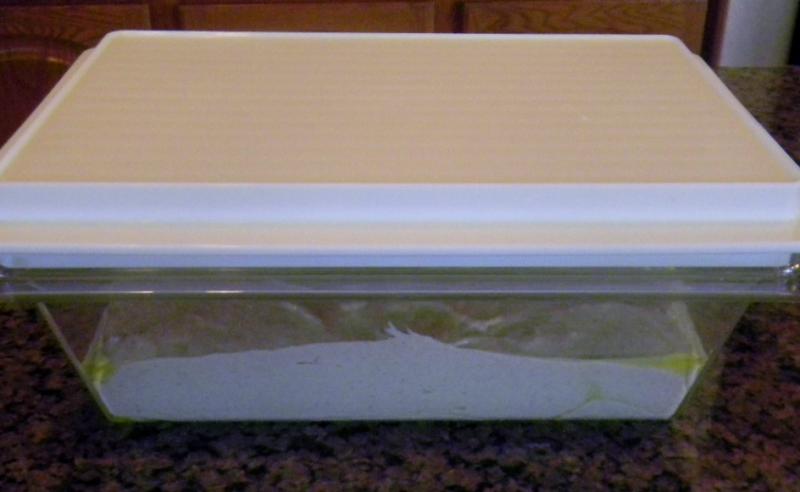
We incorporated the water flour, malts and honey with the dough flour and autolysed it for 10 hours in the fridge too.  Both were taken out of the fridge and allowed to come to room temperature the next day for 2 hours making a total of 12 hours total before mixing them together in the KA.

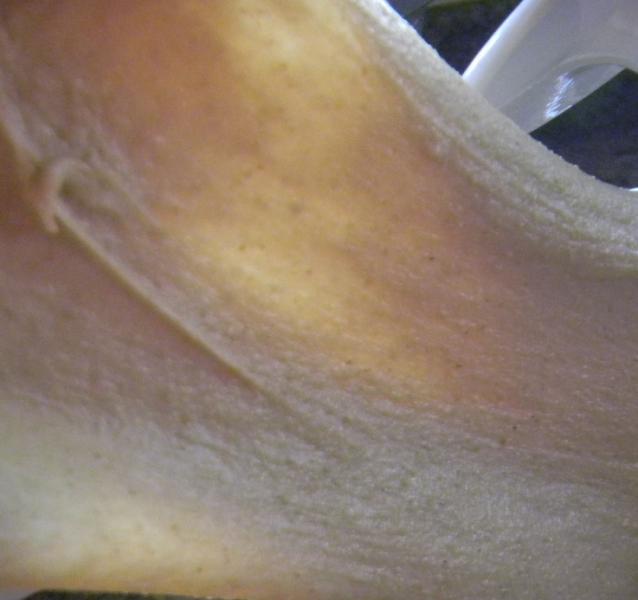
Rather than hand kneading we mixed the dough in the KA on speed 2 for 8 minutes and on speed 3 for 2 minutes before resting it in a plastic covered oiled bowl for 20 minutes.  It passed the window pane test but we were not done with it.

We then performed 4 sets of S&F’s at 10 minutes each – about 25 stretches with ¼ turns of the dough the first time going down 5 stretches each set there after.  The last turn was 10 stretches with quarter turns making a total of 70 for all 4 sets.

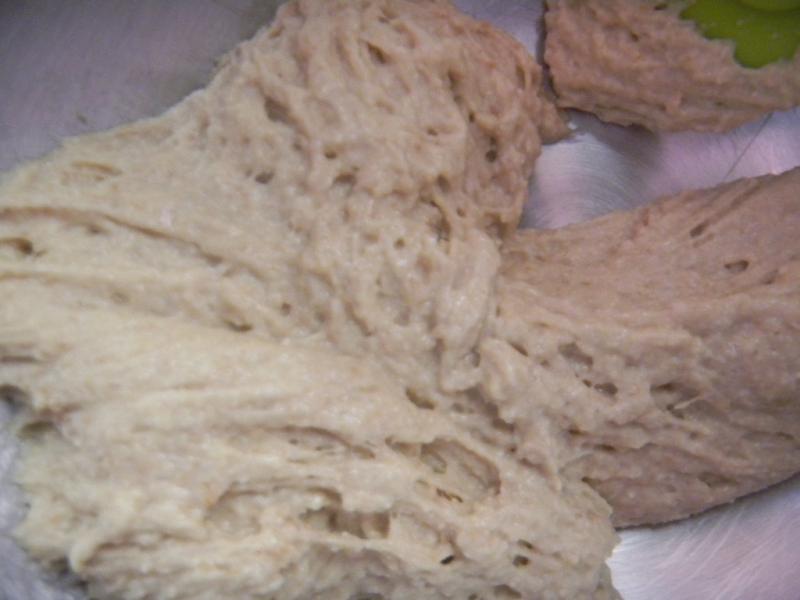
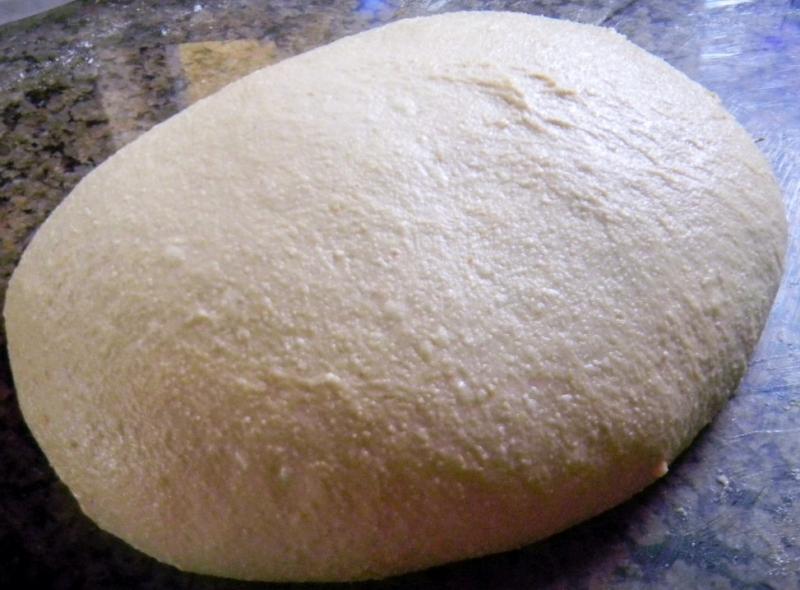
After all of that it had some structure we thought might work out.  It formed a very smooth and elastic dough, if still a little wet that was about as pleasing a dough ball can get without pinching it hard and seeing if it squeals.


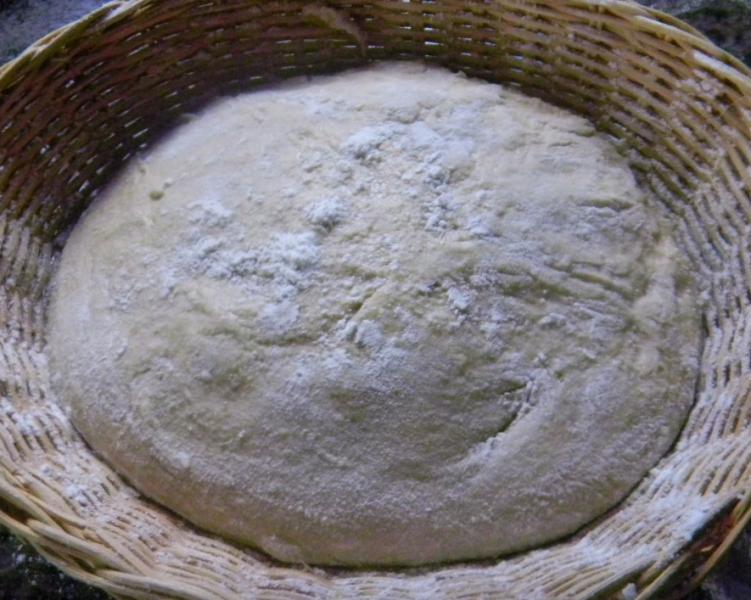
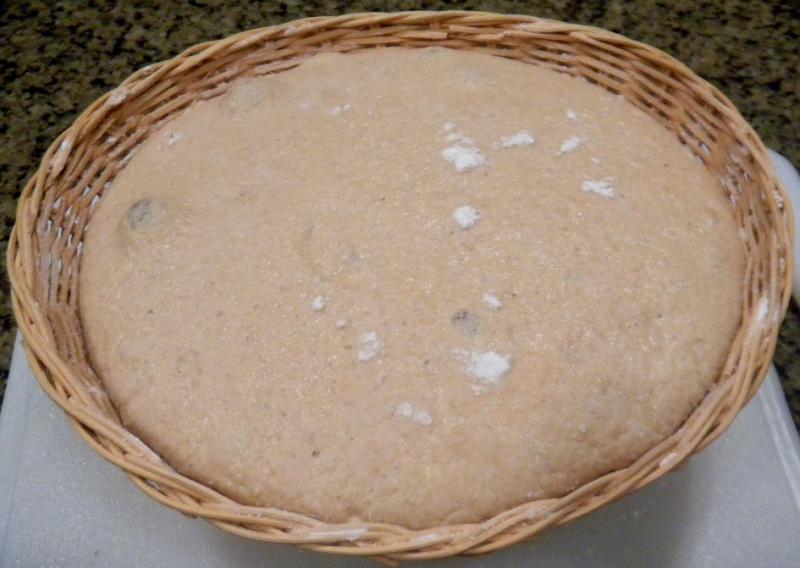
The dough was then allowed to ferment undisturbed for 60 minutes before going into a well rice floured oval basket, placed inside a tall kitchen trash bag and put in the fridge for its 12 hour proofing retard - but it was ready to go in 5 hours.  Kamut can be tricky going from under proofed to collapse in short order if not watched.  We originally wanted to bake this in the mini under the bottom of the DO used as a cloche but decided that the dough needed some structure so we opted for Big Betsy GE and baking inside a hot DO.


After the oven was pre heated to 500 F and the stone brought up to temperature on the bottom rack (about 40 minutes total) and the aluminum w/glass lid DO preheated with them, the dough was retrieved from the fridge.  The dough was overturned from the basket into a now parchment lined hot DO.

This dough is very fragile and the least little thing will damage it.  In this case it wasn’t a little thing - it stuck to the basket.  After un-sticking and mangling it terribly, it was slashed, covered and placed into the oven on the 2nd rack level where it baked at 450 F with the lid on for 20 minutes.

Then the lid was removed and the bread was baked for another 5 minutes at 425 F convection this time before being removed from the DO and placed directly on the stone (removing the 2nd level rack) to finish baking.  The bread was rotated 90 degrees every 5 minutes until the internal temperature reached 205 F - another 15 minutes.   We didn’t catch ours in time and it read 210 F so another 10 minutes and 30 minutes total would be better.

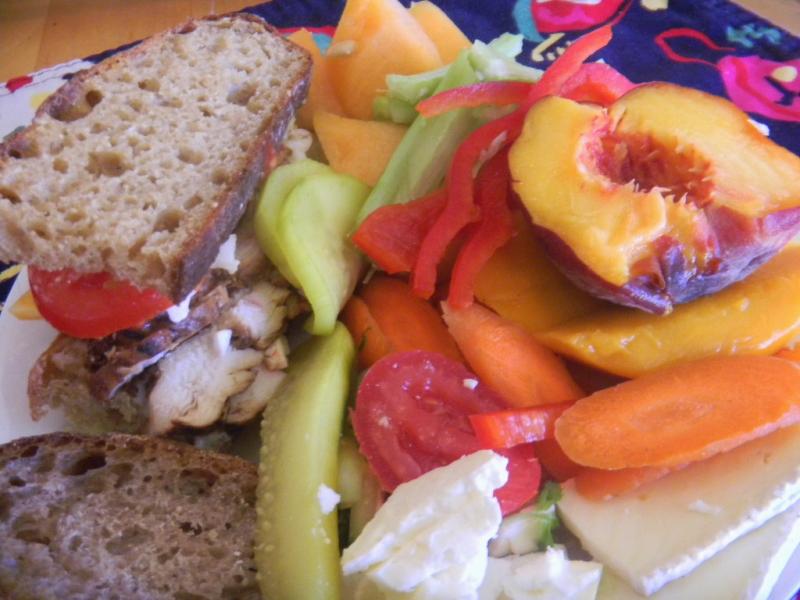
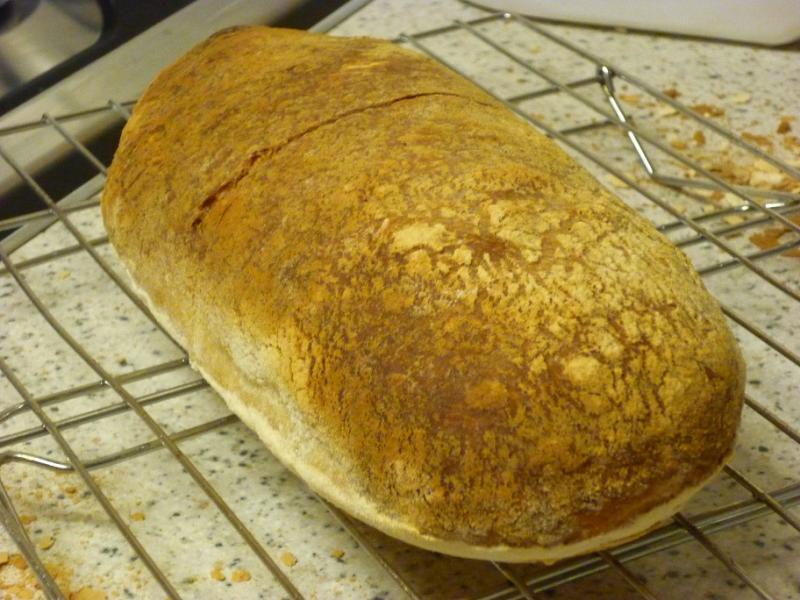
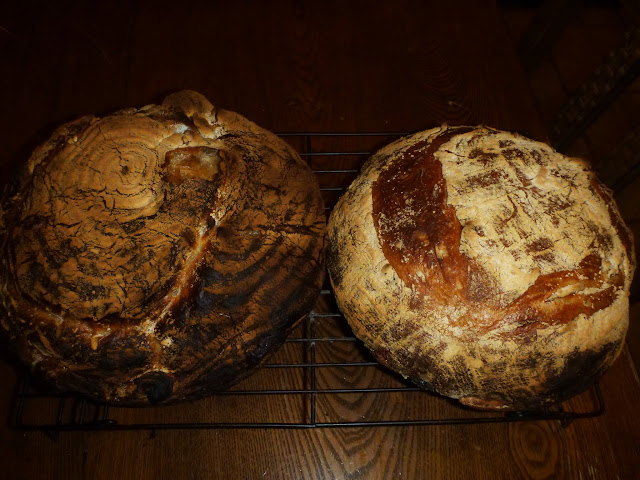
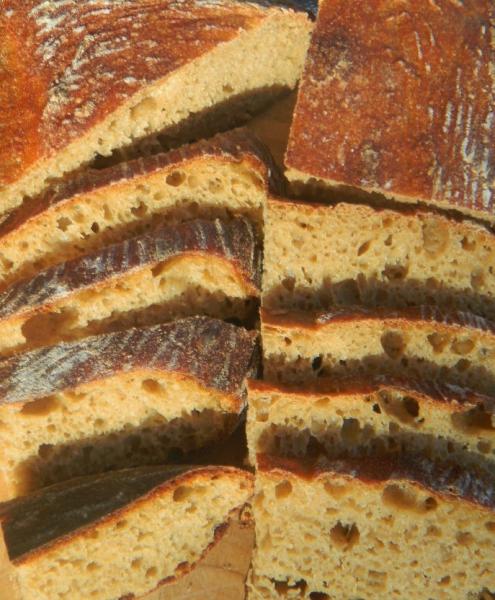
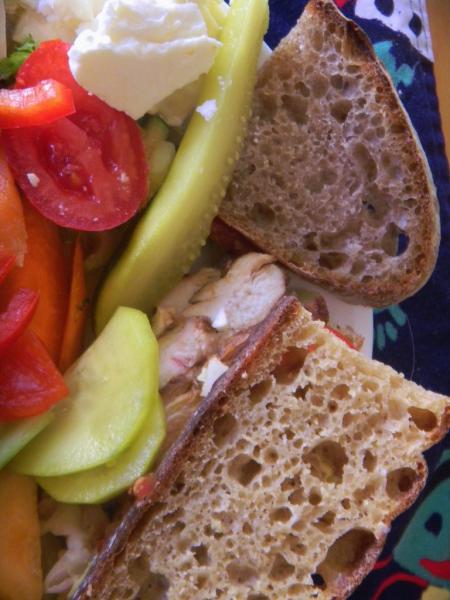
A very nice lunch with 2 kinds of pickes, Creole grilled chicken sandwich, fetta and brie cheese, carrot coins, celery and red pepper sticks, small salad with tomato, cantaloupe cubes and a half each peach and mango.  Look at the beautiful yellow color, like semolina, of the kamut compared to the 25% multi grain SD bread next to it for comparison.

The flat bread was allowed to rest on the stone, oven off and door ajar for 10 minutes before being removes to a cooling rack.

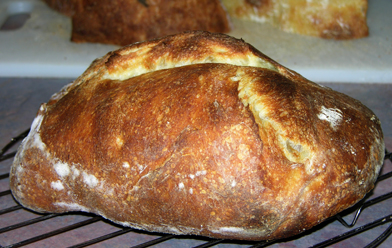
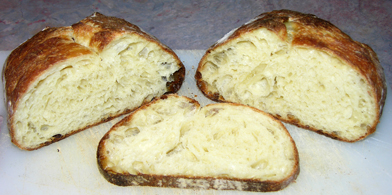
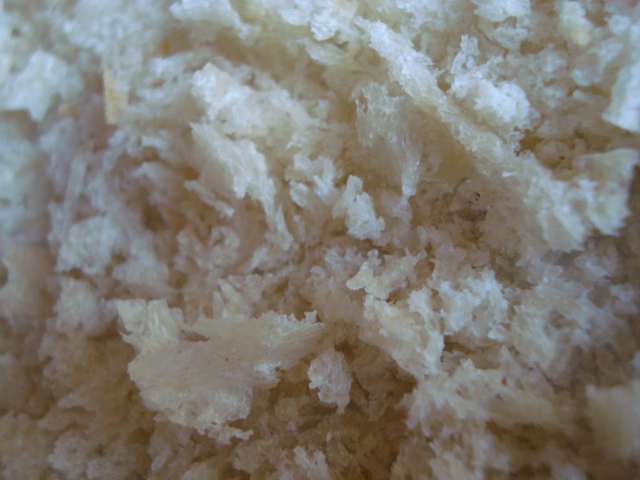
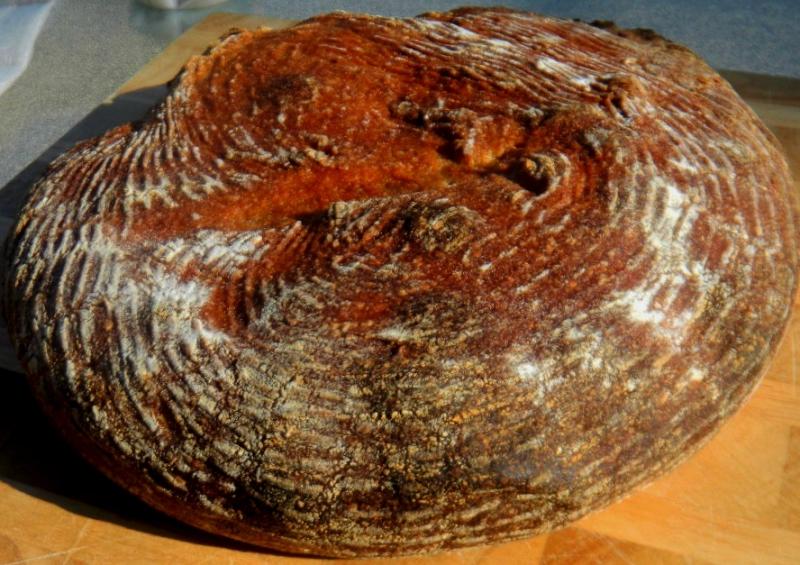
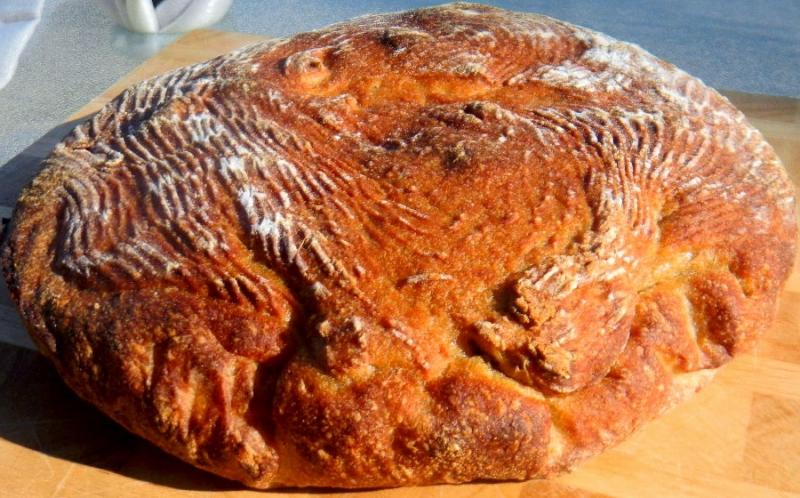
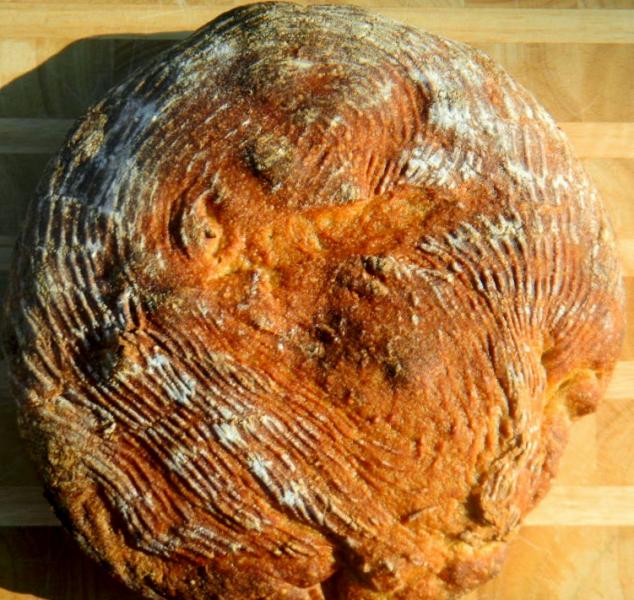
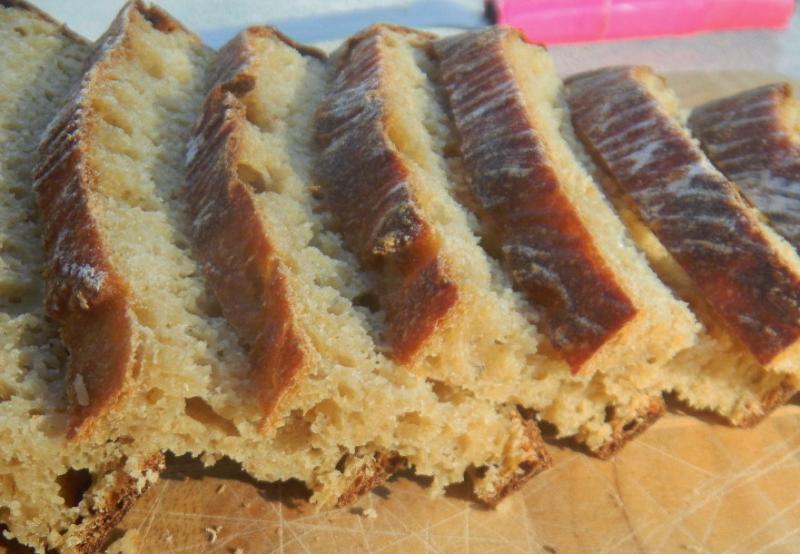
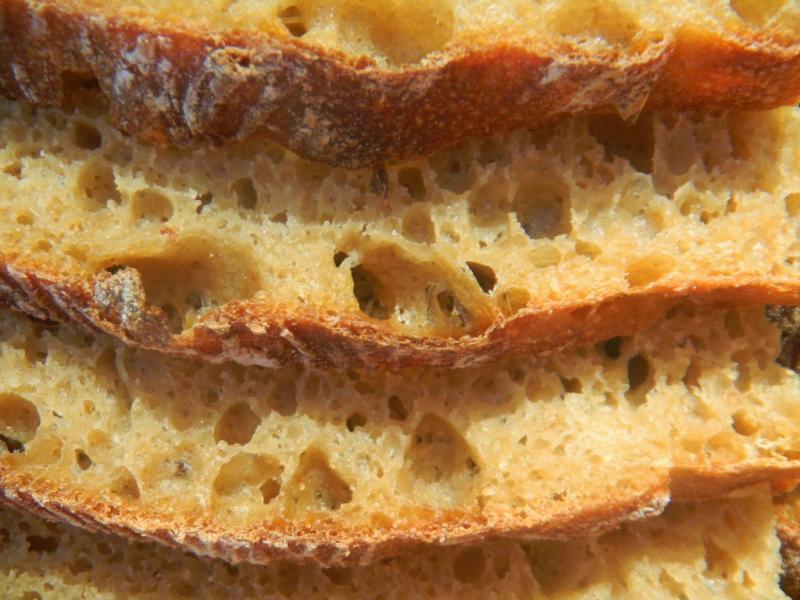
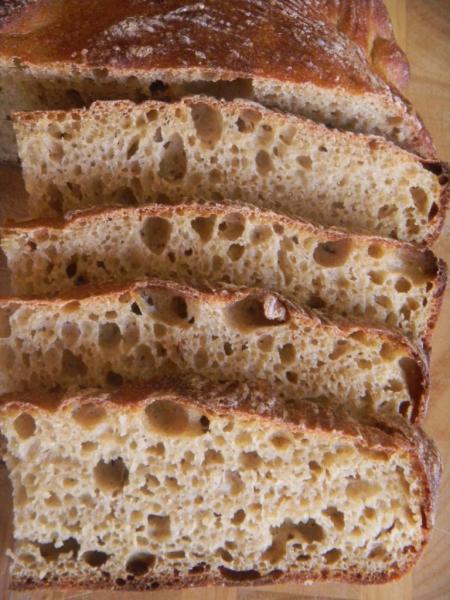
It baked up beautifully brown and crunchy on the outside as DO’s are wont to do, going chewy as it cooled.  But the loaf was badly mangled and it spread rather than sprang as a result.  The inside crumb structure was partially destroyed having deflated 50% without recovery but it was still surprisingly open for 100% whole grain bread. This is the hallmark YW makes on whole grain bread crumb structure.

The crumb was a beautiful yellow like semolina, soft, moist even though slightly over baked and had a slight SD tang that was muted.   The YW combo starter making up half the levain cuts the SD tang a like amount.

This bread doesn’t taste like rye, or whole wheat or even spelt for that matter – which would probably be the closest in taste.  It has an earthy base and a grassy note.  We love this bread toasted with just butter to cover. 

Kamut is a new and welcome addition to the grain standard bearers we have used in the past.   A tasty loaf of bread for sure even when it sticks to the basket like this one did to disfigure itself beyond recognition.

We are guessing that this high hydration bread needs to be baked in a loaf pan to get the most out of the open crumb that is possible or baked as a flat bread or ciabatta – as Mini Oven found out 3 years ago. The formula brings up the rear as usual.

100% Hydration and 100% Whole Kamut Tartine Boule


Mixed Starter

Build 1

Build 2

 Build 3

Total

%

Spelt SD Starter

10

10

0

20

4.83%

Yeast Water

20

20

0

40

13.16%

Kamut

40

50

10

100

32.89%

Water

20

30

10

60

19.74%

Total Starter

90

110

20

220

72.37%


Starter


Hydration

100.00%


Levain % of Total

25.61%


Dough Flour


%


Non - Diastatic Red  Malt

2

0.66%


Kamut

300

98.68%


Diastatic White Malt

2

0.66%


Dough Flour Total

304

100.00%


Salt

6

1.97%


Water

310

101.97%


Dough Hydration

101.97%


Total Flour

414


Water

420


T. Dough Hydration

101.45%


Whole Grain %

100.00%


Hydration w/ Honey

100.12%


Total Weight

859


Honey

9

2.96%


VW Gluten

10

3.29%


Total

19

6.25%


mwilson's picture
mwilson

Sourdough Ciabatta Experiment

Biga acida

  • 20g lievito naturale
  • 200g '00' flour
  • 80g cold water

Lievito dissolved in water first then mixed with flour to create a very dry dough. Pin rolled until smooth. Rolled flat, ~4mm thick, wrapped in cling film and refrigerated for 2 days before removing and left overnight until mature.

Final dough

  • 175g biga acida
  • 35g '00' flour
  • 86g water
  • 3g salt

Cut biga into pieces and mixed with 35g of water. Added flour to combine. Added salt. Adjusted the mix with remaining water to achieve a total hydration of 85%. Very minimal kneading. A few s&f's performed.

Crumb

Observations

The biga was wonderfully strong after fermentation. Stronger than I ever felt a biga to be, really nice to feel. Fruity alcohol smell and characteristics reminiscent of a yeasted biga but accompanied with an acetic acid taste. 

The biga contributed vast strength, the final dough at 85% handled like it was 70%!

Final dough didn't rise as swiftly as I expected. The biga was probably not fully mature.

Baked loaf has wonderful flavour in the crust and some sourness in the crumb. Super light.

-Michael

SylviaH's picture
SylviaH

Bread Crumbs and then there are Panko Bread Crumbs

I just love those crunchy, flaky, best for coating fried things Panko bread crumbs :)

Making homemade Panko Bread Crumbs.  Fun easy and fast.

Recipes are posted all over the web.  But I've never actually seen one here.  So here goes.

Pre-heat your oven to 300F

The secret weapon.......The Food Processor Shredder Disk : )  little did I know :/

Assemble your food processor with the largest sized shredder blade

Panko is usually made with a very shreddable, soft fluffy type plain white bread.  I like my sourdough stale leftover bread of coarse

Simply remove all the crust

Process the bread in your food processor with your largest shredder disk

Place the crumbs onto a cookie sheet.  

Bake in a pre-heated 300F oven for aproximately 6 minutes..till dry and crispy.   Do not brown

Done, just about..........unless of coarse you want some of those delicious seasoned bread crumbs.  My favorite are Italian.  Add whatever seasoning you like..toss.   

Place into storage bags and freeze for later if you like.


Store bought or homemade breading???  Answer at the bottom on the photo.

storebought Italian Panko...made this eggplant parmesan yesterday with the last of my Italian style panko.  Now I'm a day older and wiser...where have I been.  

Sylvia


HappyHighwayman's picture
HappyHighwayman

Do you line your proofing basket?

The other day I was baking two loaves, and I only had one proofing basket so I took a wicker basket and lined it with a dish towel which I floured and used as an impromptu basket. Ironically I hadn't properly floured the proper basket near the edge of the top and when I turned the basket over the dough stuck a little, while the dough in the lined basket came out easily. 

I note some people line their proofing basket anyway with what appears to be either a dish towel or cheesecloth. Do you line your baskets before flouring and introducing the dough?

You can see the bread on the left was baked first and was the one with issues, while the one on the right used the line wicker basket and came out better.

I'm also having issues properly scoring the bread. I find it just doesn't cut well even though I got a scoring knife though perhaps I should just buy some razor blades?

Song Of The Baker's picture
Song Of The Baker

Sourdough Starter - How Much is Too Much?

Hi all.  I had a previous post on here with my first sourdough bread - Vermont Sourdough from JH.

As mentioned before, I was happy with most aspects of the bread, just wish it had a more sour flavour.  It was barely detectable.

Now, I have seen recipes with all different amounts of starter, ranging from a teaspoon, to a half cup - for a 1 - 2 lb loaf.  My question is, which ratio would produce a more sour flavour?  The ones with more starter, or less?  I understand that most of the sour is developed in the method of retarding the proof, usually 16-18 hours at 5 - 10 degrees.  But would using more starter in a recipe enhance the sour even more or not at all?


Pages