A New (Sourdough) Culture.
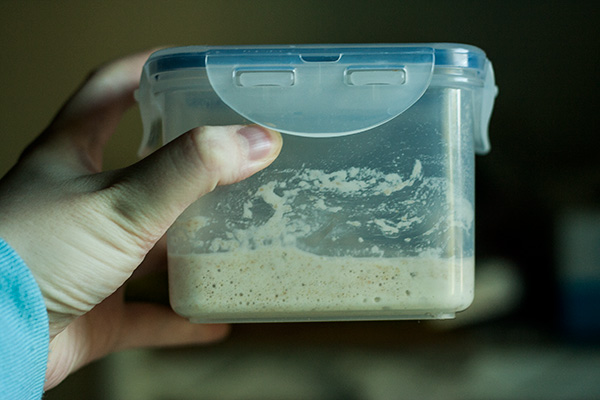
This is what I've been doing for the last few days. I thought, since this was an interestinng case, that I should post a few things.
- Log in or register to post comments
- 2 comments
- View post
- Stephanie Brim's Blog


