Farmer's Market Week 40&41 (Country Loaf and Spelt Levain)

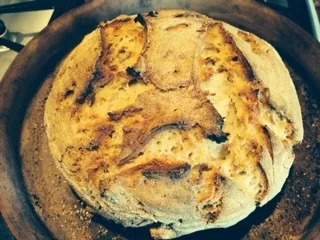
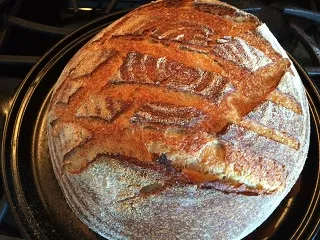
It's sunny in Northern California and the Farmer's Markets are kicking out all the goodies. Still sticking to some of my solid formulas that are either set in their way and/or need just little tweaks. Last week it was a new rendition of Country Bread and I'm very happy with the results.
- Log in or register to post comments
- 10 comments
- View post
- Anonymous's Blog