Good and not-so-good
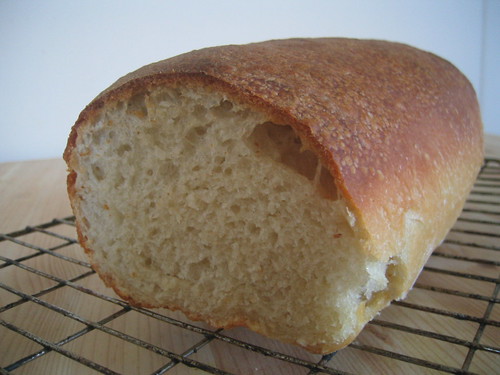
Several days ago I made the Savory Bread from Bernard Clayton's Complete Book of Breads. It is practically just a white loaf of bread (similar to a less-rich brioche) that before the final rise is rolled into a rectangle, spread with a seasoned butter, and rolled back up and placed in a loaf pan. The butter ingredients include thyme, garlic, hot sauce, pepper, etc., so can imagine how good that would taste in a bread (now that I think about it, I could have added some red pepper flakes that I had sitting in the spice cabinet). Anyway, it tasted very, very good.
- Log in or register to post comments
- 6 comments
- View post
- kdwnnc's Blog