I came back from vacation!
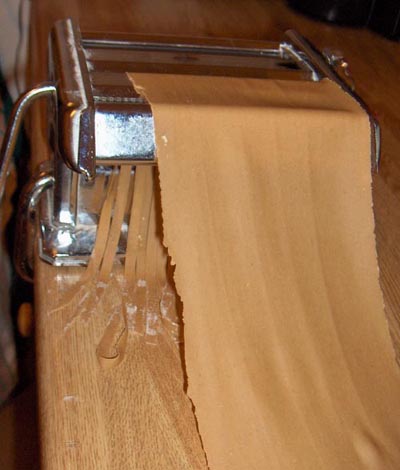
I made this Barley batard (1/3 barley , 2/3 Whole Wheat), hearth bread.
Al though i used volume measurements, it turned our more or less sufficient. here it goes:
1 cup naked barley flour (1/3)
2 Cups Whole Wheat flour (2/3)
1 table spoon salt
1/4 teaspoon yeast
1.85 Cup of water, so roughly the final dough is 62% hydration (i could not elevate the hydration further because of the barley flour which kind of hinders the shaping process).
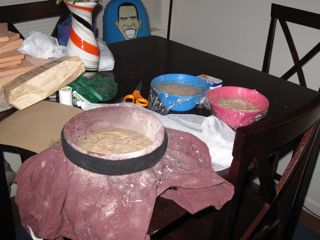
I used peter reinhart's method of delayed fermentation: i.e. split the doughs of each flower into halves, one contains yeast and goes to the fridge for 24hrs, while the other contains salt and remains outside in a warm place for 24hrs.
24hrs later, i combine the Biga (yeasted one) with the soaker (salted one), and make the bulk dough , and leave it to ferment for 1.5 hours until roughly 1.5 X the size.
Then, i scrape the fermented dough into a workspace WITHOUT de-flating it, and formed a Batard. At this point i heated the oven to 500 F, or 260 C while the bartard is left to ferment the final fermentation.
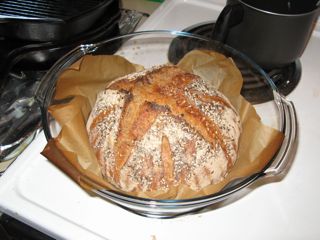
Half an hour later I used lava rocks in a Teflon cake mold and pured hot water to creat steam, and put the batard onto a parchment paper, and into the oven. the batard streched sideways, but oven rise compensated!
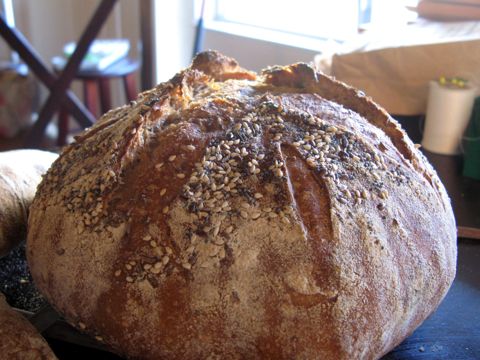
50 minutes later : VOILA! VERY TASTEY
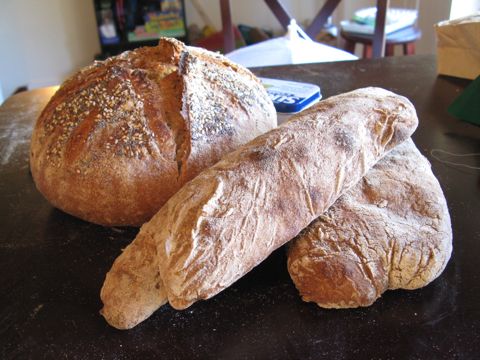
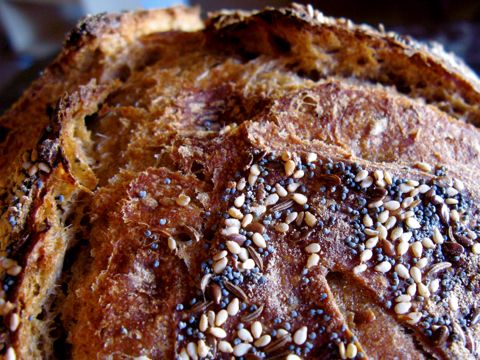
The loaf

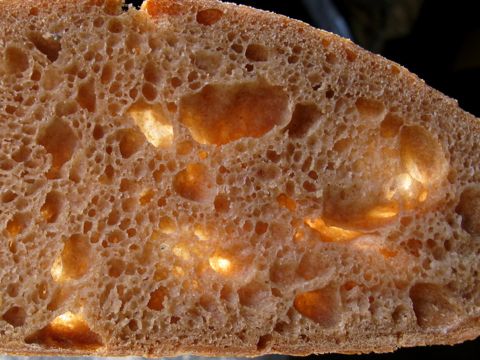
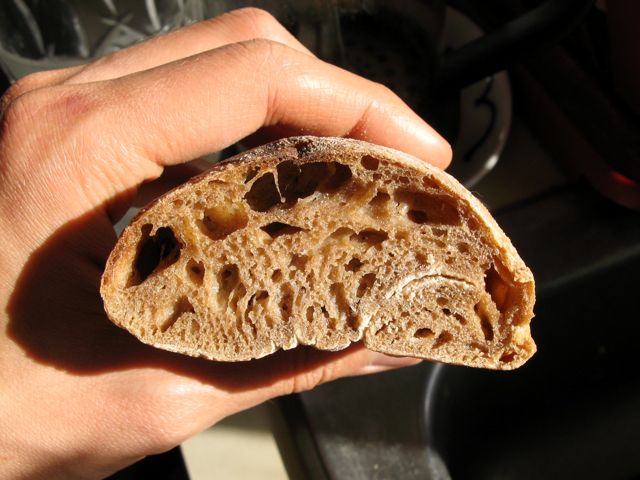
Crumb