Shiao-Ping's blog
Look no further - good bread is as near to home as it is far away
It was Dan DiMuzio who first brought to my attention that people who came from a pastry background are more sensitive to ideas about design and fashion when they become bread bakers. I regularly visit a Brisbane specialty chef and bakers store to see what's new. I was there last week looking for a gigantic stainless steel bowl for long batard or gigantic miche baking one day. Just about I was leaving, I glanced over the New Arrival books section.
Poilâne Inspired Process for dough and Levain de Pâte
I went to my neighbourhood bookstore, Mary Ryan, after dropping my son to school the other day. The timber flour and the Bach playing in the background made me want to stay longer. I paid for a cookbook, [i]Bécasse[/i], and quickly left. I wanted to have breakfast and coffee at Chouquette Boulangerie & Patisserie. This was my first time ba
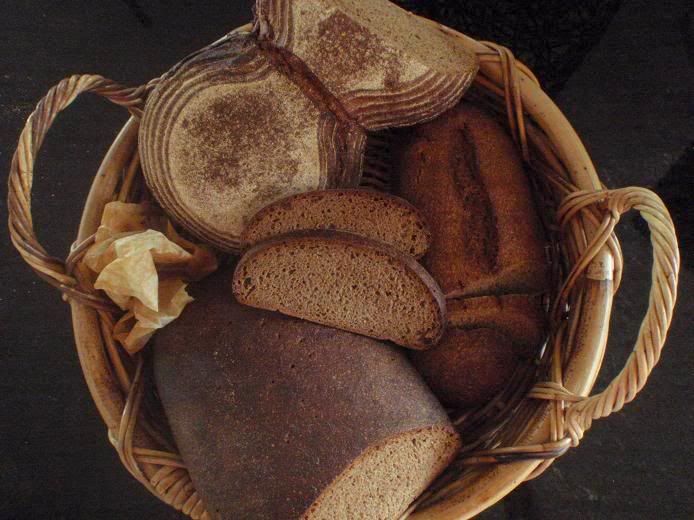
50% Rye
Since my Pure Rye, 1939 post, I had wanted to do light rye. In the past, I have done a few (this, this and this most recent one). The challenge of rye for me is the stickiness, hard to handle, and hard to score. In this post is a pain au levain with 50% rye.
Mr. Nippon's Baguette Formulas
It was raining outside my tea room. Polly my dog was happy in her house. I was in heaven painstakingly (not contradictory in terms) typing the French letters (the annoying à and é and ç) into my on-line translator. The music was vibrating the thin rice-paper calligraphies on my mahogany-colored wall.
Heléne Johansson's Bröd, Från Brunkebergs Bageri (Bread, from Brunkebergs Bakery)
I love buying bread books in all languages, the most inexpensive way of virtual travels and experience for me. I came across a book by Swedish baker and owner of Brunkebergs Bageri (Brunkebergs Bakery) in Stockholm, Heléne Johansson's[i] Bröd, Från Brunkebergs Bageri [/i]([i]Bread, from Brunkebergs Bakery[/i]). Her love and passion for bread exudes from the book. For the first 15 pages of the book on the web, please click [b]
- Log in or register to post comments
- 22 comments
- View post
- Shiao-Ping's Blog
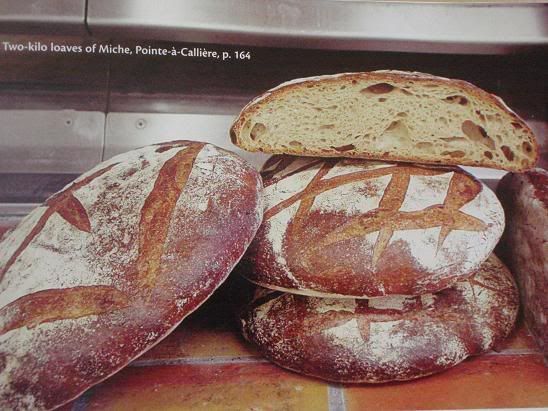
Gérard Rubaud Miche
I dedicate my Gérard Rubaud Miche to [b]MC[/b].
(I wish that it could be transported across the Pacific Ocean to reach the other shore.)
It was one of those soulful Van Morrison nights. The music in my tea room could not be any louder; any louder, the gods of silent teapots would have protested. John Donne was in the air. Van Morrison, my muse, dreamt of this miche for me....
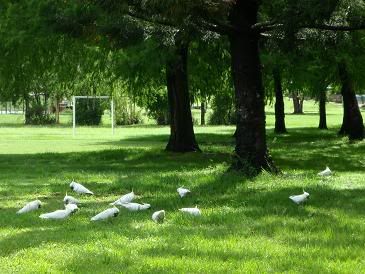
Where is Waldo?
It has been so hot that I am taking a break from baking. I went out the other day for a walk and when I spotted these birds (below), I turned back to get my camera. As I moved closer to the birds to take my shots, I noticed the color of the green became whiter and whiter because of the scorching sun.