GSnyde's blog
Nothin’ to See Here—Just More Baguettes and Bagelles
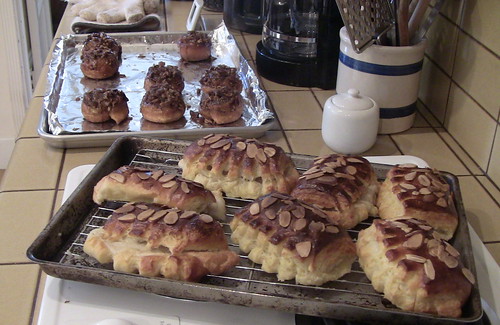
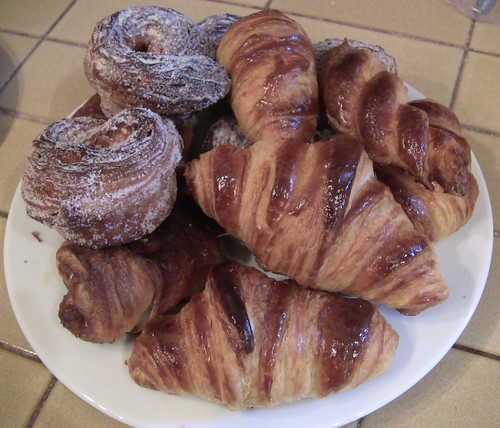
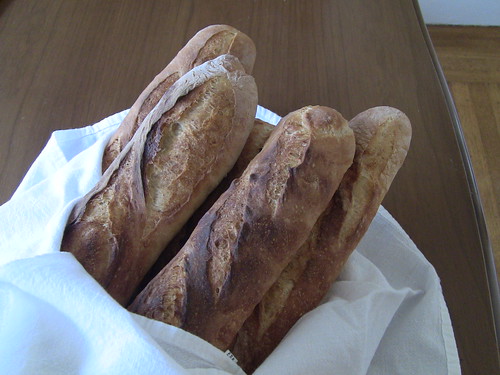
Ho hum. More bread. My N-teenth batch of Proth5’s “Bear-guettes” and another try at bagels using a variation on the Krakowski formula in the upcoming Inside the Jewish Bakery.
- Log in or register to post comments
- 17 comments
- View post
- GSnyde's Blog
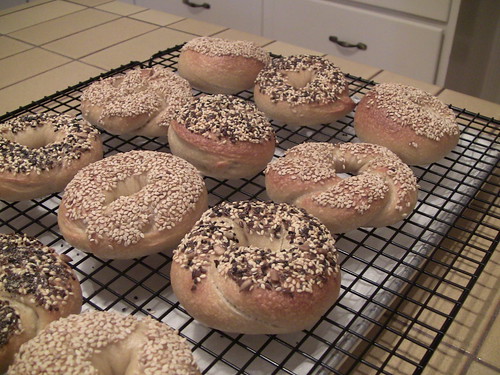
Holey Satisfactory: My First Bagels
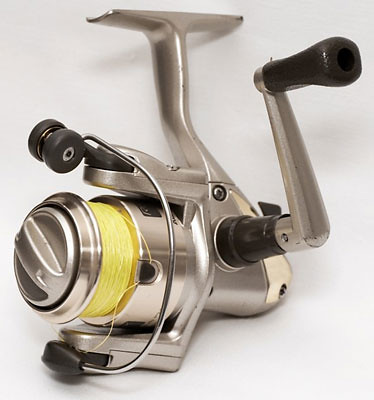 Reel
Reel  Bay
Bay Gulls
Gulls
- Log in or register to post comments
- 24 comments
- View post
- GSnyde's Blog

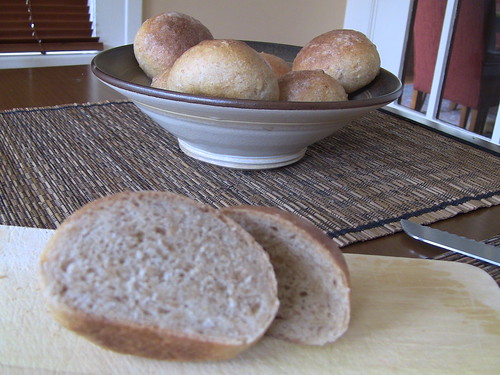
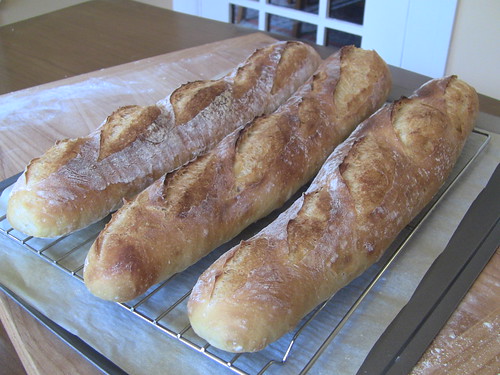
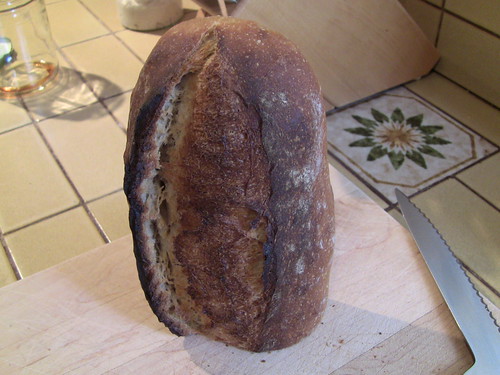
The Return of SF Country Sourdough
- Log in or register to post comments
- 18 comments
- View post
- GSnyde's Blog
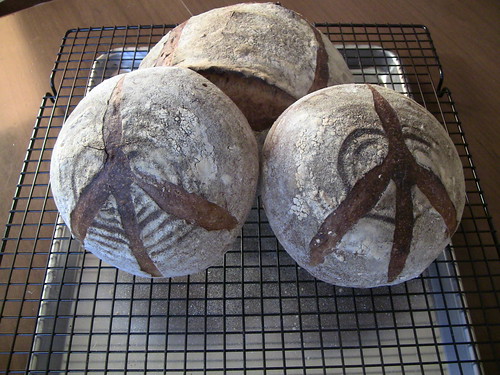
Make Loaves, Not War
There was much discussion recently about TFL t-shirts and good logos and tag lines and the like (http://www.thefreshloaf.com/node/23436/interested-tfl-tshirt-ballcap).
I like the motto "Make Loaves, Not War". Here's a couple pictures. Maybe with some photoshop magic, this could be a t-shirt design.
Greenstein’s Sour Rye – Low and Slow
I made Pastrami and Rye Bread today. The Pastrami is going better (should be ready to slice soon).
The first time I made the Greenstein Sour Rye, back in May, it came out great. Today, I tried to bake three big loaves at once and I think my old tired oven didn’t hold its heat with the overcrowding. So it baked too slow, almost charring on top before it was done inside, over an hour. The oven and stone were well pre-heated, but maybe not well enough). The loaves also had some crust eruptions; not sure if that’s related to the oven problem.
Tales from the Back of the Freezer: I Came, I Thawed, I Conquered
If one prepares and freezes stocks and stews and sauces, and breads, it is necessary to re-organize one's freezer frequently. In my case, "frequently" means approximately annually.
I recently went on an expedition in my freezer, to determine whether there was a stash of frozen pesto there (there was not, so I have another project when I didn't need to have another project). In the course of my expedition (picture pitons and ice axes), I realized that I was reorganizing my freezer. Fine, it needed it.