Sourdough Challah from "A Blessing of Bread"

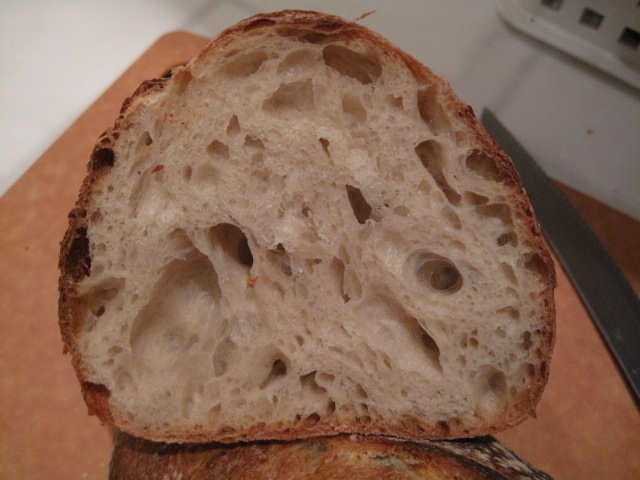
I'm rather fond of challah, but my wife isn't. Most challah is too rich and too sweet for her taste. The closer to brioche it tastes, the less she likes it. So, when I made “My Sourdough Challah” from Maggie Glezer's “A Blessing of Bread,” and both my wife and I loved it, I was delighted.