Our Everyday Sandwich Bread, 100% whole wheat
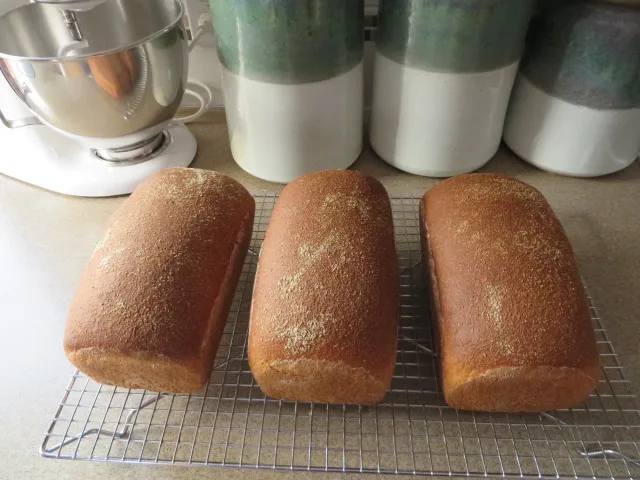
I used to make the buttermilk bread from the Laurel's Kitchen Bread Book as our everyday sandwich bread, but then I discovered an overnight fermentation recipe and the colour, texture, and taste are so much better, I don't think I can ever go back to an all-in-one-day bread recipe.
- Log in or register to post comments
- 2 comments
- View post
- bryoria's Blog


