The Fresh Loaf

A Community of Amateur Bakers and Artisan Bread Enthusiasts.

DanAyo's blog

DanAyo's picture
DanAyo

The following are links to our Community Bakes

Below are tips & ideas that you may find useful. 
You can use THIS LINK to view all tips in a web browser.

For those in the US, the History of King Arthur Flour Company is very interesting and historic.

Although not listed as a tip, the links below may prove interesting for some.

Miscellaneous Blog Post

A compilation of my bakes during a Community Bake


I am trying to use a Table of Contents for my BLOG. Links to blogged bakes will be posted to this page. I plan to post a link to this page on all BLOG bakes, experiments, tips, Community Bakes, etc..

DanAyo's picture
DanAyo

Benny started an interesting experiment that was right up my alley. He wanted to know the affect that sugar had on a SD starter. I am always looking to enhance the yeast in my starter. So here I go…

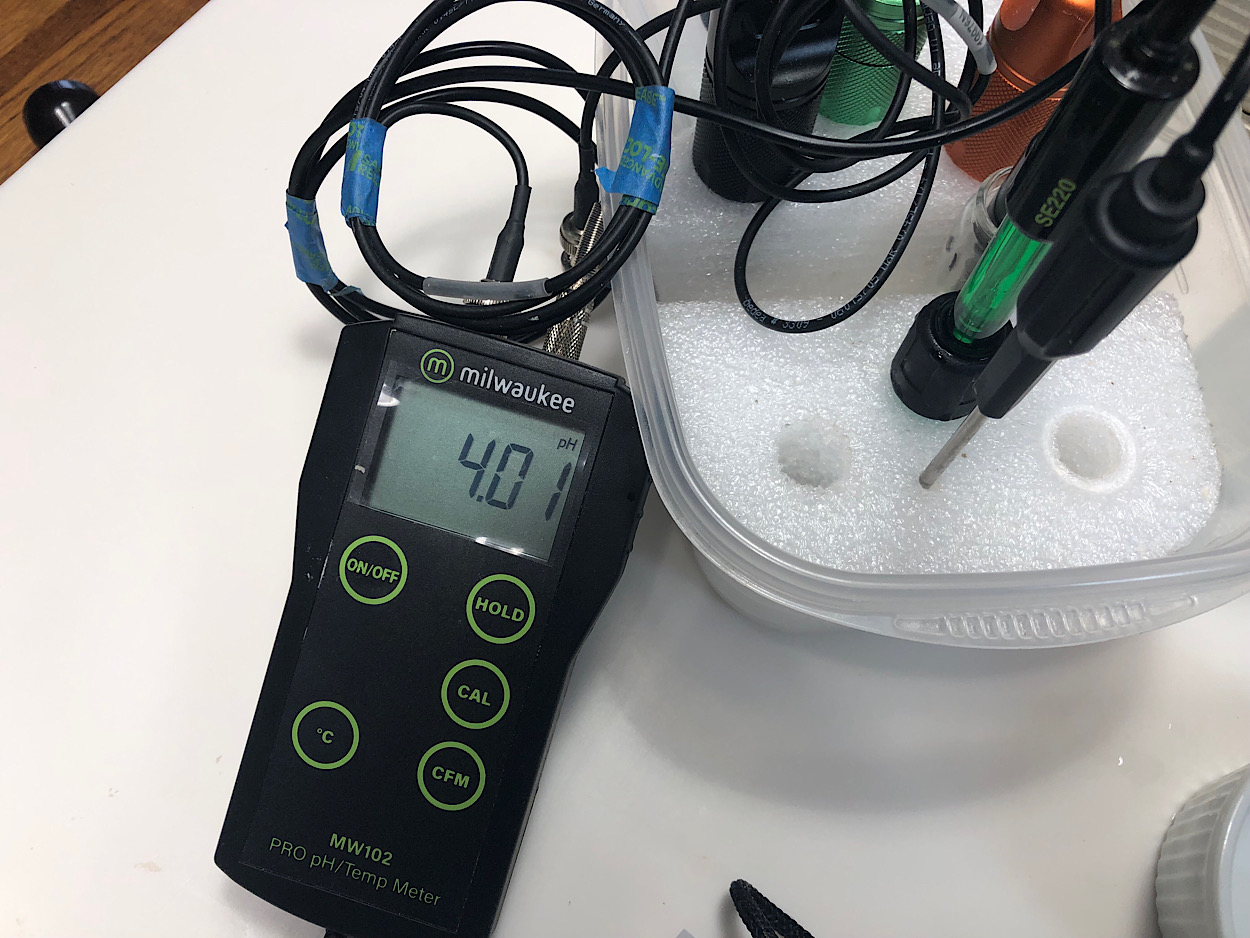
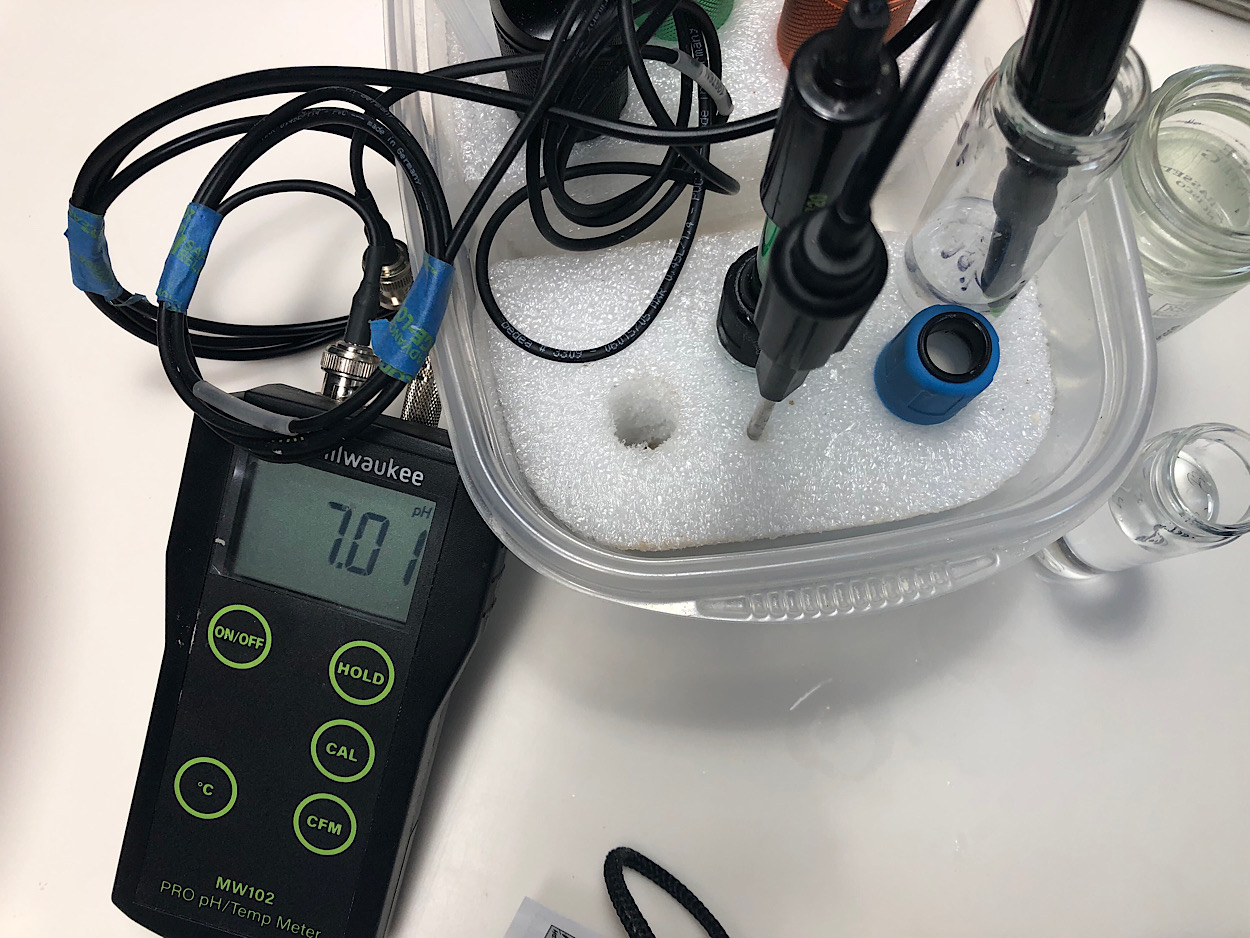
Images above and below show calibration before any readings were taken.

Image below shows pH reading of original starter after removal from fridge and warmed on counter for 2hr.

Below is pH of standard refreshed starter, mixed 1:1:1. NOTE - all feed flour was high protein white.

Below - No Sugar pH. Mixed 1:1.5:3 (~50% hydration)

Below - 33.3% sugar when calculated against the feed flour. Mixed 1:1.5:3:1 (starter:water:flour:sugar)

All 3 starter will be covered and placed in the proofer that is set to 80F.

Quadruple rise after 4hr on 1:1:1 - 100% hydration w/no sugar


pH at refresh was 4.52 - At maturity (image below) 4.19

1:1.5:3 matured in 6hr, ~4x rise

pH at refresh was 4.88 - At maturity (image below) 4.04 ~50% hydration w/no sugar

1:1.5:3:1 (starter:water:flour:sugar) ~3.25 rise after 7hr

pH at refresh was 4.84 - At maturity (image below) 4.51 ~50% hydration w/sugar

After the testing was complete, the probe was checked against a calibration solution of 4.01.

Interesting
The original 1:1:1 lowered pH by 0.33
The stiffened starter 1:1.5:3 lowered pH by 0.84 (I wonder if the extra 2hr it took to mature this starter over the 1:1:1 account for the large drop in pH)
The sugared starter 1:1.5:3:1 lowered pH by 0.33

NOTE - all 3 starters fermented @ 80F

Another interesting observation -
The original starter, which is kept @ 1:1:1 and fed once a week (unless it is used to bake, in that case more often) shows a pH 4.19 at maturity. But once refrigerated for a week the pH reading was pH 3.84. A pH drop of 0.37.
- - - Just realized something that wasn’t taken into consideration - - -
After the refreshed starter matures and before it is refrigerated my practice is to add a large pinch (~3-4g flour) is added to the starter for extra feed and also to maintain a stronger starter with less degradation over the following week. I plan to not only measure the pH at maturity, but also after the extra feed is stirred in. The extra flour will probably raise the pH a bit.

QUESTION -
Why is it others commonly report the pH of their refreshed starters higher than 5? And my refreshed starters are always in the high 4s?
Benny’s answer (whole wheat and buffering) may answer this question.

DanAyo's picture
DanAyo

JR posted his Chocolate Sourdough bread and it inspired me to give it a try. Two changes were made. The salt was reduced to 1.8% and 3% honey was added.

The chocolate paste tasted very bitter, so just enough honey was added to offset the bitter. But not enough to make the bread noticeably sweet. 

The hydration (counting the water in the chocolate paste) was 93.8%. In spite of this the dough was quite easy to handle and shape. The chocolate paste offset the high hydration. The color, crumb, and oven spring were nice.

BUT - the flavor did not thrill my taste buds. Even though the starter was not highly acidic, IMO the sourdough didn’t pair well with the chocolate. Should this bread be attempted again either commercial yeast or Yeast Water would be used to leaven instead of SD.

A beautiful bread with a super soft texture. Too bad the flavor was off.

A Thought
How about a  Chocolate - Chocolate Babka?

Mix this dough with CY and use Nutella for the filling. Maybe reduce the percentage of chocolate powder and increase the honey?

DanAyo's picture
DanAyo


 Table of Contents for my BLOG

The following are a compilation of my bakes for the Durum Wheat - Selmolina Rimacinata Community Bake.

Bake #1

I wanted to bake 100% Semolina Rimacinata following the Pane di Altamura. Both this bake and Bake #2 were shaped as batards, though. When it comes to anything Italian, my attention turns to Michael, aka ‘mwilson’. Mike’s formula and method was my guide.

Bake #1 

This one didn’t proceed as anticipated. The dry levain grew tremendously,  but the actual bulk fermentation of the dough failed to rise. I still have no idea why. In order to salvage the dough 0.5% CY was added after waiting hours for the dough to rise during the BF.


According the Michael’s instructions, the dough was well developed. This was more difficult with durum than it would have been with typical wheat. The gluten was super tough and elastic. But with adequate kneading it became supple and cohesive.

Considering the initial lack of rise during the BF, I was happy to have saved the loaf. After baking Bake #2, I believe that if the dough was allowed to BF long enough, it would have risen appropriately.

NOTE -this dough may have been over worked. The crumb color had a yellow hue, but not as much as expected. The image does a poor job of representing the actual color. I later learned that using the flash helped to render a much more accurate hue.


Bake #2

Like the previous bake the bulk ferment took quite a while to double, as Mike recommended. It took 2 hours @ +76F and 4 hours @ 80F. IMO, the dough over-fermented. It was bloated and fragile. I actually thought the bread was a huge flop, but decided to bake it anyway. To my surprise the oven spring was great! This flour seems quite different from typical wheat. There is much to learn. 

Flavor -
My wife loves it... For me, it was OK, but nothing to write home about. Patsy and I have been married 34 years, and I can say that our taste are completely opposite. The loaf was wrapped in a cloth overnight to keep it soft. And soft it was - a good thing.


DanAyo's picture
DanAyo

Table of Contents for my BLOG

The following are a compilation of my bakes for the Rye Bread Community Bake.

Bake #1

I went with Eric Hanner's formula, with a few adjustments. The hydrations was lowered to 70% and the mixing and kneading was altered in an attempt to preserve the gluten from the white flour. The spreadsheet is posted to the BLOG. I am keen to the fact that rye is gluten deficient and requires special care. Another tidbit - the acids produced by the sourdough culture is extremely beneficial when a dough has a fair amount of rye.

  1. The idea was to mix all of the white flour in the final dough with all, but 5% of the remaining water. Commercial yeast and sugar was also added to this initial mix. A machine was used and the ingredients in the dough was originally incorporated, then allow to rest for 15-20 minutes. The dough was dry and somewhat stringy. BUT, after the rest the dough took on a more supple characteristic and mixing proceeded much nicer.
  2. After the first dough was mixed to develop the gluten, the levain was introduced. NOTE - almost all of the mixing was on slow speed and it took a while of mixing to develop the gluten in the final dough.
  3. Upon full integration of the levain, the final amount of water (bassinage) was mixed with the salt and slowly dripped into the mixer bowl. At completion the dough was supple and gluten was well developed. I think this had a lot to do with the ease of handling I experienced with this dough. The dough was able to be handled quite easily. Originally, I intended to bake in a pan, but the dough was so well behaved it was shaped and baked free form instead.

Taste -
In all honesty, the flavor was lack luster. The bread turned out fine but the complexity and strong flavor that rye brings to the table was not there, IMO. Next bake will use 35% Whole Rye

The dough produced a huge amount of gas and it seems it was over proofed.

A word of caution -
My second bake just came out of the oven and it was more dark than I would like. The first bake used Caputo Manitoba (un-malted) and this latest bake used King Arthur bread flour, which is malted. Since the formula calls for 1.1% sugar, be careful when baking with a malted flour. You may want to reduce the oven temperature to be safe, or watch it closely.


BTW - the bread flour had plenty enough gluten to give strength to the rye dough. It is possible that developing the white flour first is a game changer for rye doughs.


Bake #2
In an attempt to increase the flavor Eric’s formula was tweaked to 35% home milled whole rye (large bran omitted). For both bakes the hydration was lowered to 70%, but for the increased rye, more water would have been nicer.


Bake #3

In an attempt to ramp up the flavor, this bake was Hamelman’s 40% Rye. Used 1% dill and sprinkled crust with kosher salt. NOTE - need to learn how to properly apply salt to crust. Glazed crust with corn starch/water mixed, then sprinkled salt. But the salt sort of “melted” in many places.

This bread was moist, unlike the other two. Both the crust and crumb was softer also. Looks like AG was correct. The rye flavor kicks in at 40% rye.

A light bulb moment -
All 3 of the first bakes used Caputo’s Americana for the white flour and home milled rye (dark rye). With the exception of Bake #3 (spiked with Chocolate Barley) the bread lacked that typical dark rye color. I think that the addition of 0.5 to 1% Diastatic Malt would have benefited the bread. Most american flours are malted.

The flavor review -
Since Caraway is too pungent for my liking, 1% dill was added to the dough. It gave the bread a nice nuance, but wasn’t overwhelming. Also 1% Malted (N/D) Chocolate Barley was also added to the dough. It produced a darker crust and crumb, but more importantly, the chocolate flavor was a welcomed addition.

Both the crust and crumb was softer, which I liked. And the crumb was moist. Other than the possibly of over baking the first two, I can find no other explanation.

It seems that 40% whole rye is the threshold for those seeking the characteristic flavor that rye lovers crave. Comparing Bake #2 (35% rye) with Bake #3 (40% rye), the increase of 5% rye made a 100% difference. Possibly a slight exaggeration, but it sounded too good to resist :-)

Had to jump on the band wagon with Texas Dad. The corned brisket is slow cooking as this is written. Reubens for lunch.


Bake #4

A repeat of Bake #3, Hamelman’s 40% Rye. The hydrations was upped to 70%, but 68% may be my sweet spot. Added 0.4% diastatic malt and increased the Chocolate Malt (N/D) from 1% to 2%. It darkened the loaf and crumb more, but the jury is still out on this change. At this time the flavor seems a liitle nicer on the previous bake, but I think that will change as the loaf ages in the next day or two. NOTE - the salt on the crust is a real treat and adds a blast of flavor. It doesn’t take much coarse kosher salt to do the trick.

Bake #5

When it comes to Rye Bread, Hamelman’s 40% Rye is my go-to Rye Formula. At 40% rye, especially at 100% extraction, the rye flavor is pushed to my flavor limit. The flavor difference between whole rye and rye that has been sifted to remove the bran and other large particles is huge! Since baking this formula, the breads have been moist and nice tasting.

The 1% diastatic malt was dropped and the Chocolate Malt (N/D) was scaled back to 1%. Those changes worked well and will be repeated in the future. The concept of fully developing the white flour before adding the rye levain has consistently worked well for me.

I really like Doc’s idea of sprinkling kosher salt on the crust (taste great), but I have noticed that it tends to melt, leaving small dark spots on the crust.

Bake #6

A few tweaks from the last 3 bakes that used Hamelman’s 40% Rye formula.

  • 1% powdered cocoa was added. The 1% chocolate malt remained.
  • Hydration was reduced to 67%
  • 3% sesame seeds, dropped the dill seeds
  • decided to do a 5 strand braid on one bread, just to see if it could be done.

Taste -
The sesame seeds added slightly to the texture and flavor. The cocoa affected the color much more than the flavor. The bread darkened a little more and you had to really search to find any additional chocolate flavor.
Update - the bread is about 48 hr old and the flavor has definitely ramped up. It is my best tasting rye to date.

Texture -
The crust was only slightly thick, a good thing. The crumb was moderately moist and the chew was moderately substantial. The sesame seeds added a slight crunch to the crumb. All in all, a nice eating experience.

The Braid -
The 5 strand braid required a delicate touch, but it was easily manageable. I was surprised! BUT, after the final proof some areas of the strands were showing signs of degradation. I think the proteolysis from the whole rye (100% e traction) was too much for the dough. The braid might work if either the rye was reduced to 30%, or the rye was sifted to reduced some of the bran (ash content). The breakdown of the dough also greatly reduced the oven spring in the braided loaf.

My 100% whole milled rye levains never exhibit a large rise. I think using all of the grain, the lack of gluten, and the coarser grind have an affect on that. At any rate it raising the breads very well.

The flour was purposely milled to reduce starch damage.

When I see the clean bowl below, I know things are going well. Especially when it comes to rye.

Dough was just shaped.

Dough after Final Proofing.

http://www.thefreshloaf.com/node/66523/community-bake-ny-jewish-bakerydeli-style-rye-breads?page=1#comment-477175 

Bake #7

I wanted to explore adding whole wheat to Hamelman’s 40% Rye in the hopes that the bread would produce stronger braids. But that was not to be. 30% whole rye, 10% Hard Red Spring Wheat, and 60 white flour. The raw dough braided very well, better than last time. But the braids split open much more that the first attempt.

BTW - I didn’t care for the flavor of the newly introduced Hard Red Wheat. I much prefer the percentages and formula in Hamelman’s original formula. After 7 consecutive rye bakes, I whole heartedly agree with Another Girl that 40% rye is the sweet spot. No more, no less. For my taste 40% rye (100% extraction) is strong enough for me, but not too strong. 

Here’s proof that I post the good, the bad, and the ugly.
Looks can be deceiving.


DanAyo's picture
DanAyo

Table of Contents for my BLOG

Below is a compilation of Ciabattas that were baked in the Ciabatta Community Bake

Bakes 1 & 2 used Hamelman’s Poolish formula listed in the original post. I haven’t baked Ciabatta in a long time and the results bare this out. The breads had a super thin crust and a super soft interior. That suited me to the max. The taste was ok, but I would have liked a much more complex flavor. 


The black specks in the image below are black olives. 5% was used but the increase in flavor was disappointing. Chopped green olives, maybe as much as 10%, might have been a better choice. 5% olive oil was added to the second bake. It softened the crumb and enhanced the bread, IMO.

Bake 3 - After the previous two bakes I started exploring the possibilities of using much less CY with an increase in flavor in mind. This lead me to John Kirkwood’s formula that used a small amount of CY in the Poolish only and none in the Final Dough. His Poolish ferment temp & timing didn’t work at all for me. After following his directions to refrigerate the Poolish for 12-14 hours it had not risen at all, so it was left on the counter to mature before mixing into the Final Dough. The bread produced the typical Ciabatta crumb and the flavor had more character, but improvements were needed. To tell you the truth! I like Allan’s crumb better than the typical holey version. See Alan’s crumb shot below.

Bake 3 Images 

Bake 4 - As a former fan of Ciabatta with Poolish, my recent studies revealed that the original Ciabatta used a Biga. It is my understanding that the Poolish is French and the Biga is Italian. With this new knowledge the Biga version became the focus...

A response by Debra on a recent and timely post concerning “ How to make a starter maximized for yeast” taught me that white flour, low hydration, frequent builds, and moderate temps would move my starter in that direction. And so it was, 50% hydration, all white flour, temps in the low 70’s (F), and 3 feeds a day for several days. Not a Lievito Madre, but inching closer. I’ll be leaning on Michael as LM evolution evolves :-)

Michael tells me that a Biga can be either SD or CY, but must be low hydration.  SD was chosen because flavor was the main focus. I had a mature SD Biga and hadn’t found the perfect formula, so Abel’s 90% Biga was adopted and tweaked. The SD Biga used 76% Pre-fermented flour, 75% hydration, and 2.2% salt. The flavor was much more complex and ramped up noticeably (slightest hint of acetic), crust was nice, but not as thin as CY, and the crumb required a little more chew but not much more. IMO, it was a definite hit and will be further refined in the near future.


It is interesting to note that of the 4 bakes this one was the only one that got the “finger polk” treatment. All others rec’d no deflation at all.

Here is the spreadsheet for Bake #4 - Note, the original Giorilli (CY version) was tweaked. See video link for original version.

Dan’s Bake 5 - A couple of days ago I decide to re-make Bake #4 (Georilli - 50% sd biga version). The first one was a smashing success and I had to be sure that this could be replicated. To my surprise this turned out completely horrible. I knew when the final mix was taking place that the gluten was wrecked. But, great news! After mulling this failure over in my brain for ~48 hr the light came on. The flop became a precious treasure because I learned something new. The reason the biga is mixed in such a way as to NOT form gluten, is because IF the gluten is formed up front the dough is highly susceptible to degradation. Not sure how/why the first attempt turned out so well, but I know now why the second bake failed to the max. Note - the second attempt used 9% more PFF. Check out these images.

The image below was taken after the dough was removed the mixer. While mixing it was evident that the gluten was shot. Additional flour was added, intense kneading applied, nothing could resurrect the pockmarked dough.

Image below shows dough at shaping, what a complete mess!

It was obvious before this dough hit the oven that it was unable to rise.

BUT, the bread tasted outstanding, although the texture was horrible.

I am pretty confident that the reason a long fermented dough using a sourdough culture, made with 85% Pre-Fermented Flour should not have the gluten developed during the biga mix is to protect the gluten form irreparable damage.

 Maybe this experience will help others.


Update - the flavor of Bake #4 is special. It is probably the best tasting Ciabatta I’ve ever baked. I keep going back for more.

Dan’s Bake 6 - I baked Michael's "Ciabatta con pasta madre biga". With the exception of the hydration, the formula was followed precisely. I chickened out on the water and reduced it by 25g. I imagined the 15g of olive oil would make things too wet for me. I was wrong, next time I'll use all of the water. The dough was a joy to work with. Following Mike's belief of thoroughly developing the gluten in the mixer worked super well. The dough was easily folded, like the video Michael shared. This is the first time I have seen a Ciabatta (LM biga) formula using sourdough for the biga. The Lievito Madre was very strong in yeast and it was washed prior to the final build. The flavor was pleasant and clean, but I hope to increase the complexity in future bakes. The texture of the crust (thin) and crumb (super light & airy) was excellent. The stars aligned for this bake...


I hope someone can tell me why the dough doesn’t seal well. See Below. Is it possible that it is folded to aggressively or too much. I noticed how well Michael’s dough sealed after shaping. Mine doesn’t.


I am starting to get a grasp on the Lievito Madre process am excited to learn this technique. The leavening ability of this culture is phenomenal. The image below shows my baby wrapped up in his blanket ready to go to sleep. He’s a cutie...

Another Biga made from the LM is in cool retard now getting ready for tomorrow’s adventure.


Dan’s Bake 7 -  Once again I baked Michael's "Ciabatta con pasta madre biga". This time I went with the full hydration and it handled like a dream. I attribute that to the oil and also the well developed gluten. Folding on the bench (like Michael’s video) was a rewarding and pleasant experience. It also seems the Caputo 00 Americana is an ideal flour for the task. I have yet to taste the bread, but my neighbor has had over a hundred loaves on my bread and she messaged me that, “this is the best bread yet”. Taste Update - The bread sat on the counter (uncut) overnight. Once again the crumb was soft, springy, and not hint of dryness. The crust was only slightly crisp and had a very minimal leathery chew. The flavor is best described as clean with the slightest hint of sour. So much so, you have to look for it or it might be missed. As a perfectionist, I am rare satisfied, but this bread checks almost all of the boxes. I recommend that any of the more adventurous bakers, build a Lieveto Madre and see for yourself. IMO, it is worth the effort.

My Ciabatta shaping skills need serious improvement, but I’m pleased with all other aspects. The highlights of my baking improvements gained from this CB are learning the Lieveto Madre and the SD Biga.

The bread has a thin crust and soft texture. There is practically no resistance to the bit and the crumb is moist. It works well for sandwiches and does well with a light toasting.


Dan’s Bake 8 - A good friend had a saying, “sometime chicken, sometime feathers”. Today I got feathers :-)

You probably guessed it, I baked Michael's "Ciabatta con pasta madre biga" AGAIN. Small changes have a way of making large changes. I THINK the problem starter when the decision was made to finished up the 16 hr biga ferment for the last 2 hr at 82F. The first 14 hr it rested at ~62F. I had hoped to bring a little more acidity to the bread, but the additional acid may have harmed the gluten. I really don’t know what else to think. I knew something was not right during the machine kneading. The dough refused to come together as it had in the past. I began to question if maybe I had mis-measured the water or something similar. After considerable mixing the dough remained slack. I ultimately added 20% more flour, but the dough never did look like the past bakes of the same formula. I was accustomed to super supple and extremely extensible dough. While in the mixer the dough never did completely smooth out. This bake will be valuable to me if the troubleshooting assumptions are correct. 

The bread has a more acidic flavor, which was nice. And the sandwiches are killer. If you happen to have Olive Salad in your cabinet, give it a try. It is made for Ciabatta. Will if you read this, make sure you give it a go. You are guaranteed to love it.


Because of the weak gluten, the dough was unable to hold enough gas. The lack of spring and the crumb reflects that.

Dan’s Bake #9

You guessed it, Michael's "Ciabatta con pasta madre biga". The diastatic malt was upped slight to 1%, hoping to produce the gorgeous color of Lance’s bread. But not to be, color remained the same. Next time maybe milk or sugar.

A flour test -
Caputo Americana is a great flour for Ciabatta, but in my area it is expensive. Since I can get King Arthur Sir Lancelot (high protein) for 1/4 of the price, it was used for this bake. Good news, it handles and bakes up about the same as Caputo Americana! Great gluten. Not so good news, the flavor and crust texture doesn’t compete with Americana. Speaking as a flour snob, “flour makes a HUGE difference”.

Shaping is getting better, but reducing the size of the holes in the crumb is not gaining traction.

In an effort to reduce the size of the holes and at the same time temper the oven spring in order to lower the profile (wanted to slice bread horizontally for sandwiches), the dough was aggressively finger docked on both sides. My fingers pressed into the dough until they touched the bottom of the cabinet. Many dimples were made on each side. But it seems that Lievito Madre is such a powerful leavening agent that it rose anyway, leaving almost no signs of the dimples and produced super open crumb.

I am very pleased with the Ciabatta that has come out of my oven since Michaels formula (with LM) was used.

I have joined the ranks of Doc and Micheal when it comes to gluten development for Ciabatta. A Dedicated post on the subject can be SEEN HERE.

I’ve read where Michael sad that he didn’t stress about over-proofing when using LM. I am beginning to understand. This dough was BF to ~125%. The total rise upon completion of shaping was a whopping 280%, according to the aliquot jar.


DanAyo's picture
DanAyo

Table of Contents for my BLOG

I recently bought a grain flaker and some organic oat groats. By the way; fresh rolled oatmeal (porridge) is very good and nutritious in the morning. The obvious evolution was Oatmeal Porridge Bread. This is my first ever bake of this kind.

I elected Maurizio’s Oat-Porridge SD for my first attempt.

The high percentage of gluten free oats was very unfamiliar to me. The dough was sticky and hand kneading (mostly coil type folds) was fairly sloppy. I omitted the 25 grams of hold out water, and I am glad I did. I BF the dough to approximately 50%, which in hind sight was too much. The dough was shaped, placed into cloth lined bannetons, and retarded. Since the room temp dough takes hours to cool down in the frig, the dough rose considerably. Next time the BF will be cut back to no more that 30% increase.

12 hours after BF the doughs were removed for the frig. They were gassy. One was scored, the other not.

I have never tasted a bread like this before. It is definitely not sour, has a soft texture, and the flavor is interesting and good. I think it will make a great sandwich bread. I am please with the crumb, except for the dense area near the bottom of the loaf.

I am interested in improving this bread. Goals for improvement would be;

  1. More spring, higher rise.
  2. Correct the dense crumb near the bottom of the loaf.

Please share your suggestions and ideas for improvement.

Danny

DanAyo's picture
DanAyo

Table of Contents for my BLOG

Bake1

Once again I am trying to successful bake the famous Larraburu SD. All other attempts have failed miserably. I am using David Snyder’s formula and process based on the Galal, Johnson, & Varriano-Marston paper.

The 50% Levain was fermented at near 80F for 10 hours. The image below was taken at the end of fermentation.

My digital PH meter is stored away, so at the last moment I decided to test the PH of the fully fermented levain with a PH strip. NOTE - the PH is shown on the left side (darker) of the strip.

Left image was taken after the gluten was developed. It was kneaded by hand. A machine was not used for this bake. The image on the right was taken after a 1 hour BF at 80F.


Below the dough was photographed right before the final prrof.

Below is the dough after a 4 hr proof at a target temp of 105F.

I am very pleased with the outcome considerating abuse (hot fermentation) that the dough with stood.

The bread was over proofed, but with a 4 hr proof at over 100F, what else could we expect?

The flavor was fairly prominent and smooth. The flavor profile had no sharp or vinegary notes. The texture was moderately soft and enjoyable, IMO. If it wasn’t for Teresa’s SFSD, I would be attempting to tweak this more in order to make this a favored bread.

Question for those that have tasted the original Larraburu SD. How would you describe the crumb? Did it resemble the crumb above, that we now consider to be over proofed?

Conclusion - Teresa Greenway’s SFSD is by far the very best version of Sanfrancisco Sourdough that I have eaten.  I prefer a bread that is intensely flavored. But keep in mind, I have never sampled the real SFSD.

Danny

For those interested. HERE is the link for the interactive thermal data chart that was run during the fermentations.

UPDATE - The bread staled in one day. Both the flavor and the texture degraded in 24 hours. I am thinking that the relatively short fermentations produced a loaf that staled in short order. <Bummer

DanAyo's picture
DanAyo

Table of Contents for my BLOG 

Typically I follow Teresa Greenway’s (Northwest Sourdough) formula and process for my Sanfrancisco Sourdough. It produces the flavor profile that I like best. Her process entails an extended warm ferment coupled with a normal warm proof. The warm fermentation develops a bread that favors lactic acid and is very smooth, intensely flavored, and non-vinegary. For over a year I have experimented with changes to the formula/process in an attempt to either improve the flavor or alter the timeline. Almost all attempts have failed. I simply can’t beat her formula and process for the most part.

My latest tweak -

I bulk fermented the dough for 14 hours @ 78F and then transferred to the retarder. The retarder was set to 51F. The idea behind this experiment is to shorten the warm BF by fermenting overnight @ 50-51F. So I can mix at 7AM and retard @ 9PM. I ran a digital thermal log in the retarder. I had previously learned that the dough takes a very long time to cool from 79F to 50F. And even longer if the target dough temp is 38-39F!

Because the warm BF was shorten and an extented (overnight) retard with a target temp of 50-51F was utilized, the flavor profile of the bread shifted noticeably. The bread now has a slight vinegar note that comes from the acetic acid. This was to be expected, but is now confirmed.

Why I don’t divulge the formula or process in detail.

In the process of taking Teresa’s course we became friends. I asked permission to post her formula and process on TFL. She preferred that I not, because her course is a source of income for her and her family. I plan to honor that as I would if anyone else asked me to do the same. I have no baking secrets, but then again I don’t feed my family from my bakng endeavors. If anyone is interested to try her method of SFSD (I highly recommend it) the course is only $12.99 and it is worth a whole lot more...

Danny

Subscribe to RSS - DanAyo's blog