Second Attempt - 100% Rye, 100% Hydration
My first loaf was an overcooked, imploded disaster.
I started this thread last week to get some urgently needed advice during the final proof of my first loaf. The paste wasn't rising as scheduled and I didn't know what to look for (still don't). People tried to talk me through it, but as you can see it overproofed. Bigtime.
I followed up by showing off the collapsed loaf I'd created. That turned into a very helpful discussion about the obvious mistakes I'd made, and I can't thank those first responders enough.
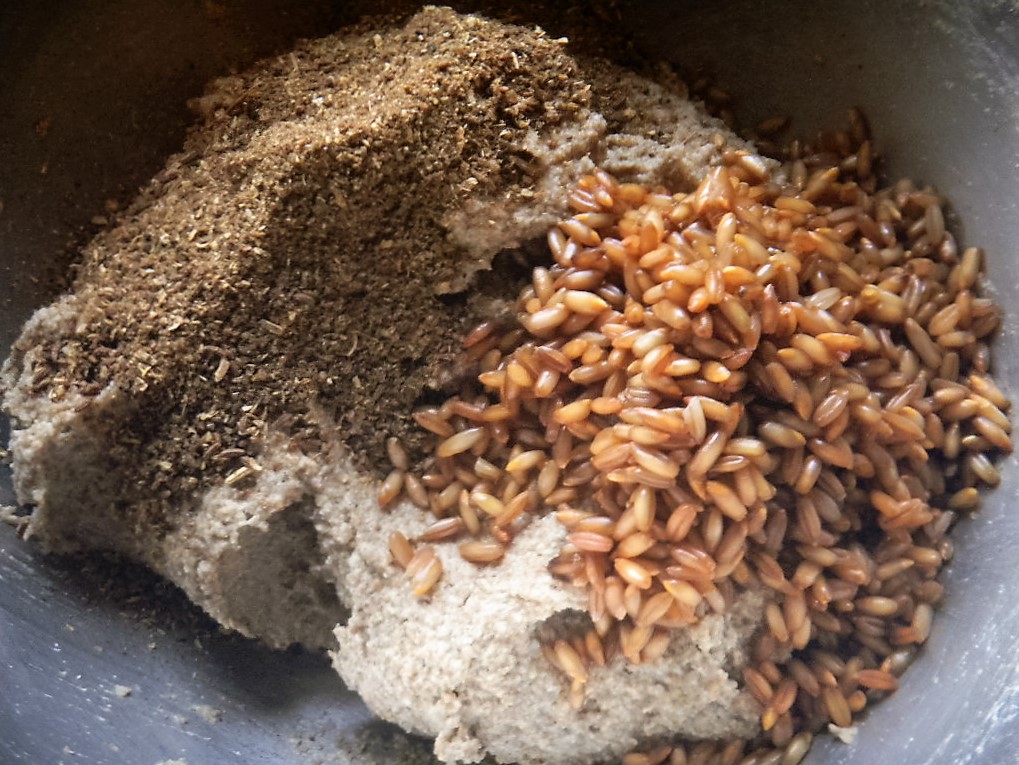
After my initial attempt kept me waiting around all day for the paste to rise, this time I wanted to try proofing in the fridge overnight. I've seen pictures of 100% rye pastes almost doubling this way, coming out ready to bake. It looks so convenient! So I mixed my final paste last night, loaded the pan, and stuck it in the fridge. I expected to wake up, preheat, and bake.
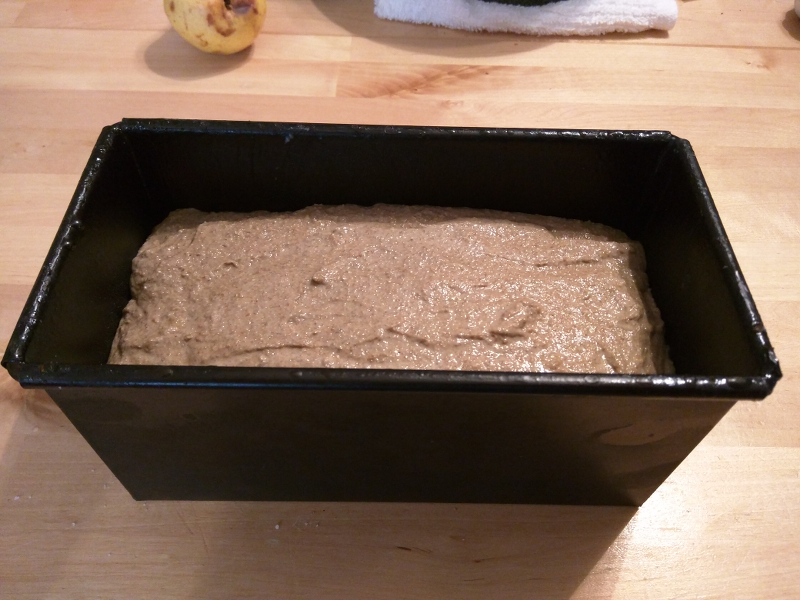
The night before:

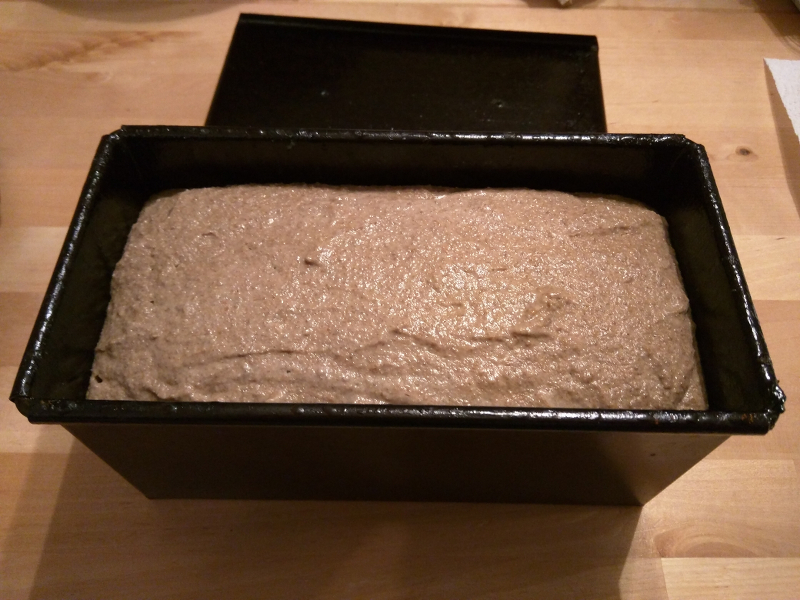
What I woke up to:
Welp, apparently my fridge is too cold for that method. According to my research, when a loaf drops below 40, the leavening comes to a screeching halt. So I left it out to rise at room temp. Shouldn't take long, I thought.
Seven hours later...
Finally, it went in the oven. Here are the adjustments I made between the first and second attempts.
- Went from 600 g to 700 g flour, because my first loaf had room to spare.
- Went from 20% scalded flour to no scalded flour at all, because this time I was following a process that didn't call for it.
- Went from 10 minutes at 500 + 2 hours at 350 (What was I thinking?) to 10 minutes at 450 + 1 hour at 350.
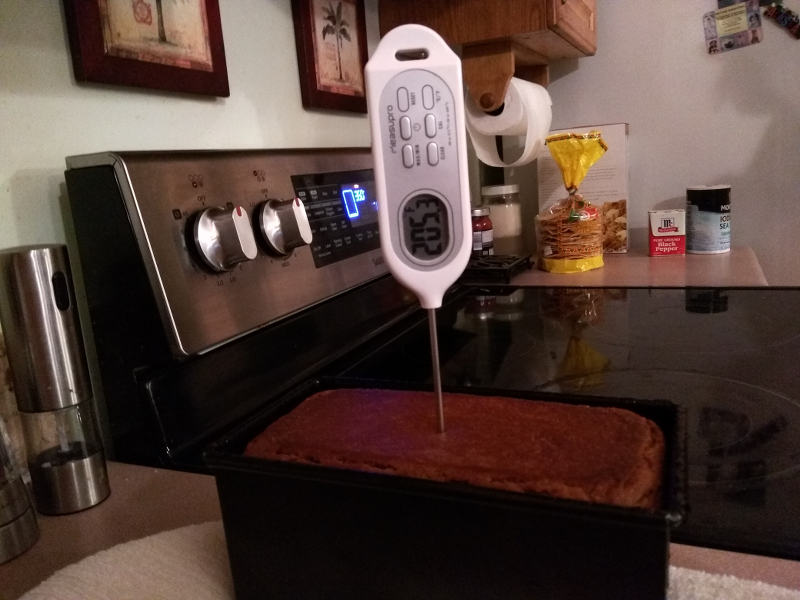
Most importantly, I pretty much halved the baking time. I've read that the internal temp to aim for is 205, and my first loaf was holding steady at 211.4 F - aka boiling point - for who knows how long.
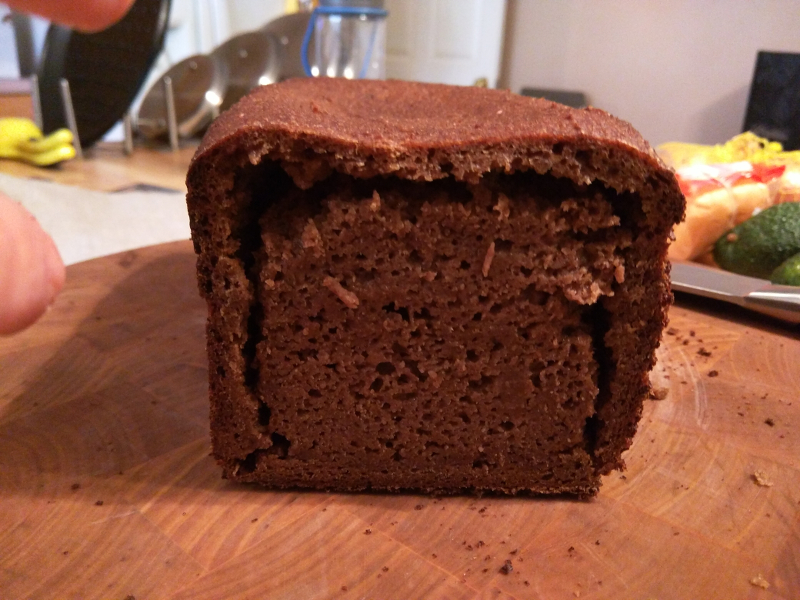
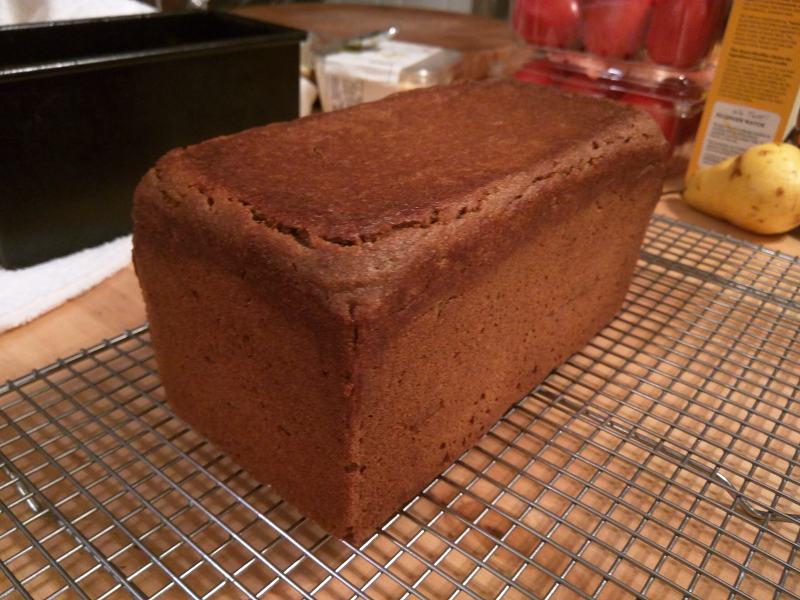
Let's see how it turned out:
What luck!
To my surprise, the paste sprung up and completely filled the pan. As far as I know, that's not a bad thing, but there is cracking around the top of the loaf. Does that indicate that the pan was too tight?
Cooling:
I'll be cutting into this thing a little more than 24 hours from now. Maybe the crumb shot will shed some light as to whether or not the loaf was overly compressed. Until then, thanks for bearing with me. I feel a bit overzealous to be starting threads here as a complete and utter beginner, but I wanted to show some progress. Special thanks to Dabrownman, Mini, and Drogon for setting me straight!