Hamelman's "Pain au Levain with Whole Wheat Flour"
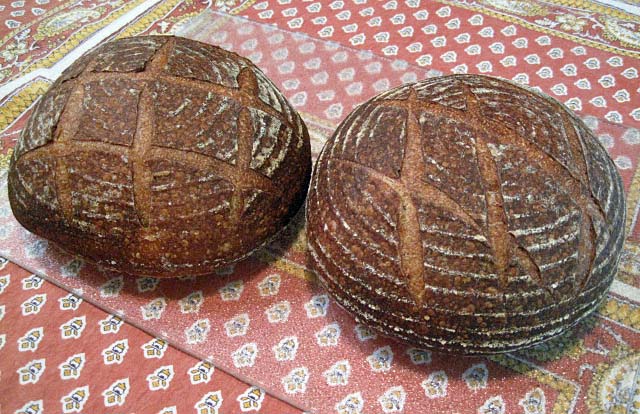
Many TFL baker's have blogged on this bread, and for good reason. It is delicious. I haven't made it since last October. Today, I made three 568 g boules. I started with a liquid starter which I converted to a firm starter and fed twice before mixing the final dough. The formed loaves were cold retarded for about 16 hours then proofed at 85 dF for 2 1/2 hours before baking.


