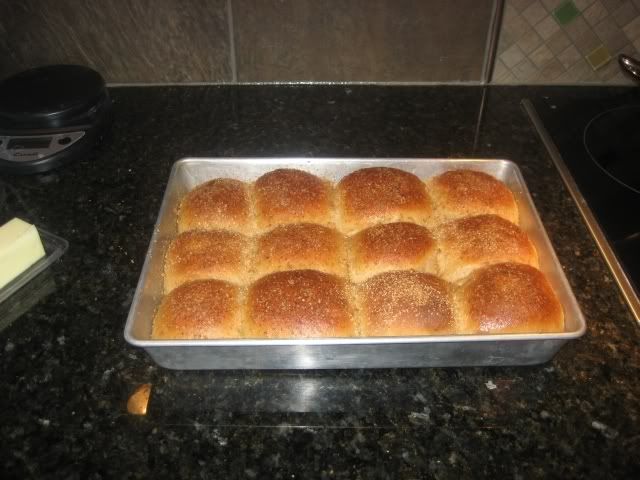
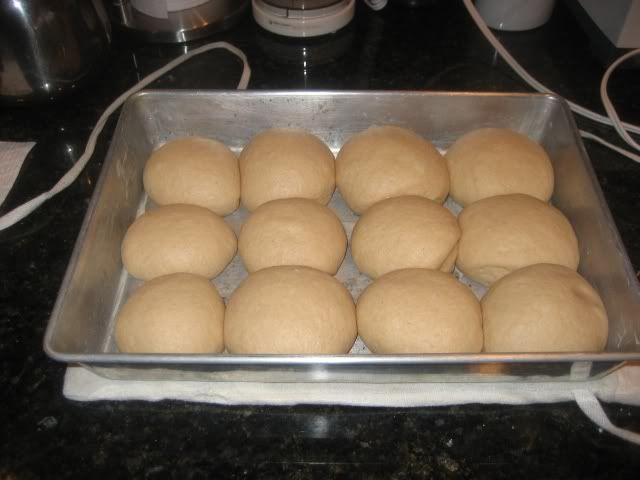
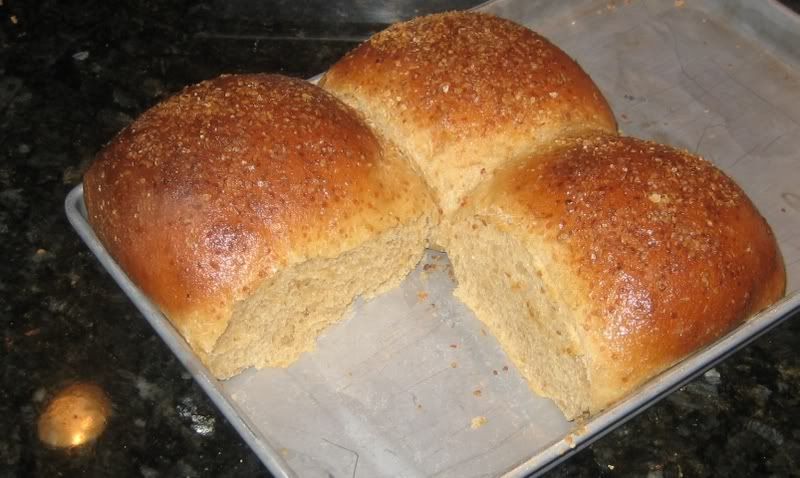
Sweet Potato Pecan Cinnamon Rolls
Sweet Potato Pecan Cinnamon Rolls
My Entry in Bread Baking Day #04, Bread with Spice http://bakinghistory.wordpress.com/2007/10/18/bread-baking-day-04/

Sweet Potato Pecan Cinnamon Rolls
My Entry in Bread Baking Day #04, Bread with Spice http://bakinghistory.wordpress.com/2007/10/18/bread-baking-day-04/

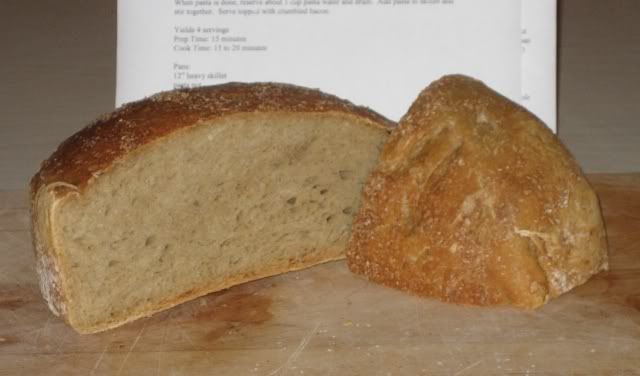
I'm very happy with this big loaf, of mostly white bread flour with some whole wheat and cornmeal for a flavor boost. The taste was fabulous. :~) I think it's my first white sourdough, and it's definitely the first formula I concocted wholly on my own, as opposed to tinkering with an existing recipe or formula. I didn't weigh the finished loaf, but it was 12 inches across. The unbaked dough was just over 3 pounds.
I have done a lot of scattered baking the past two months. These are pics of most of it. OK, so only one loaf was actually bad. That was the one where I thought I forgot to add the salt to the evening mix, so I added it the next morning. That was one of Peter Reinhart’s epoxy sandwich loaves. Not only was it too salty, but as you can guess it also didn’t rise very well. It still had a very nicely textured crumb. That loaf went in the freezer for use as breadcrumbs. I just hope I remembered to label it!
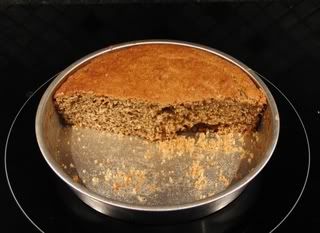
After seeing so many lovely rye loaves here, I wanted one for dinner. Since I didn't have time (or enough yeast) for a yeast bread, I decided to try and find a quick bread recipe online. This was a bit sweet for my taste, but I might make it again with less honey. With the sweetness, I quite enjoyed it for breakfast the next morning. I'm also going to order the deli rye flavor enhancer from King Arthur for future loaves - whether yeasted or quick.
I was visiting with my sister in Wisconsin, and we joined several other family members for a July 4th get-together at my cousins' cottage. I decided to bring bread for my contribution and thought it would be best if baked fresh. So the night before I started 2 loaves each of white and whole wheat NYT No-Knead bread. In the morning, I folded each loaf and placed in an oiled ziploc bag. The bags were carefully placed in a soft sided picnic-cooler-on-wheels.
No Knead Half WW
This is the bread I baked yesterday, using half and half whole wheat and white flour. It barely rose, though got a little oven spring. But it isn't a brick! The flavor is very good and the crumb is nice and soft. I think I overproofed by about 2 hours, but may have the other elements right.