Father's Day Fried Pies and Doughnuts
Today is Father's Day so I prepared meals for my dad. Normally, one will make some burgers for dad or prepare a carnivore feast but you know us, we love sweets and dad do not like to eat much meat anymore so I prepared some sweet and rich treats for him.
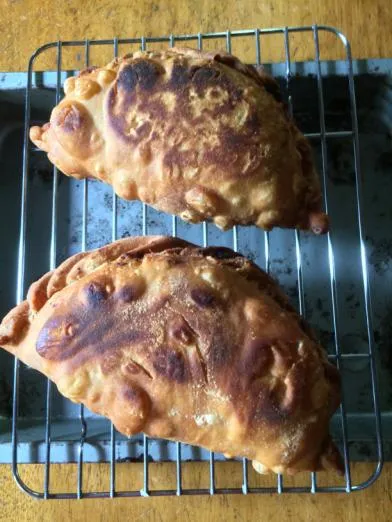
I made some fried pies. We really love fried pies especially peach and mango but I prepared a special one this time.