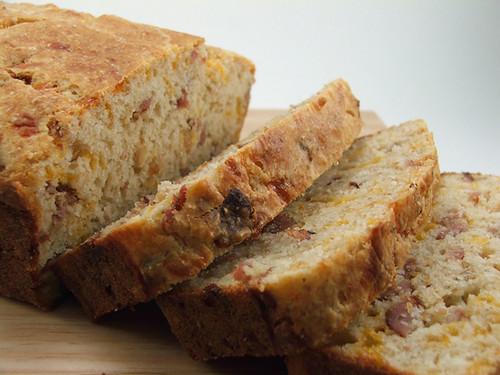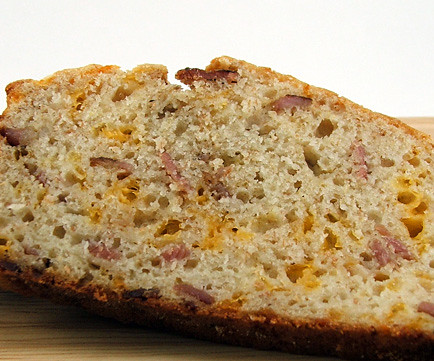
When my husband was little his mother, who is from Taiwan, would take him along on her shopping expeditions to Chinatown in his hometown of Chicago. As a treat, she would buy him char siu bao, or Chinese BBQ pork steamed buns. I believe food can create memories, and passing a Chinese bakery one day a few years ago we saw some of these pale buns in the case and he was five again, shopping with his mom and munching on buns. Of course, we bought some and boy were they good!

Like anything, if I like it I want to make it, and my husband was all for that! I tried a couple of different recipes for the bun dough and while they were ok, none were as good as what we had at that little bakery. So, I quit making them because, frankly, who wants to eat sub-par buns?
Well, that changed quite by accident. Last week I was browsing my favorite food blogs when I found a recipe on the most excellent, and very tasty, She Simmers for Plain Chinese Steamed Buns. The pictures Leela posted showed pale, fluffy buns that I could not resist.

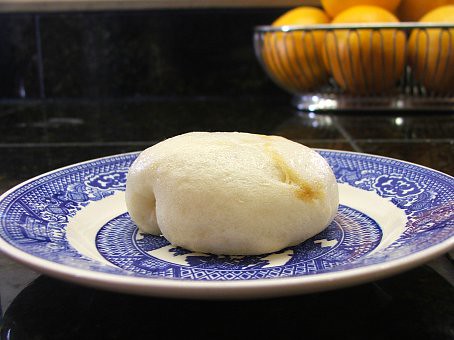
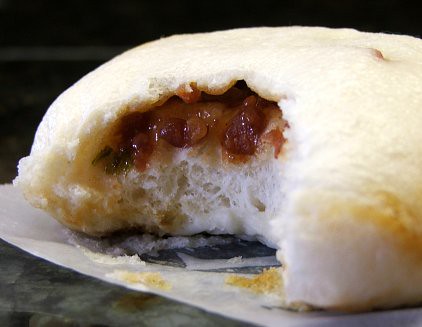
Bright and early Sunday morning I made the dough then packed it up, along with some pork filling, to my in-law's house a couple of hours away. During the drive the dough rose, and once we got there it sat for another hour, giving it four total hours to ferment. When I turned it out I was afraid I had over fermented but it was just lovely! The dough was smooth, supple, and very easy to work with. The buns were easy to form with the pork filling inside, and after a good proof, they steamed up to fluffy awesomeness!
Char Siu Bao, or Chinese BBQ Pork Steamed Buns Yield 12
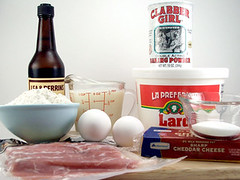
Pork Filling:
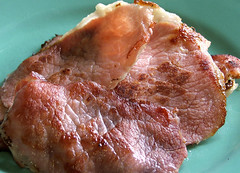
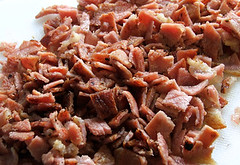
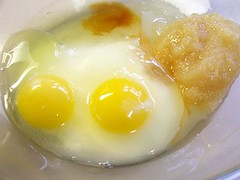
1 lb. ground pork
2 tablespoons vegetable oil
1 clove garlic, minced
1 green onion, chopped
1/2 cup Char Sui sauce (available in the Asian section of most supermarkets)
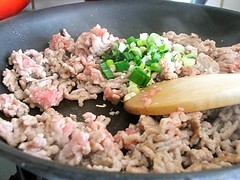
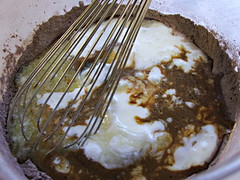
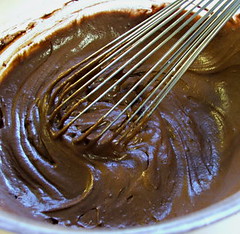
Brown the pork in the vegetable oil until the meat begins to color. Add the garlic and green onion and cook until the meat is cooked through.
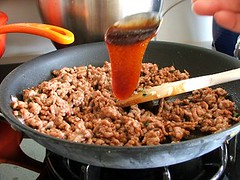
Add the Char Siu sauce and cook for five minutes, or until the sauce has caramelized slightly.
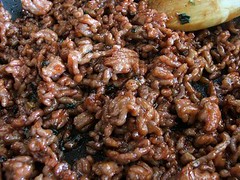
Allow to cool to room temperature.
Steamed Bun Dough adapted from She Simmers
Sponge:
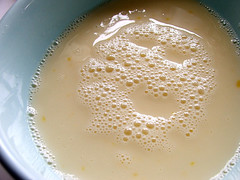
1/3 cup water, heated to 100F
1/3 cup all-purpose flour
1 tablespoon active dry yeast
1 tablespoon sugar
Dough:
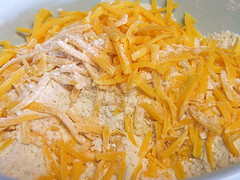
1 cup all-purpose flour
3/4 cup cake flour
2 teaspoons baking powder, divided
1 teaspoon kosher salt
1 tablespoon sugar
1 tablespoon lard, melted and cooled slightly
1/2 cup water, heated to 90F
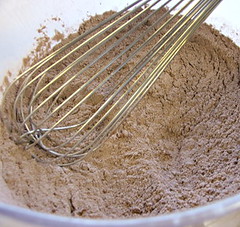
Mix the ingredients for the sponge in a mixing bowl, or the bowl of a stand mixer, with a spatula until uniform. Cover and allow to ferment until the top of the dough is covered in bubbles that are beginning to break.
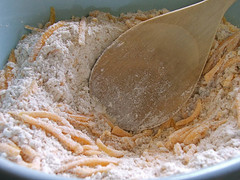
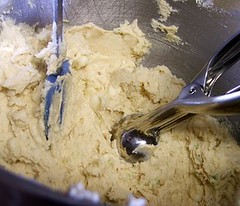
Add the all-purpose flour, cake flour, 1 teaspoon of the baking powder, salt, sugar, lard and water. Mix for 2 minutes on low, then check the hydration. It should be slightly sticky, but not wet. If it is too wet add additional all-purpose flour by the tablespoon until the dough is no longer wet. Mix on medium for 5 minutes. The dough should form a ball on the dough hook and just cling to the bottom of the mixer.
If mixing by hand, mix in the water and knead in the bowl until the dough forms a rough ball. Turn out on a board dusted with flour and knead until the dough is smooth, about ten minutes. Dust the board with additional four as needed to prevent sticking, but do not add too much.
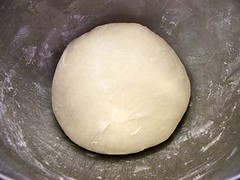
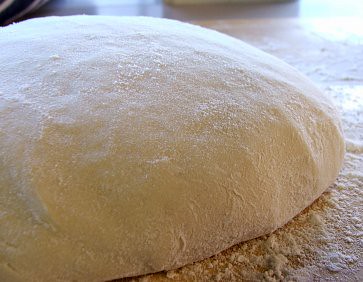
Cover the dough in the mixing bowl and allow to ferment for four hours. It will rise and smell very yeasty.
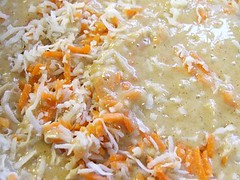
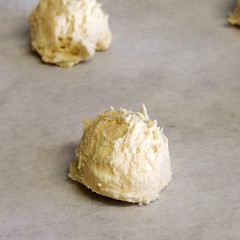
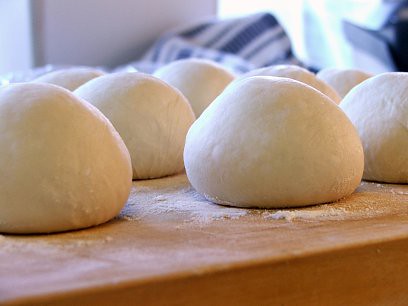
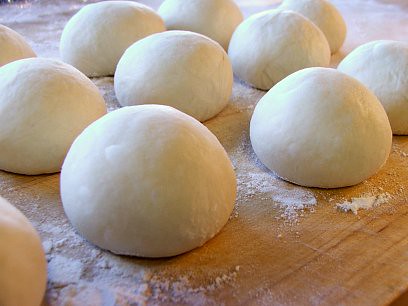
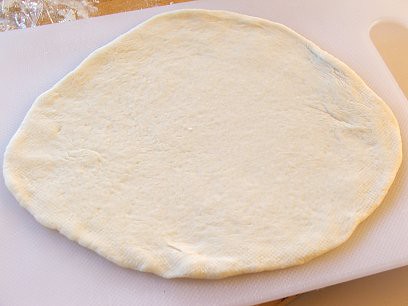
Turn the dough out into a flour dusted board and press out the largest air bubbles. Gently knead in the second teaspoon of baking powder. Divide the dough into 12 equal pieces and, one at a time, press into a circle. The dough should be thinner at the edges and plump in the center.

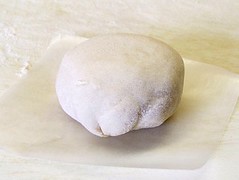
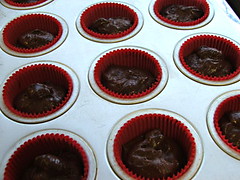
Spoon one tablespoon of the prepared pork filling into the center of the dough. Gather up the edges and press to seal. Place the bun seam side down on a square of wax paper.
Allow buns to proof on the counter, covered, for 1 hour.
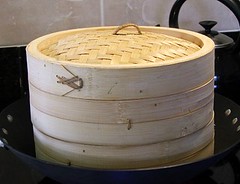
Prepare a steamer, I use a bamboo steamer set on a wok, with gently boiling water.
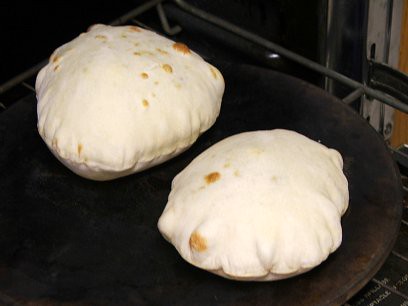
Once the buns have proofed gently place them, at least 1 inch apart, in the basket of your steamer. Cover and allow to steam for ten minutes. Do not let the water boil too vigorously.
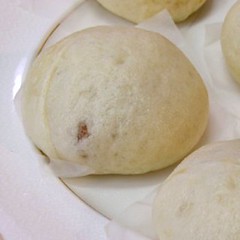
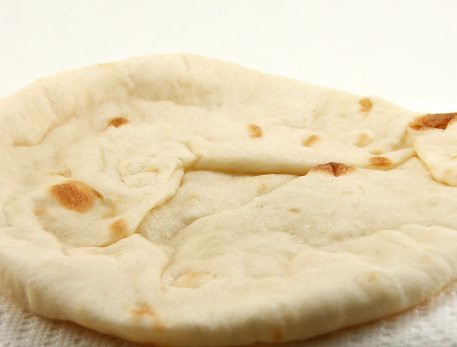
After ten minutes carefully remove the lid, making sure not to drip water on the buns, and remove to a plate. Cover with a towel until ready to eat. Steam the remaining buns.
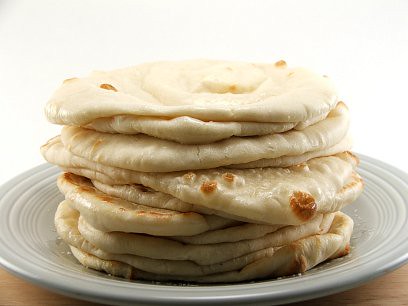
Peel the paper off the buns and serve warm.
Poted at www.evilshenanigans.com - 3/11/2009