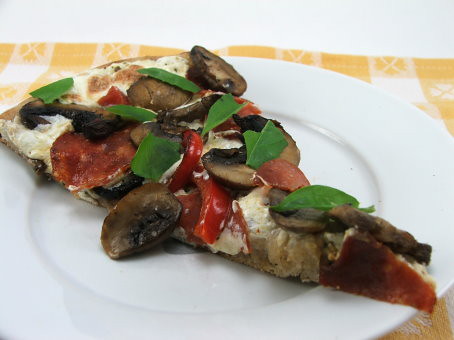
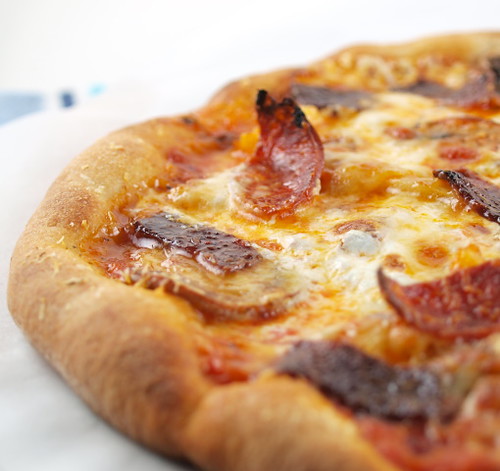
Sweet, Smoky, and Spicy Pizza on a Bock Beer Crust
Originally posted on 10-16-2010 at Evil Shenanigans
Originally posted on 10-16-2010 at Evil Shenanigans
Posted on www.evilshenanigans.com on 11/25/2009 here
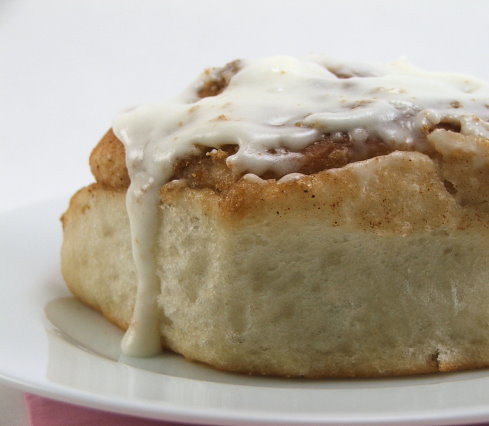
Ready for something a tad more advanced? It takes time to make, but it is SO worth it.
Posted on www.evilshenanigans.com on 4/17/2009
Poted on www.evilshenanigans.com on 4/20/2009
If given the choice of any dessert I want, I almost always pick the cookie. I adore them. During the Holidays I tend to eat and bake so many cookies that I get a little tired of them and I can't stand to make them until Spring is fully underway.
Posted on www.evilshenanigans.com on 4/13/2009
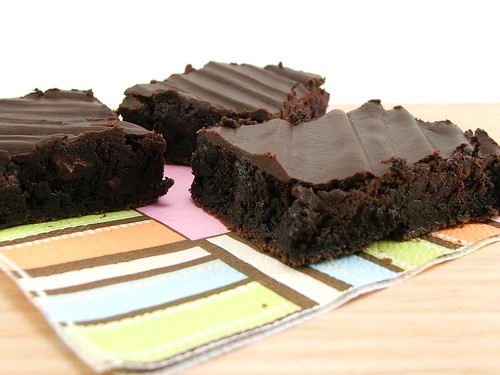
If you do not like chocolate jam packed inside a fudgy brownie, turn back now!
Posted on www.evilshenanaigans.com 4/8/2009
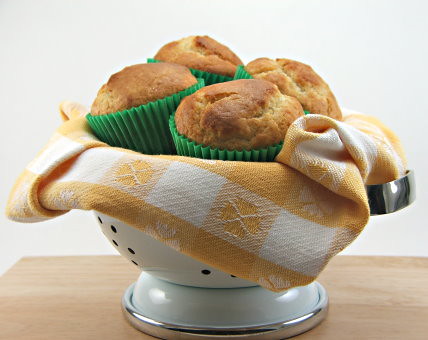
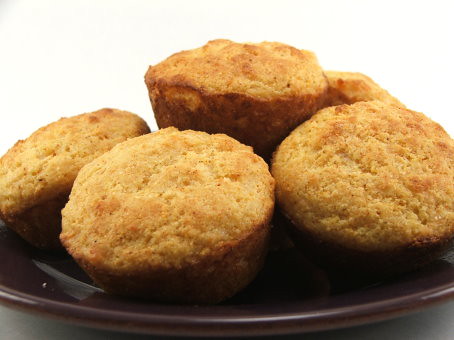
I am a bacon devotee. I'm not sure if you have noticed, but I love the stuff! That's why when I was challenged to create a sweet and savoury bacon muffin I jumped at the challenge!