75% Whole Wheat Levain Bread from FWSY
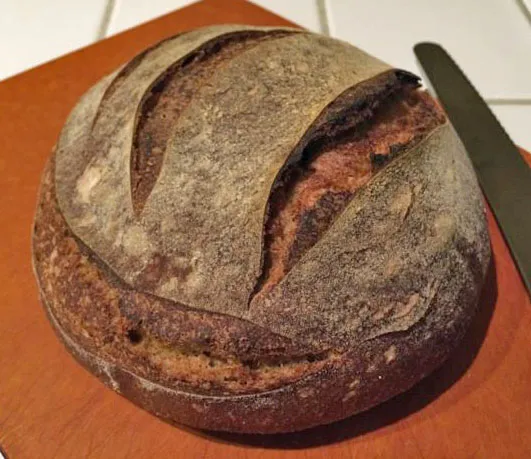
My wife and I have always enjoyed whole wheat bread. For many years, our favorite one has been Peter Reinhart's "100% Whole Wheat Bread" from BBA. Although a lot of my breads have 10 to 30% whole grain flour, I've really been thinking I need to be baking higher percentage whole grain breads, both for health reasons and because that's the way our taste is trending. So, I've been thinking about making Reinhart's WW bread for weeks.
- Log in or register to post comments
- 14 comments
- View post
- dmsnyder's Blog


