Hot weather sourdough

- Log in or register to post comments
- 2 comments
- View post
- JeremyCherfas's Blog
Background:
After so many searches for a good chocolate bread i took Hamelman's formula for french bread.
Replace 15 gms of flour with cocoa powder. Add 15 gms brown sugar (the best u can get) and finally, 120 gms 53% dark chocolate.
Didn't change the instruction. So far it's the best one i ever ate.
The second bread is another one from hamelman's book, Golden Raisin and Walnut Bread, which i love and did more then once.
But that unic combination is something i ate in east europe. So instead of the Walnut and the Raisin i put 5 gms dry basil and 50 gms Sunflower seed.
just posting some pics from last nights bake with my new oven. my new oven is off the chain. oven temps can reach set temperatures sooooo much faster compared to my older oven. in a addition to, i now get to play with the convection. im excited!
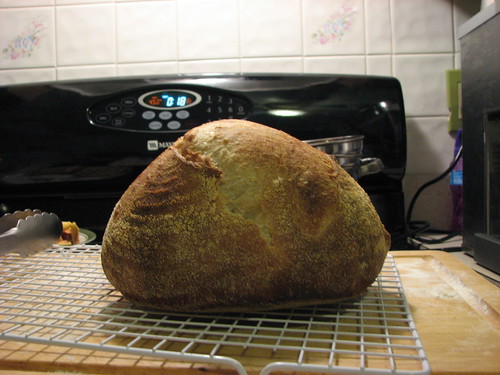
below is a underproofed 100% sourdough. it was getting late so i decided to bake early...
This is my first blog entry here on TFL so here goes:
It started out like most weeks. I knocked out a couple loves of basic white bread on Monday.
From Rose Levy Beranbaum's book 'the bread bible'. This was my first attempt at making this boule. I loved the idea of a bread full of sliced almonds and figs and wanted to make this little boule after seeing the photo in RLB book. I thought it would make a lovely bread to serve with cheese and wine. The crumb is dense and studded with sliced almonds/on top slivered and dried figs. I did all my mixing by hand and chose the 'Ultimate full flavor variation'.
The “Miche, Pointe-à-Callière” from Jeffrey Hamelman's “Bread” is one of my favorite breads. I've made it a great many times. But I have a confession to make: I've never made it with the proper hydration level.
It was Tony Bennett who first sang "I left my heart in San Francisco" at the Venetian Room of Fairmont Hotel in 1962. He is now in his 80s. Many people in Asia who have not been to San Francisco or do not know much about San Francisco (like me) know it through this song (and the post card fog covered Golden Gate Bridge).
Four afternoons of hands-on baking--that's Hands-on with a capital H. We started with first steps for making croissants, and sourdough levain, went on to bake lavash, classic baguettes (poolish), sunflower sourdough bread, rye fougasse (w/preferment), miche, and pizza. The latter two were baked in a wood fired oven; all our other dough were baked in the KA Bakery oven.
My first attempt at SD was a disaster. Thanks to the great input I received, I embarked on a 2nd attempt yesterday/today. This is Hamelman's Vermont SD recipe. My liquid levain culture (Norman) was 11 days old yesterday. I created the levain build early yesterday morning, too early, and it overripened. Since I knew it had fermented for about 22 hours, instead of the 16 max recommended, I decided to only do a 1/2 recipe (until I get it right). I mixed everything early this morning. The bulk ferment took about 6.5 hours to result in just less than a d