My Thanksgiving baking
We're going away for Thanksgiving for the first time in over 30 years. The good news is that we will be with both of our sons and their families for the first time in several years. And we'll be together for nearly a week, which will be wonderful.
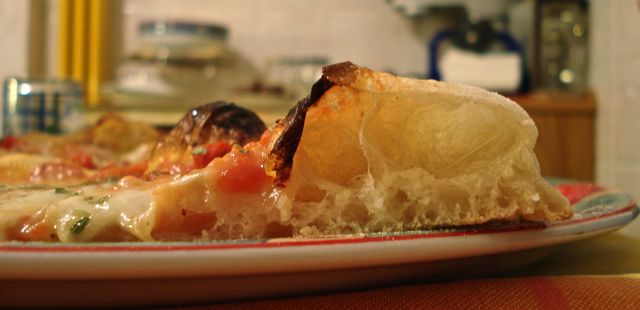
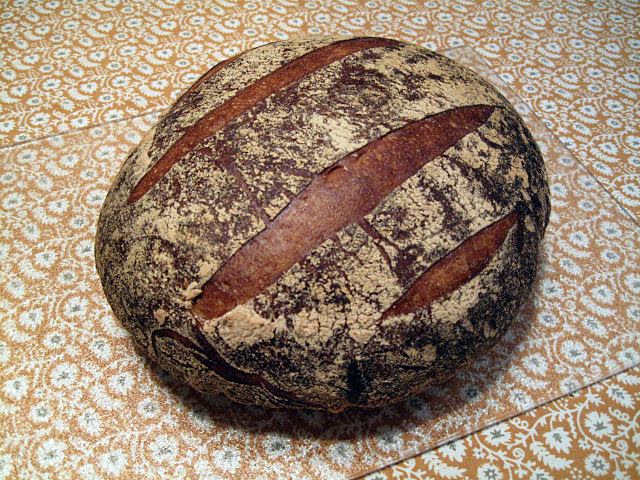
If we were at home, I'd bake differently, but I need to take breads that travel well and keep well. I am not planning on baking there. So, here's the plan:
- Log in or register to post comments
- 14 comments
- View post
- dmsnyder's Blog