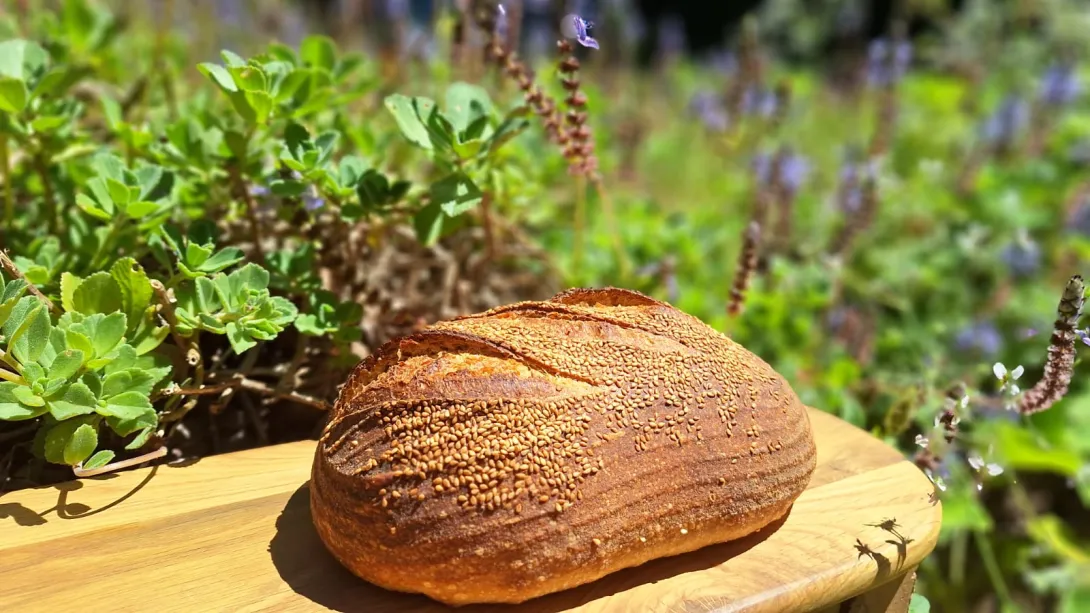
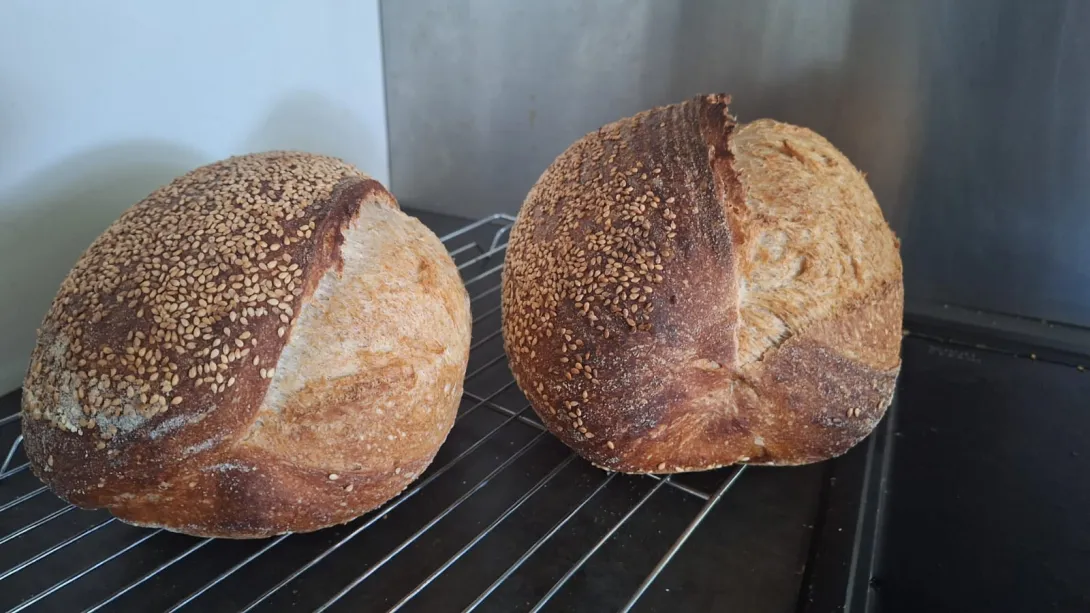
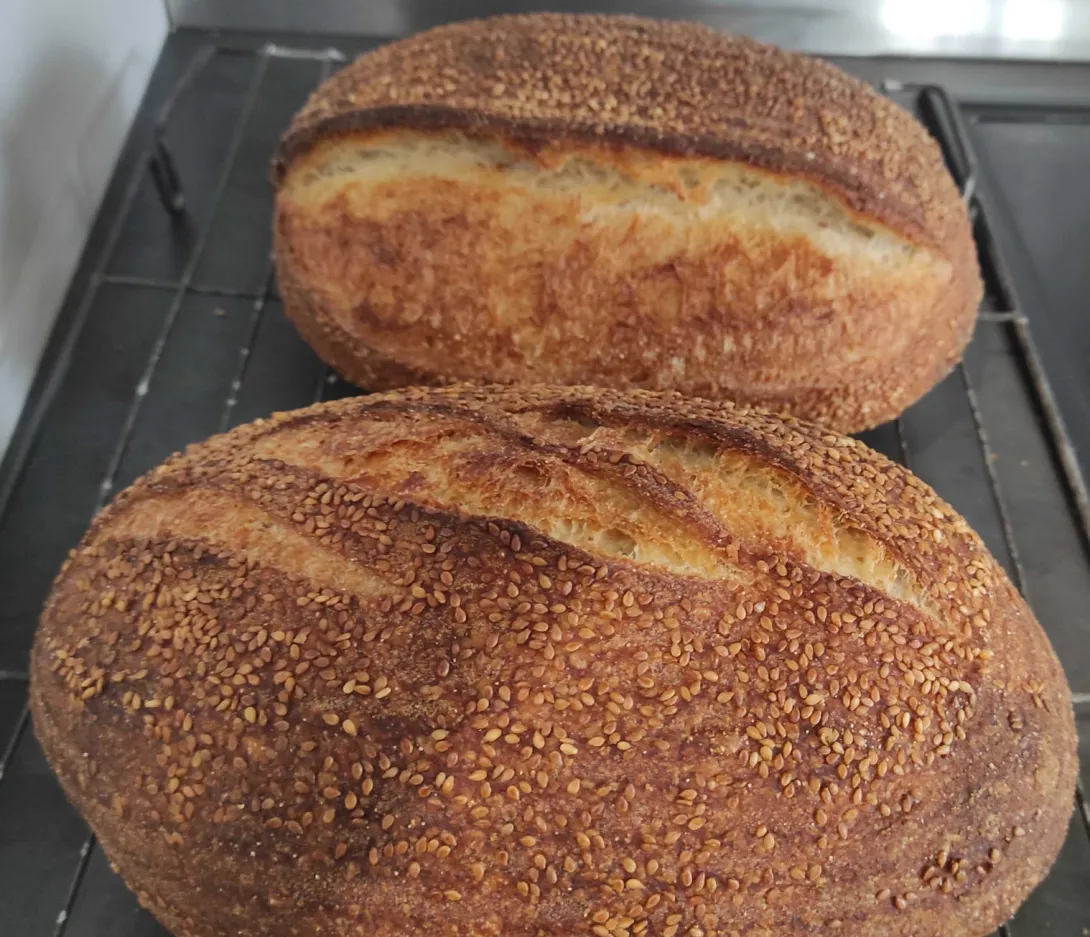
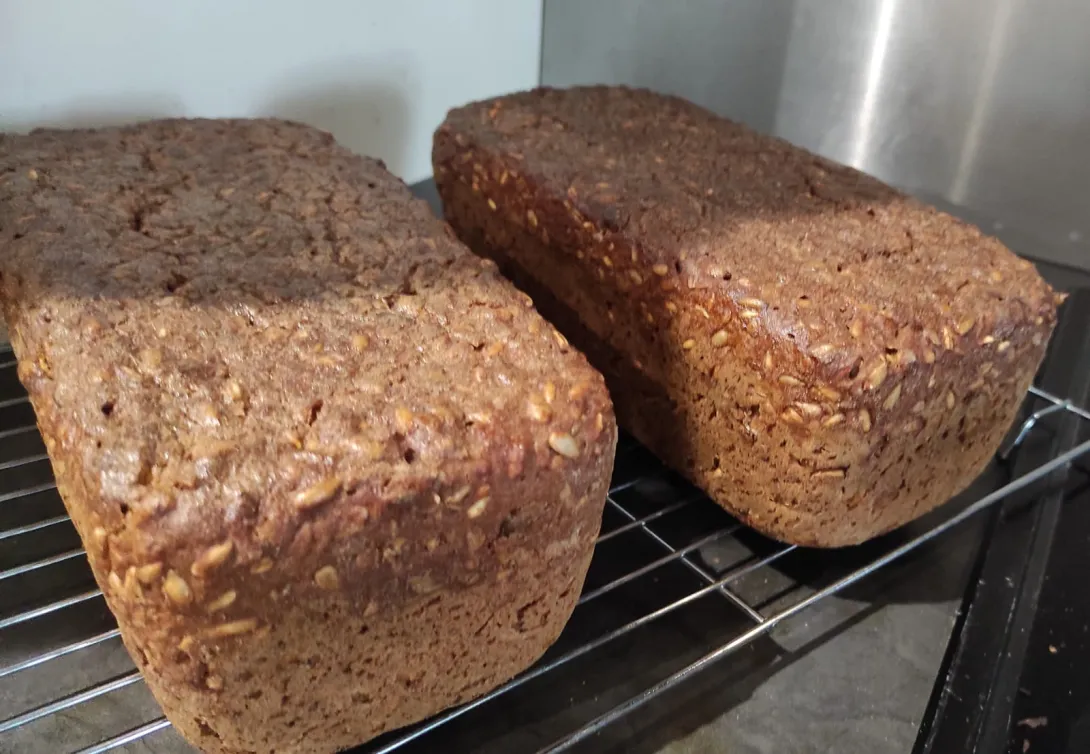
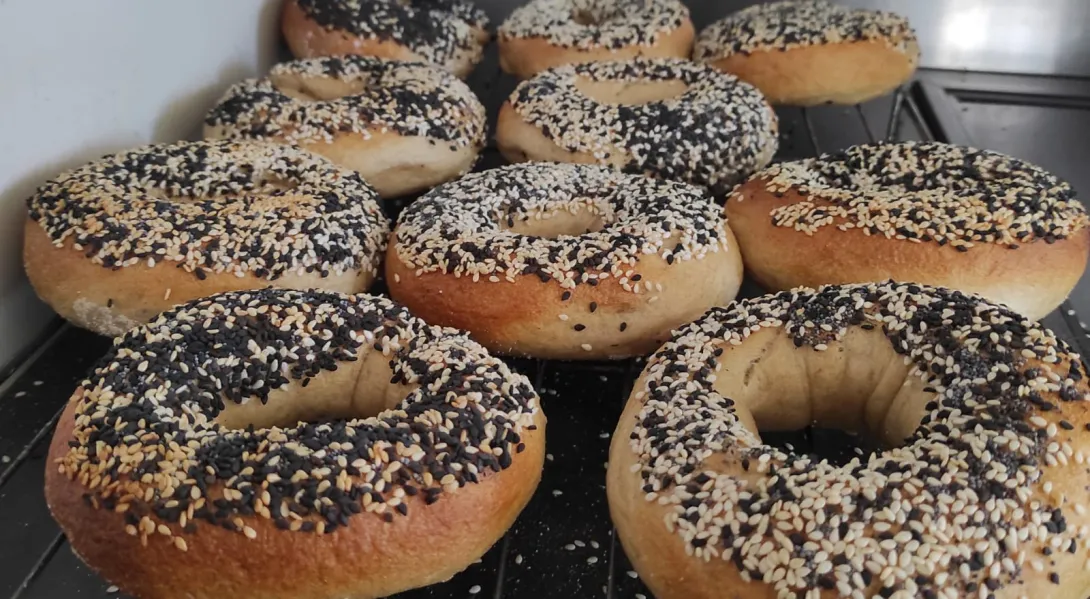
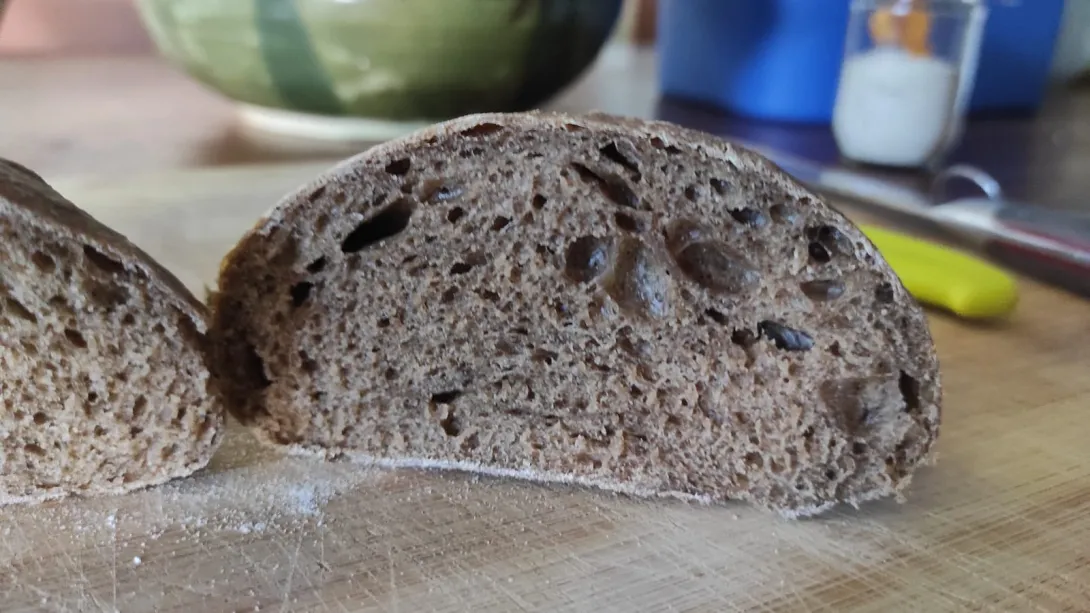
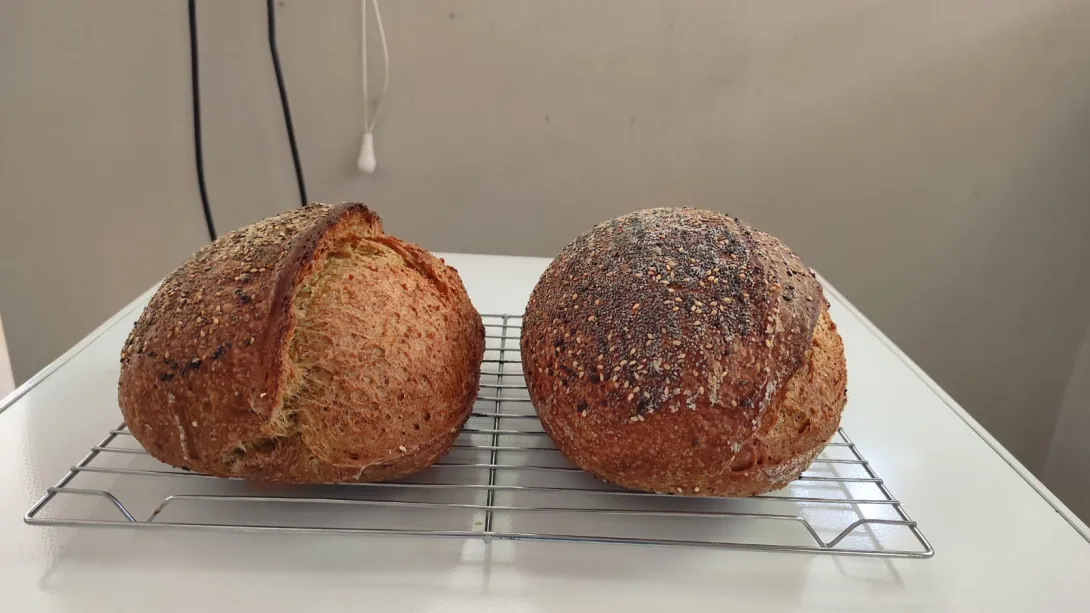
Cake flour sourdough breads
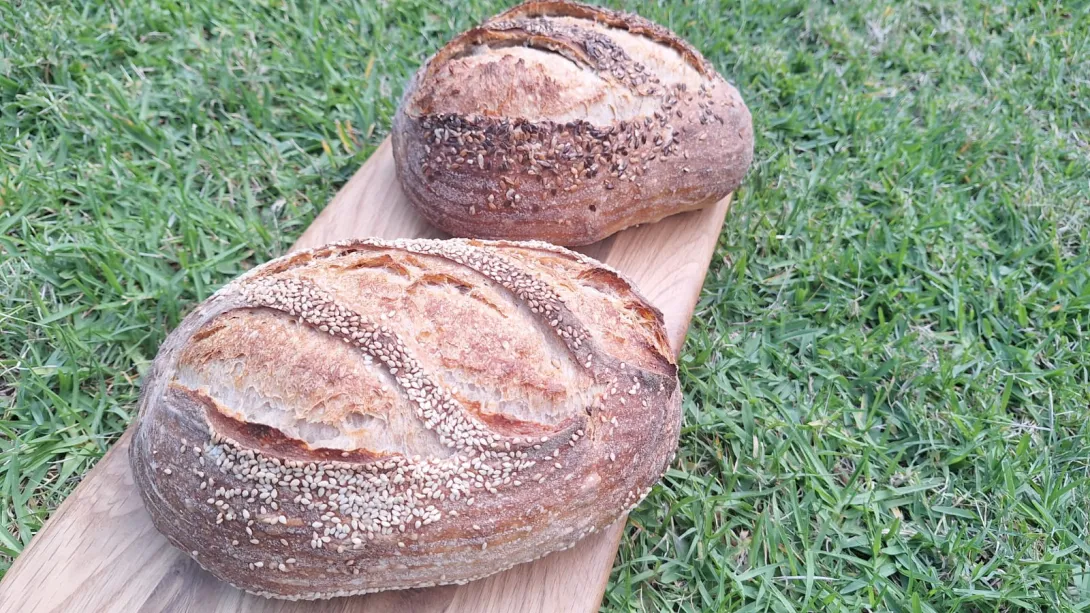
At some point I imagined that a sourdough bread made with mostly cake flour would have a delectable soft sweet crumb texture. Or at least a better 'bite' than loaves made with bread flour. Perhaps softer on the tongue, with a good sweet flavour! And without the chew or bounce that I've come to expect with lots of gluten.